illustrator bristle brushes tutorial
graphicxtras > Adobe Illustrator tutorials > Illustrator brushes tutorials
** Youtube video tutorial on the Illustrator bristle brushes to create stunning realistic paint brush strokes in seconds **
1. Where are the Bristle brushes in Illustrator
Bristle brushes can be found in Adobe Illustrator via the brushes panel.
Select the Paintbrush tool (there is no bristle brush tool) in Adobe Illustrator toolbar, window menu, go to the Brushes command, select a bristle brush in the brushes panel, duplicate bristle brush via right side menu in brushes panel, double click the Illustrator bristle brush, edit the size, bristle length, bristle density, thickness etc (see preview to see the result of changes), Click OK, save document with new bristle brush for re-use later
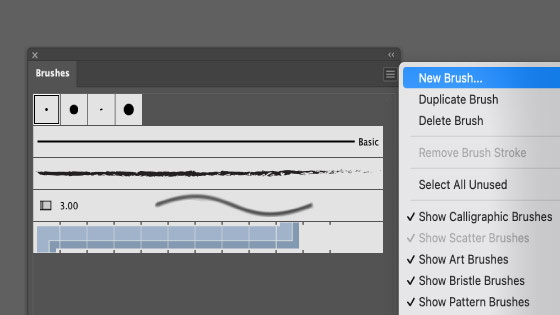
Or you can always create a fresh bristle brush by going to the new brush command in the panel and then selecting 'bristle brush'
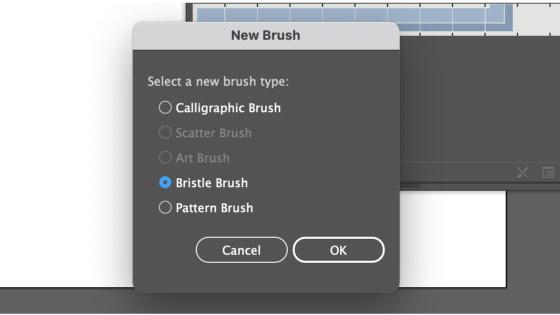
A completely fresh bristle brush will be created. You will see a large panel of options
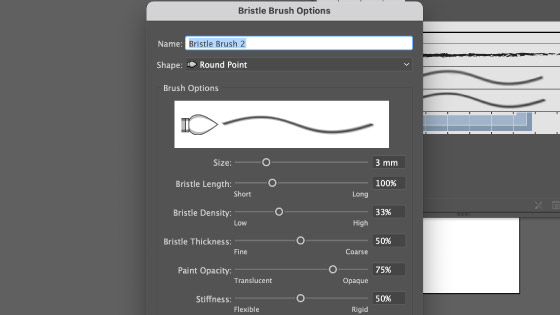
There is a useful but fairly basic preview (it doesn't show it in action or anything). Select a shape for your new, there are a number of shape options such as flat point, round blunt and many more. Set the size, length, density (though the action seems to be reverse to my mind), paint opacity etc. Tweak these and use the preview as a guide but the only real test is when you come to use the brush on your art board. I generally always keep the opacity low. If you are not happy with your brush, you can always double click the brush entry in the brushes panel and the bristle options will re-appear.

2. Bristle brushes in Adobe Illustrator and Other brushes
OK, Adobe Illustrator is certainly not up there with the now defunct Expression (from Creature House) and I really loved that tool for painting and drawing in vectors. There are also a number of other decent apps with similar features such as Clip Studio Paint. Another application that has fine vector bristle like brushes is the superb Rebelle from Escape Motions
3. Re-apply bristles in Adobe Illustrator
You can use the bristle brushes once but the brush strokes probably work best if you apply the bristle brushes over and over on top of the previously applied bristle and then vary the bristle settings as well as the opacity and colors etc. A workaround to avoid creating multiple bristle brushes is to use the appearance panel - by using the appearance panel, a single bristle brush can be used and combined with other bristle brushes and colors as well as a mix of different opacities and blending modes as well as adding effects such as blurs etc to particular appearance stroke entries for the bristle brushes. You can add multiple strokes to the single bristle brush. They can then all be modified live via the appearance panel
4. Expand stroke of the bristle brushes
You can select the bristle brushes in Adobe Illustrator and expand the artwork via the object menu and expand appearance. Also use the object menu and ungroup.
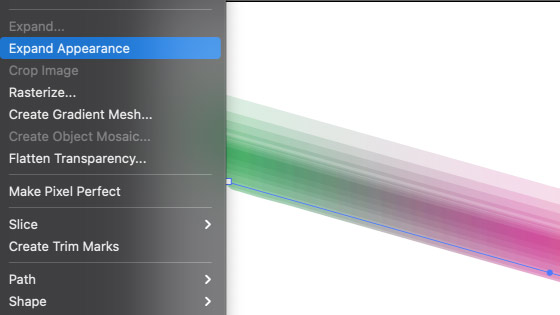
You will then see the underlying structure of the bristle brushes such as lines spread or long lines as well as the opacity etc and at that point, you can change the settings for the individual bristles at this point. The filled paths can also then have effects etc added as well as the results exported for use in Photoshop
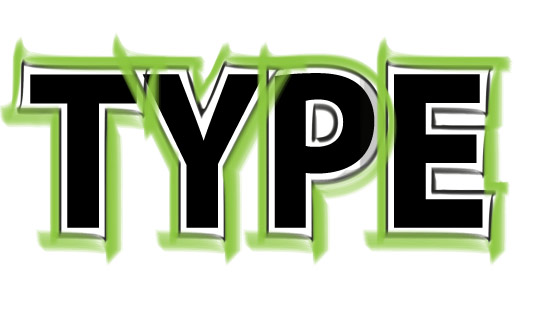
5. Use the Bristle brushes with type and paths
You can use the bristle brushes with the paintbrush tool but it can also be used as a stroke for type as well as standard paths or perhaps the results of an expanded trace (personally I don't think the results are amazing but with a little trial and error, all kinds of bristle brush overlays can be added to the image though to really work well you will have to set the image's fill to zero.
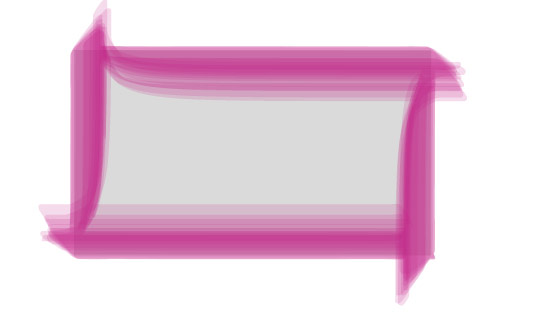
To use the bristle brushes as a great source of designs with type, you must either expand the artwork or use the appearance panel and add the bristle brush stroke to a stroke. You can add multiple bristle brushes to the paths as well as type / text in that way, always just go to the right side menu and add new stroke and set the color and apply the offset and other effects
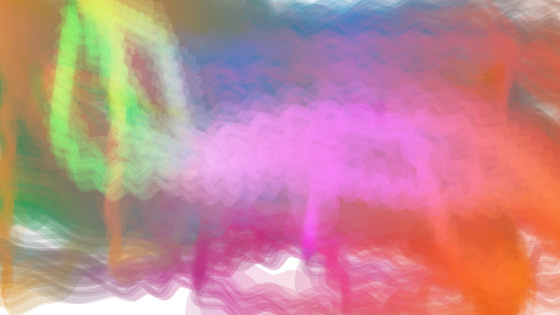
6. Fill with gradients and bristle brushes
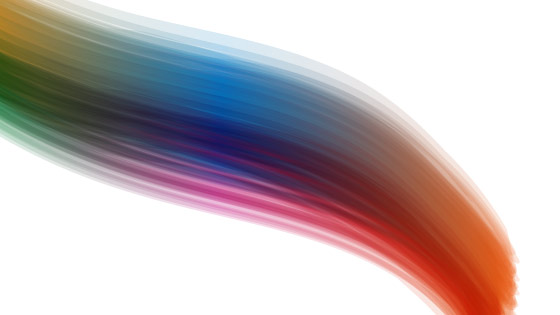
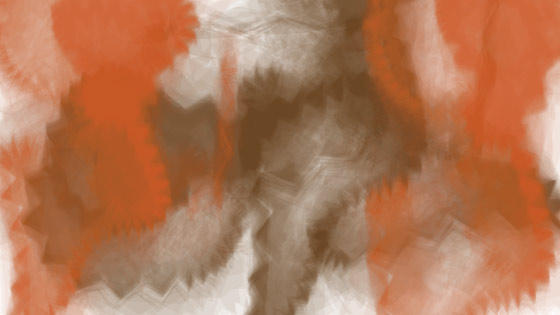
You can create some really beautiful multi-colored bristle brushes using gradient swatches such as the gradient swatches and the gradients can be applied linear as well as radial etc Use the gradient panel to change the colors etc for the bristles.
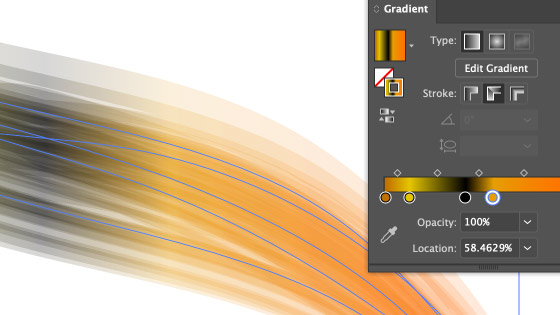
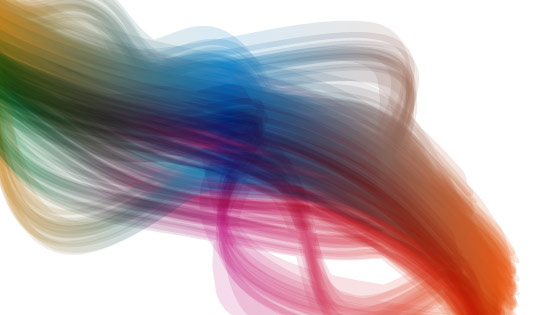
Again, the best effect is if you add multiple strokes using the bristle brushes in Adobe Illustrator to layer the design.
You can also use the artwork in layers and add the bristles to one layer and then add a different bristle brush with gradients or solid colors to another layer and so on.
You can use the direct selection to select the individual points to twist and distort the gradient filled bristle brushes
You can add effects to this set of designs as well such as adding zigzag which creates a subtle color variation. You can fill the entire art board with a single distorted and effect bristle brush and create all kinds of color designs.
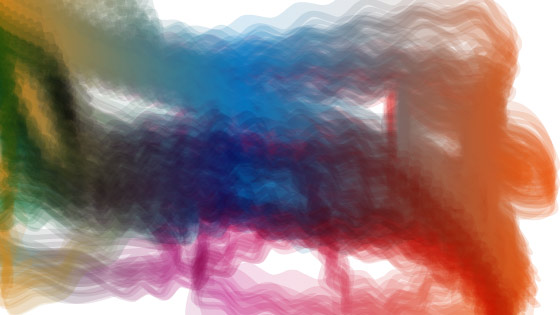
As well as adding multiple instances of the same bristle brushes and then using different blending modes and opacities to create all kinds of amazing colorful brush strokes
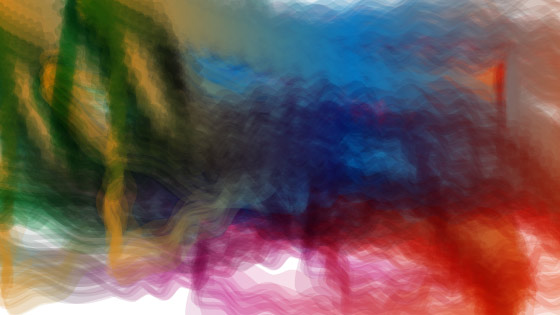
As well as combining with blending modes such as lighten
7. Bristle brushes - Density, thickness etc
How to tryout the bristle brush settings in Adobe Illustrator? The quickest way I have always found is just to create a line using the line segment tool and apply a bristle brush and then double click the bristle brush in the brushes panel and display the settings and then just keep changing the settings and seeing how the line changes.
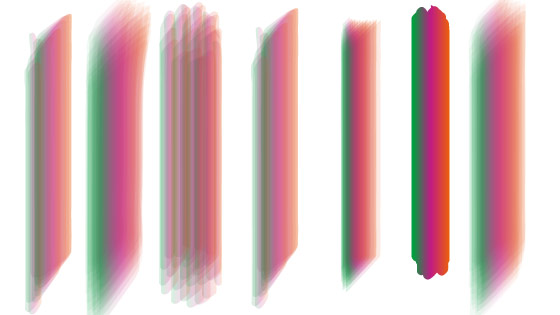
This is not a perfect solution and perhaps a couple of curved lines will be handy as well especially as sometimes you will get odd bristle jags on a rapid turn of the brush and that may not be visible when you are just trying out the settings.
Changing the shape makes some difference and again that depends on the other settings so a round curve looks very little different to a flat curve on a straight line. As the tool is reasonably interactive (I would love to see the tool not even be modal dialog bound but just a panel and any changes instantly reflected in the work (remember to put the preview on) sadly that doesn't seem to be the approach with Illustrator (if you want that there a number of new apps around that are a little more instant).
The preview and the selected line can be seen to change on release of the mouse and so you can bristle length (seems to do very little beyond increasing the size and spread but to see the real results you would have to expand the bristle brush and see the paths into the mix. Paint opacity in the bristle brush panel makes the brush a lot darker or transparent, so set low if you want to apply it over and over You can always blend into the mix the opacity and blending modes etc for the line or stroke.
Personally, I wish there was a little more variation here. A randomizer (such as in Painter) would be pretty useful and also a lot more settings such as how the lines thin or perhaps if it accepted width profiles it would be even more flexible.
9. What to do with them
Well, clearly the key reason for the existence of the bristle brush tool is to draw so how you use the tools depends on what you want to achieve such as creating a smudged background or perhaps some strong lines around a path or just a loose sketch of a face, all are definitely possible with this tool set
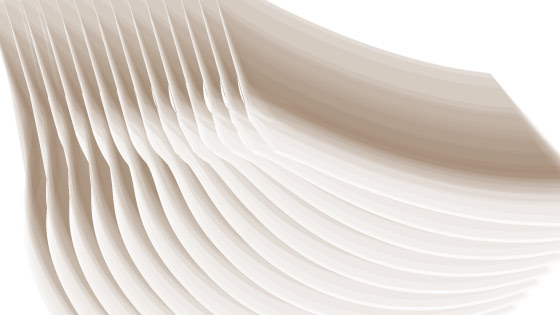
10. Bristle brushes and blends
You can combine multiple bristle brush strokes by using the powerful blend tool, simply create two bristle brush strokes and then click on the first with the blend tool and then the next and then you will see multiple bristles. You can change the options by double clicking the icon or pressing return and you can then change the options to steps or distance. You can also tweak the individual bristles and also change the spine of the bristles combo.
11. The Bristle brush is live
You can select the generated bristle brushes stroke and with the direct selection tool you can move individual points which change the resulting design as well as remove and also add points. You can also apply live effects to the bristle brush stroke such as a zigzag to create fascinating jagged bristle strokes
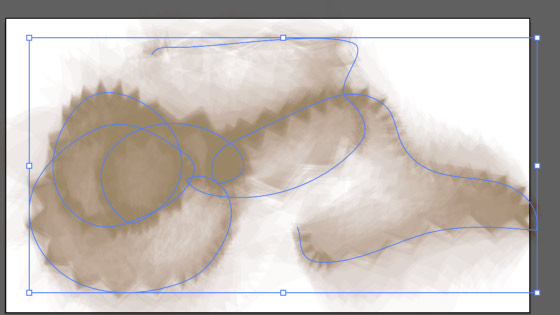
You can also add additional strokes via the appearance panel
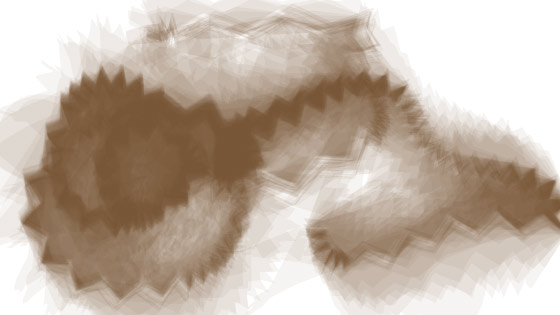
Creating a very water color like softness to the bristle brushes, especially if you combine multiple different color bristle brushes with live effects added.
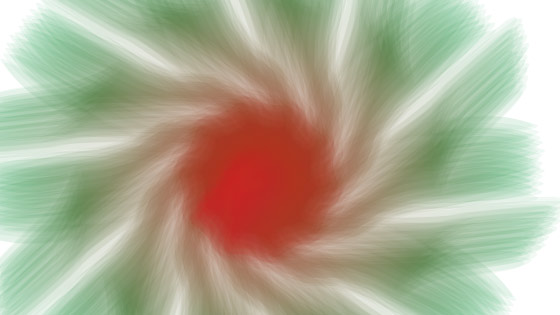
12. Bristle brush and repeats
You can use the powerful bristle brushes inside a repeat object to create amazing radial designs and more. It is live and you can modify the instances, radius etc

You can also double click the bristle brush and then change the curve using the curvature etc inside the repeat object and also change the bristle brush to a gradient fill and more.