Illustrator Pie Slice Creation Tutorial
graphicxtras > Adobe Illustrator tutorials > Illustrator how to tutorials
How to use the Illustrator pie slice feature of the live ellipse tool to create all kinds of amazing designs in Illustrator, how to use as symbols, how to use with width profiles, how to with multiple fills, how to expand it to a regular shape, how to round the edges how to use with repeats and more.
** Youtube video tutorial on how to create pie slice designs in Illustrator using the live ellipse tool and pie slice feature **1. Pie Slice Creation Basics
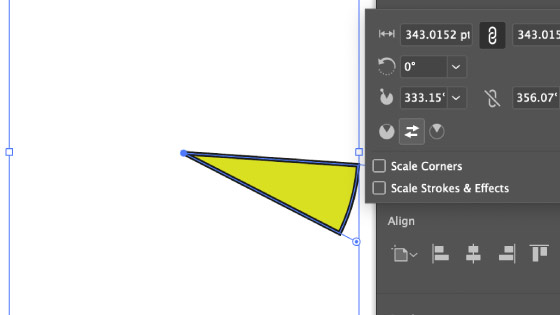
Go to the ellipse tool and create a path on the current art board / layer. Go to the little extend dot and drag that around the circle or go to the properties panel and go to the transform section and click on the three dots (...) and enter a value into the pie start angle and pie end angle.

2. Invert the pie slice shape
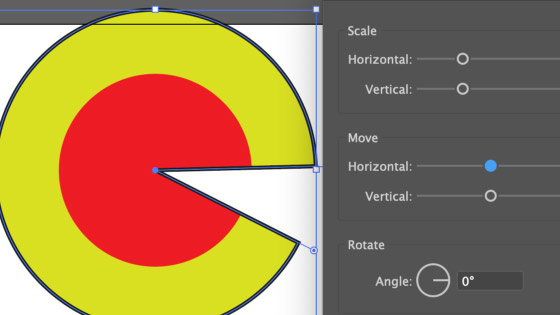
You can go to the properties and click the ... and go to the little design just above the scale corners check box - click that and instead of a pie slice being 60 degrees say then you will end up with an inverted pie slice of 300 degrees.
3. Appearance panel and the pie slice shape
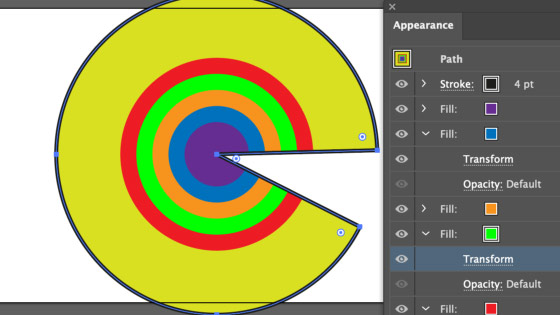
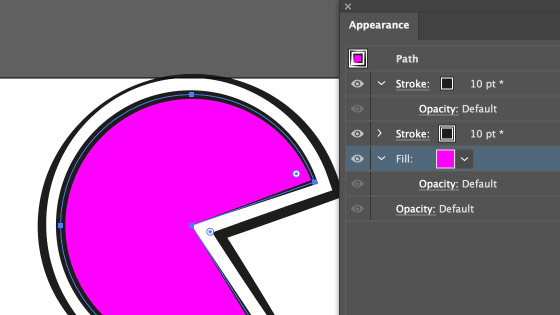
Sadly the pie slice feature works only on the path and not additional fills so you can't set the pie slice for one fill and set it to a different value for another fill.
Select the pie slice design and go to the appearance panel and right click and add another fill. With that entry selected, change the color to something different from the first fill and then go to the effect menu and distort and transform and transform command and set the scale to 60% of the original.
You can add multiple fills and each of those transforms can be different and they can all be re-colored. Use the duplicate item command (right side menu) and set the transforms to different settings such as 70% 60%50% etc. The pie slice is still the same however many fills you add.
4. Width profiles and pie slice
You can use the pie slice design with a normal stroke but you can also create more interesting pie slices simply by adding a different width profile to the shape.
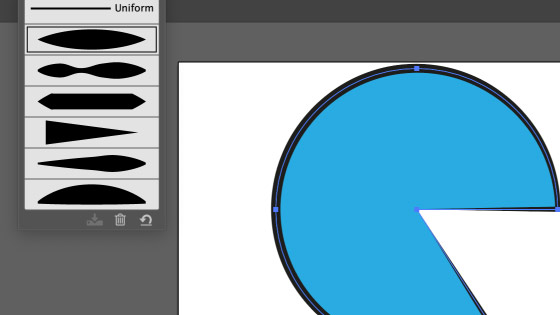
You can also use the width tool to modify the pie slice. You can also combine this with the appearance panel and create multiple strokes and width profiles
5. Pie slices as symbols
You can store the design as a symbol. Select the shape with the pie slice and go to the symbols panel and right side menu and 'new symbol' command. The symbol is then stored in the symbols panel.
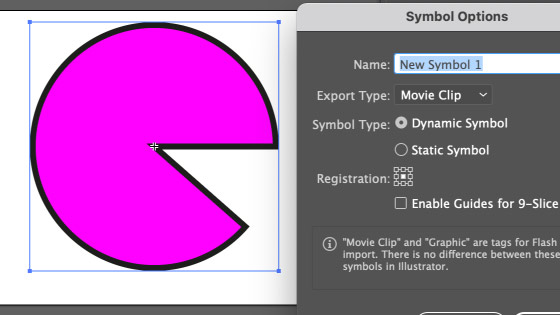
The symbol is still live so you can edit the entry (double click the entry) in the symbols panel and modify the pie slice (start and end angle). Any changes are updated in the panel. If you apply the symbols using the symbol sprayer, any changes to the source material means all the instances are updated. The symbols can be modified by sizer, stainer etc

Edit the pie slice symbol (double click the item in the panel) and the changes will be reflected across the art board

6. Pie slice and repeats
The pie slice works well with the repeat feature. Select a shape and then go to the object menu and repeat and radial and then set the number of instances as well as the radius.

The pie slice settings for the start and end can be modified by double clicking one of the items in the radial object and you can also modify the angle and size etc of the slice

7. How to convert pie slice to a regular shape
With the shape selected, go to the object menu and shape and expand shape.
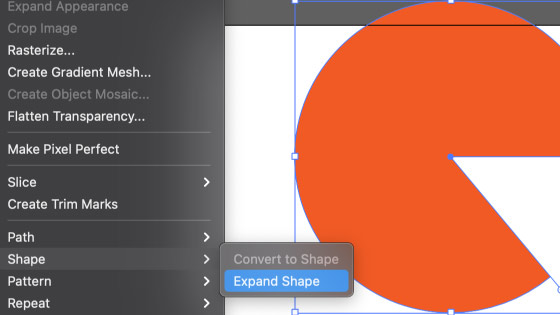
You can then modify it in many different ways such as with the direct selection tool, the start and end values are no longer available
You can also quickly turn it to a normal shape by using features such as the direct selection tool to select the corner widgets and round the design.