Illustrator Starburst Creation Tutorial
graphicxtras > Adobe Illustrator tutorials > Illustrator how to tutorials
How to create starburst designs using the polar grid (PG) tool in Adobe Illustrator tutorial. Starburst designs of all sorts of styles can be created. Unique starburst designs can be created quickly using the width profiles. Starbursts can also be quickly created using the powerful repeat feature in Illustrator and not only that, the designs are live and can be modified over and over to create an infinite selection of starbursts in Illustrator.
** Youtube video tutorial on how to create star burst designs in Illustrator **1. Starburst from Radial settings in the Polar tool
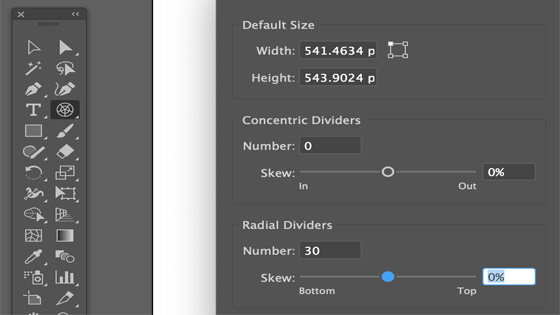
The starburst paths can be varied by changing the settings of the radial setting of the PG tool. You can create basic starburst designs in Adobe Illustrator by setting the tool settings to 10 and 20 and setting the concentric divider to 0.
-
Goto the PG tool in the toolbar
-
Double click to display the settings
-
Set the concentric to 0
-
Set the radial to 30
-
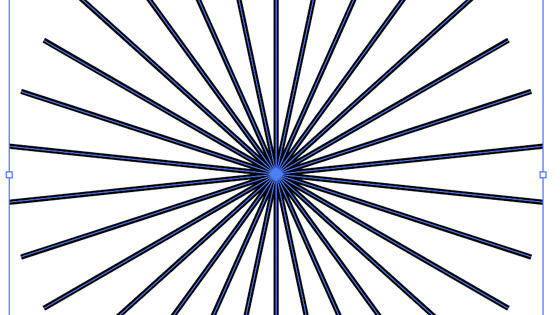
Object menu
-
Ungroup
-
Delete the bounding circle path
If you set the concentric dividers to zero (you still get a backing circle which can be deleted by ungroup the path and deleting the circle) and setting the radial dividers to say 30 - you get a starburst or star in seconds. Once you have the starburst design, you can then add other effects etc to the artwork
2 Variable width profiles and applied to the starburst in Adobe Illustrator
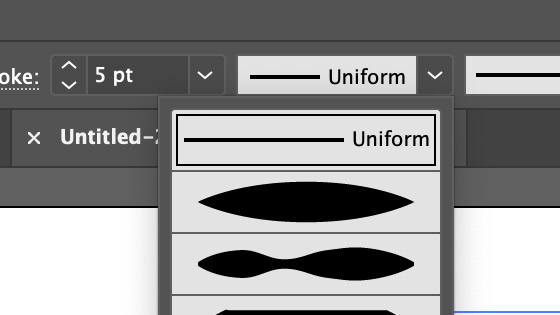
As this is Adobe Illustrator, you don't need to stop there and you can apply live effects to the lines as well as variable width profiles (option bar) or brush strokes.
-
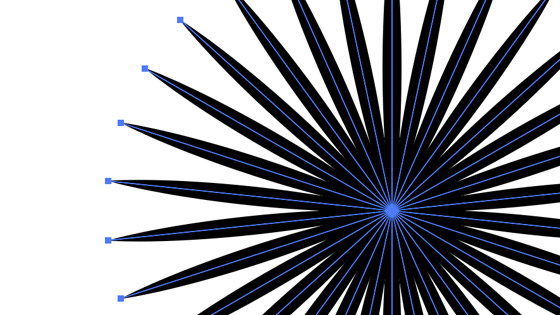
select all the generated lines (though you can select alternate lines or perhaps the top set of lines)
-
set the color of the stroke
-
go to the variable with profiles
-
select one such as width profile 4
-
Expand appearance via the object menu
-
select all paths
-
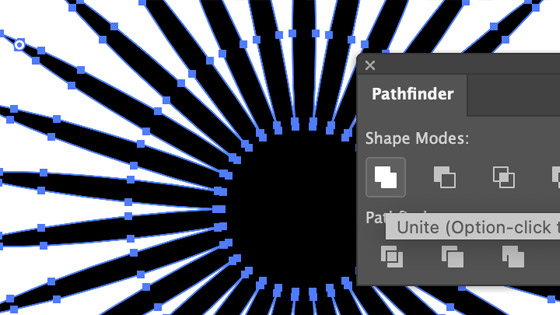
go to the pathfinder
-
unite
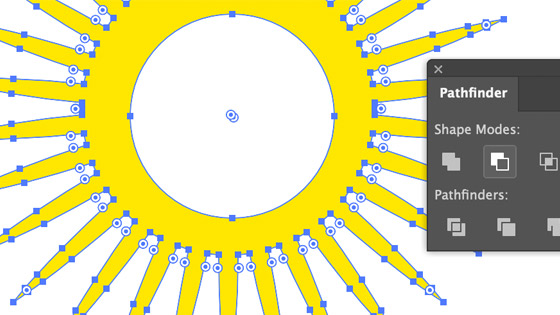
You can then add other paths to the design such as a circle to the center of the starburst and then select the starburst and circle and then select the minus front in the pathfinder panel
Add other paths on top

Subtract shapes from the starburst via the pathfinder such as a circle
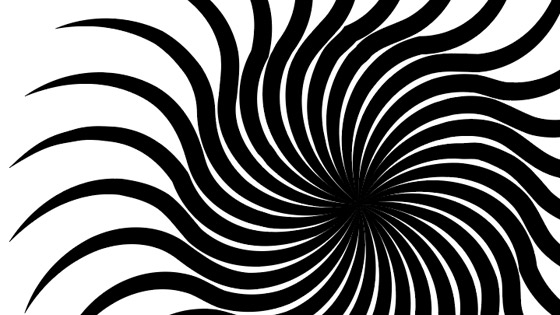
3. Twist and starburst effect added to the design and width profiled lines
-
select the lines of the ungroup-ed polar grid
-
go to the width profiles at the top of the screen and select the width profile 4
-
set the color of the strokes
-
go to the effects menu
-
twist
-
set to 45
-
OK
-
object menu and expand appearance
-
pathfinder panel and unite
Many different starbursts and stars can be created using the Illustrator PG tool as a start point
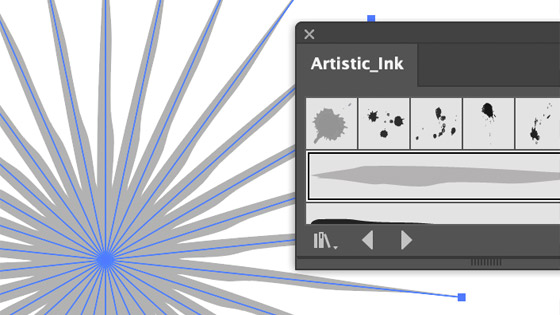
4. Adding brush strokes to the width profiles and starburst
You can also use the PG tool to create starbursts with brushes. As brushes can be any kind of design, many different starbursts can be created. As with above, you can create a very basic stroke starburst but instead of adding a width profile, you can add a brush. You can use your own brushes, you can use the brushes supplied with Illustrator and so on.
-
create a red circle
-
create another red circle but make it smaller and place a distance away from the first circle
-
select both and align horizontally
-
go to the blend tool and double click and set the spacing to steps (say 5.
-
click the first circle and then the next with the blend tool
-
object menu and expand
-
display the brushes panel
-
drag the paths into the brushes panel
-
set to artistic
-
OK
-
go back to the starburst lines
-
select them
-
apply brush by selecting it in the brush panel
-
object menu and expand appearance
-
pathfinder and unite
Or just create a path using the curvature tool such as a wavy / curved design and then add that to the brushes panel. Apply the wavy / curved brush to the starburst. You can also then add variable width profiles to further modify the starburst
5. Starburst created using repeat feature in Illustrator
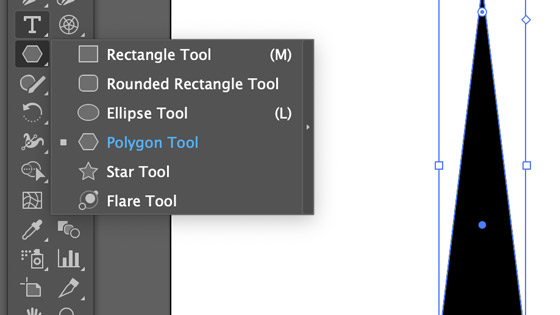
You can now use the easy to use repeat feature via the object menu. Create a quick triangle via the polygon tool (set the sides to 3)
With your triangle, go to the object menu and repeat and radial
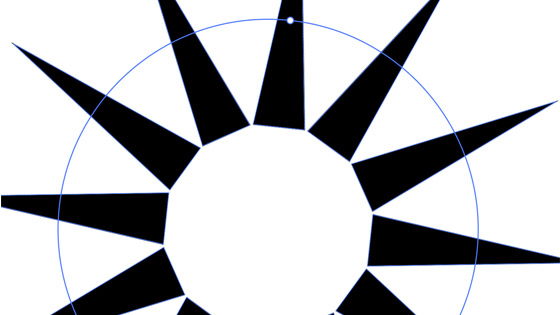
Change the radius of your starburst design via the circle. If you want to change the triangle and the end result, double click on one of the triangles and modify that and that will be reflected in the entire starburst design.