Illustrator Blend Tool Tutorial
graphicxtras > Adobe Illustrator tutorials > Illustrator tools tutorials
The blend tool in Illustrator is a powerful feature to blend between two or more objects (not all objects can use this) and you get a spine to manipulate and change the length, angle etc of all the blended designs. The blend object is live and can be modified at all times.
** Youtube video tutorial on how to use the blend tool to blend paths / designs together to create stunning live designs **1. Where is the blend tool in Illustrator
The blend tool in Adobe Illustrator can be used to blend two (or more) paths / objects in Adobe Illustrator and is found via the Illustrator toolbar.

2. Basic approach for using the blend tool in Illustrator
To blend between Illustrator paths / objects, create some paths or use existing paths. Go to the blend tool in the toolbar of Illustrator. Select paths (though not required). Click center points or segments or points of those paths to generate the blend between the paths. You will then see you default blend between the paths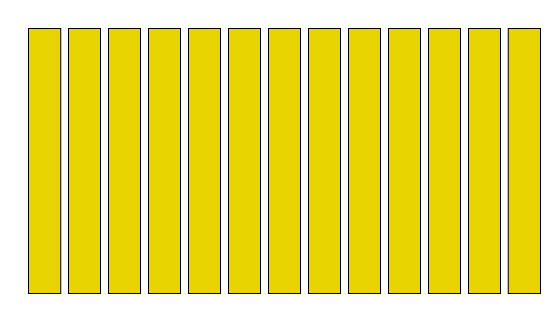
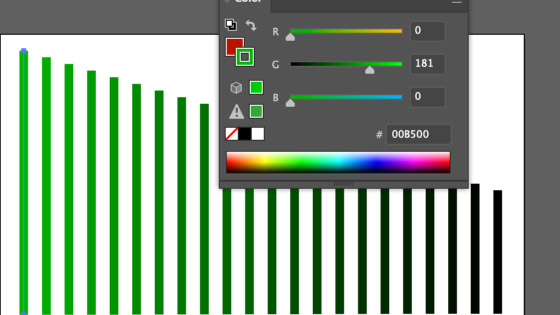
Change the color of the first item using direct selection tool
3. Blend multiple objects in Illustrator
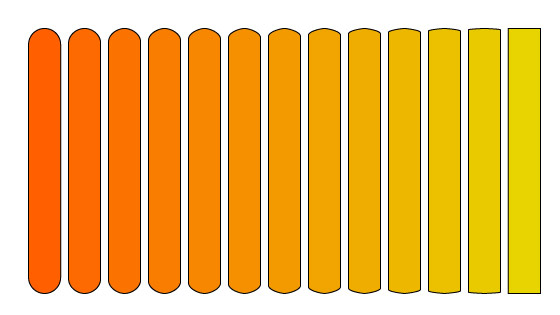
Create a number of paths (more than 2). Select the blend tool in the toolbar. Click on path one, click on path 2, click on path 3, click on path 4 etc. This can be repeated with a number of paths (though I have no idea if there are a limit to the connected / blended paths)
Again, use the direct selection tool to manipulate the size, points etc of the component paths
You can also edit them in isolation mode by double clicking the path and then tweaking the design using the various tools such as the selection tool
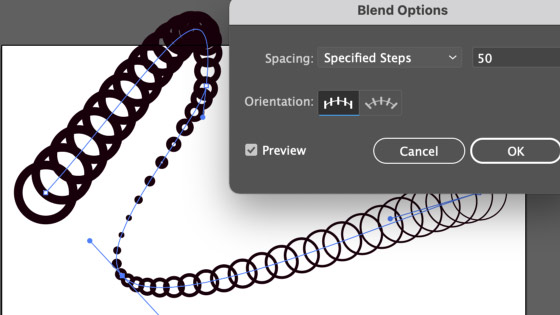
4. Blend tool options
Double click the blend tool. Set the spacing method. Set to specified steps and set the number of steps and set orientation (to path etc) and set preview to ON. Or use the smooth (must admit, rarely use that one) and also the spacing option is available so if you want to blend between objects such as 1cm gap then use that.
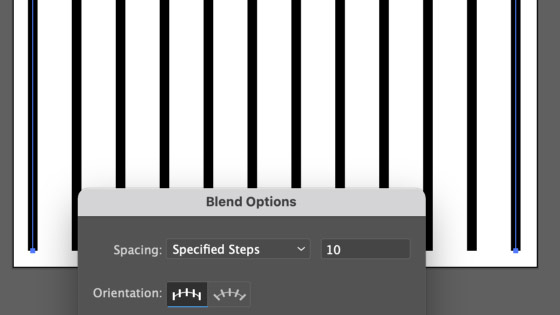
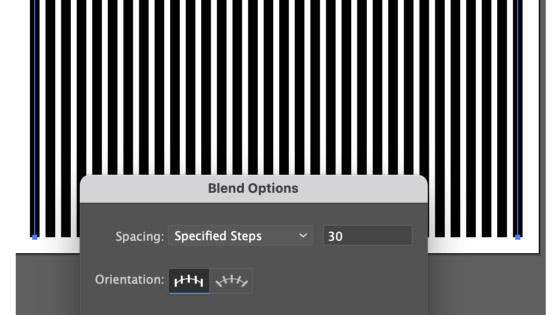
The key thing to remember the blend is always live and can be changed at any point so if you decide to use the spacing option instead of the steps then you can by double clicking the tool icon with the blend selected. If you have multiple blends, they can all have different options. The same blend with multiple items will all have the same blend between them

The design can still be manipulated as a normal path such as rotated etc

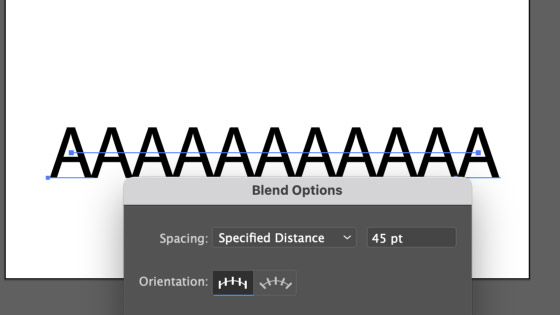
Also the spacing, you may want your paths to be 45pt apart
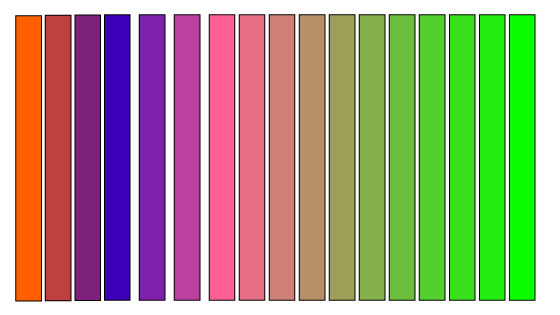
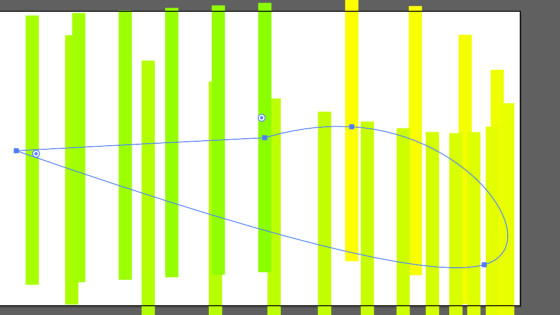
5. You can also change the paths such as change the color and shape of the paths in the blend
Once you have applied the blend, you can still alter the paths involved in the blend such as changing the shape of the paths or perhaps changing the color of the paths and that can be done by selecting the path using the direct selection tool and then changing the color or shape etc for that path or perhaps removing or adding points etc.

Create a blend using the blend tool. Go to the direct selection tool. Select the first or second etc path in the blend. Change the color via the toolbar fill color (or stroke). Go to the object menu and transform and rotate etc (to rotate one of the blend paths). Add a point to one of the paths by using the pen tool. Use the direct selection tool and manipulate the new point or others in the first path. You will now notice that the blend will change as you change the color and also the points etc
Points can be added to one of the strokes
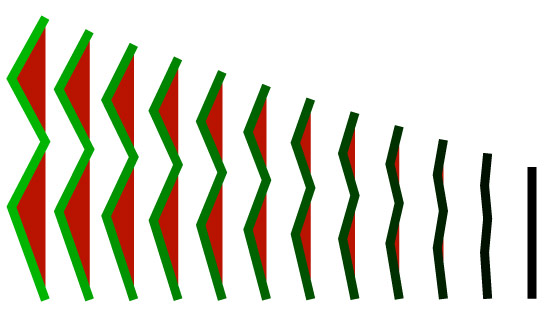
Or use the curvature tool to add some additional points to the first path

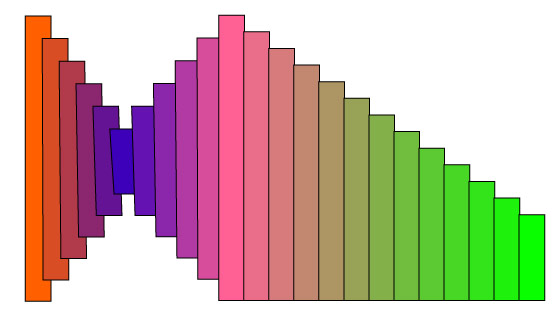
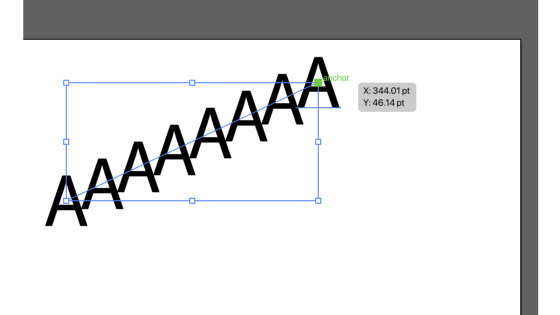
6. The blend tool is live and you can change the spine of the blend in second
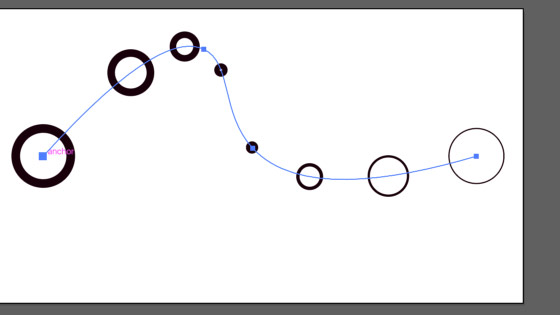
There is also a blend tool path / spine (not the paths used in the blend but the line between the paths) and you can also use the direct selection tool to select that spine path and then shift the spine path and distort the spine from the initial straight line.
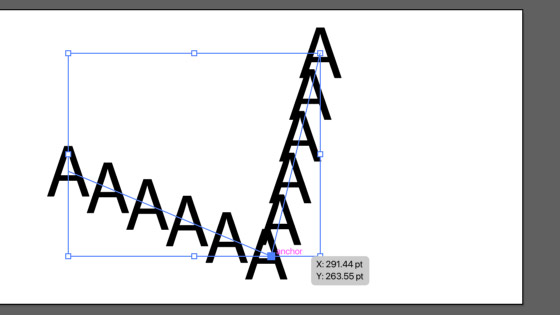
You can also then use tools such as curvature tool or use the anchor point tool to manipulate that blend spine.
You can then use it to create some truly unique blend paths with the blend tool and it is still all live and the steps and smooth color etc can still be changed in Adobe Illustrator.
Create a blend using the blend tool between two paths. Select the blend. Go to the add anchor point tool and add a point in the center of the blend to the spine that runs between the first path and second. Use the direct selection tool to select that center point of the blend (select only that point, not the end points), drag point to re-align the spine and blends. Go to the curvature tool and double click the center point (to turn it into a smooth point).
Manipulate the blend further with the curvature tool such as changing the curve or adding new points etc
7. Blend tool in Adobe Illustrator menu commands - you can find related blend commands in the object menu
There are also a number of blend tool Illustrator menu commands which can be found via the object menu and blend
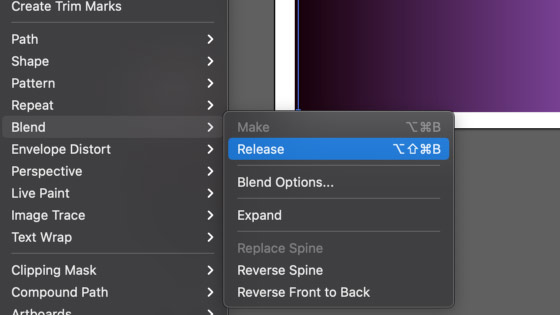
Select Illustrator path (s) / object, go to object menu. Blend and then use one of the following : Make, Release, Blend options, Expand, Replace spine, Reverse spine, Reverse front to back
8. Replace spine for blend tool
All the menu commands are super useful. The replace spine is probably the most useful with the Illustrator blend tool and to use that select the blend as well as another path such as a spiral open path and then go to the replace spine command and then the blend will be attached to a spiral etc. Or select the blend and select a circle (closed path) and then use the replace spine and you will end up with the blend around a circle which is great for creating all kinds of circular frames etc.
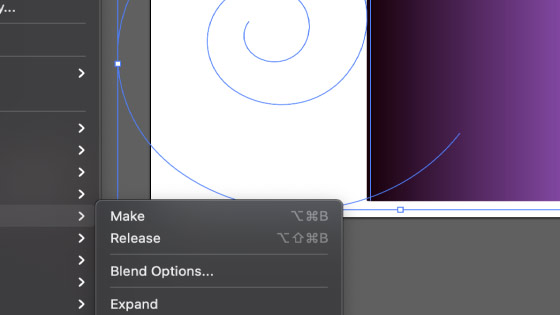
A spiral path is being used, all kinds of abstract designs can be created

9. Reverse spine for the blend tool
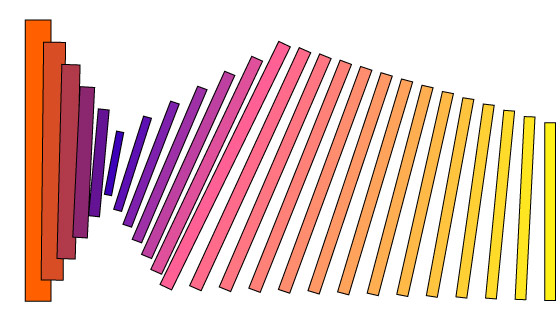
The "reverse spine" command swaps the spine around so if you have a red large path at the start of the blend a small blue path at the end, use the reverse spine and the small blue path will be at start of the spine. The "release" command just removes the blend - which is the least useful feature perhaps as you can always just undo or delete the blend (but the release just leaves you with the original paths). Expand - expands the blend tool to normal path

The spine reverse

10. The blend tool paths can be stored away in the CC libraries for future use
You can add the blend tool results into the CC libraries as well as using them as a great source for symbols etc by adding the artwork to the symbols panel and then you can use the artwork as a great source of designs using the symbol sprayer
Create a blend between paths using blend tool. Drag to the CC library panel
11. Blend tool and Repeat feature
You can use the blends from the blend tool in the new feature 'repeat' but you need to expand first via the object menu. You can then use the objects with the new radial as well as grid and mirror feature to create all kinds of amazing designs in the most recent version of Illustrator. You can modify the shapes, you can re-color etc but the blended design is sadly not live.

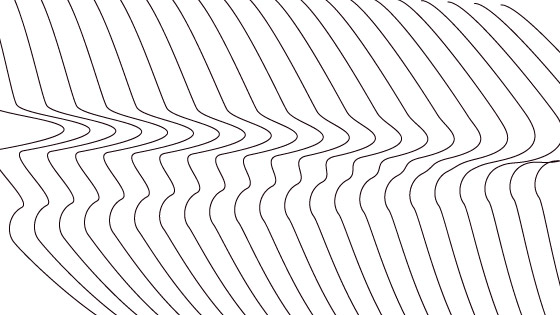
12, Blend tool and warp
You can select the blend object and then go to the object menu and envelope distort and make with warp and you can warp the blend in all kinds of ways.
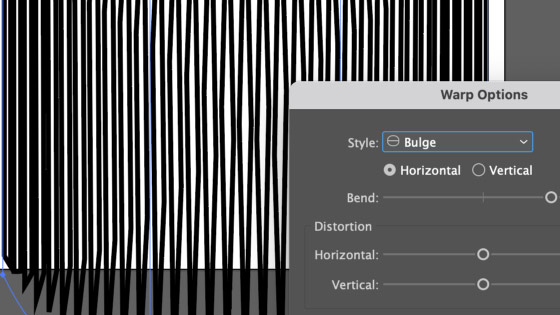
You can create some truly weird mesh warps as well with the blends