Illustrator Polar Grid Tool Tutorial
graphicxtras > Adobe Illustrator tutorials > Illustrator tools tutorials
In this tutorial you can see where the polar grid tool is. You can see how to use the polar grid with the basic settings as well as combining the polar grid, how to use the polar grid with different color designs, how to modify the lines of the polar grid, how to add effects, how to use with appearance panel and much more.
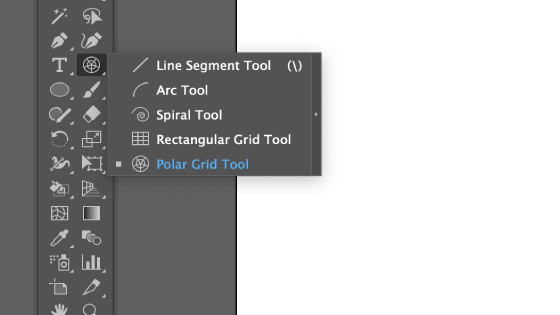
** Youtube video tutorial on how to use the powerful polar grid tool in Illustrator to create all kinds of amazing designs **1. Where is the polar grid tool in Illustrator
You can find the polar grid tool beneath the line segment tool in the Illustrator's tool box
2. Polar grid Settings / Options
Double click the tool's icon to display all the polar grid settings. Next time you create a polar grid, these will be the settings used though the height and width are overruled by the actual dragging of the mouse to create the grid.
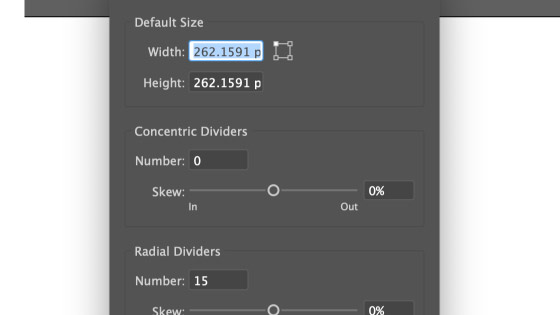
The key settings are the concentric and radial but you can also introduce some skew into the settings (though I wish randomization was also available)
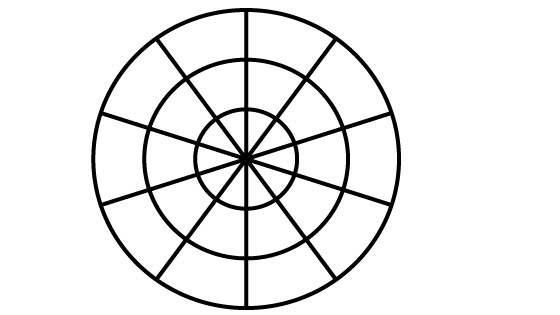
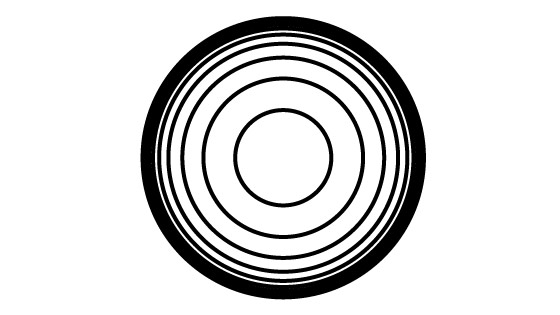
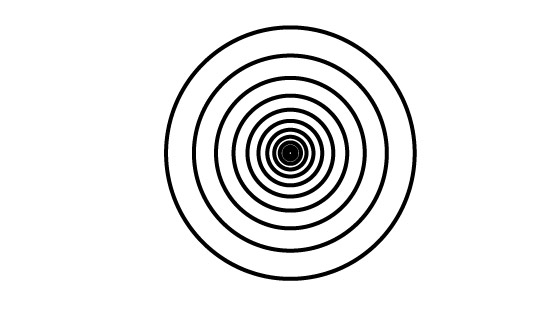
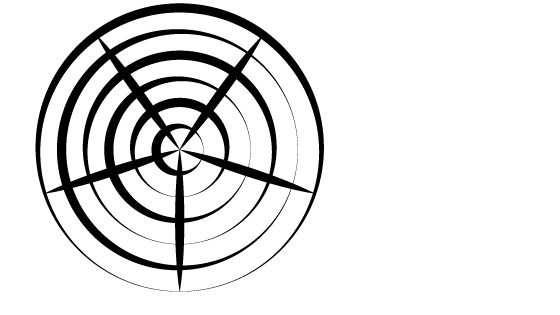
3. Concentric for the polar grid tool
Set the concentric to generate rings / circles. The polar grid create standard paths with fills and strokes, it is not a live object (as yet but many of the tools are now live). You can set the value from 0 to 999 (max)
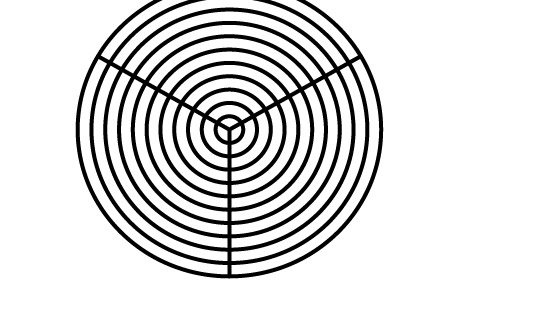
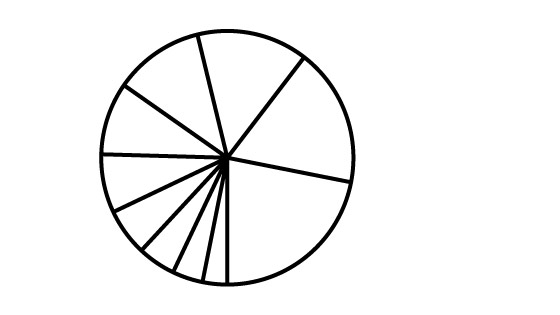
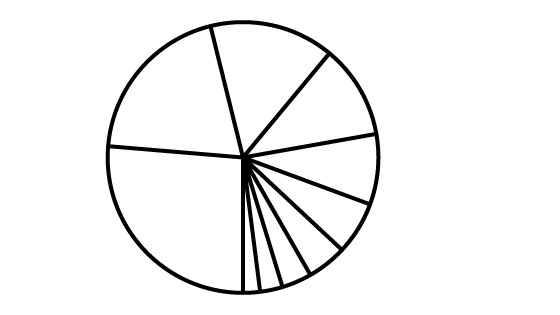
4. Radial for Polar Grid Tool
Sets the number of spokes for the polar grid.
You can use this to create intense starburst designs. You can set the value to 0 as well as increase it to 999 which is the max.
One annoying thing is that the outer circle still has to be removed and is not part of the count, to do this, use the ungroup.
5. Skew settings for the Polar Grid tool in Illustrator
You can set the skew to be positive or negative and for both settings. Personally, I rarely use them and would prefer a more random feature or perhaps different spacing methods used.
Concentric and + skew
negative setting
Radial positive
Negative
6. Polar grid and duplicated paths
You don't have to use the polar grid tool only once. It can be used multiple times to fill the design with the grid.
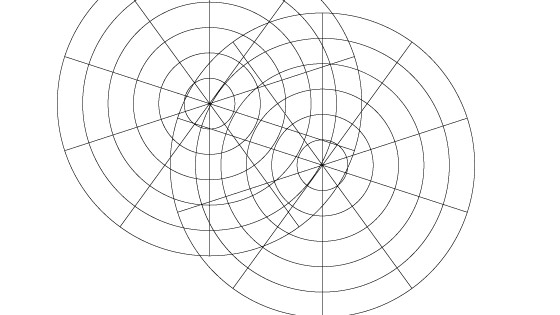
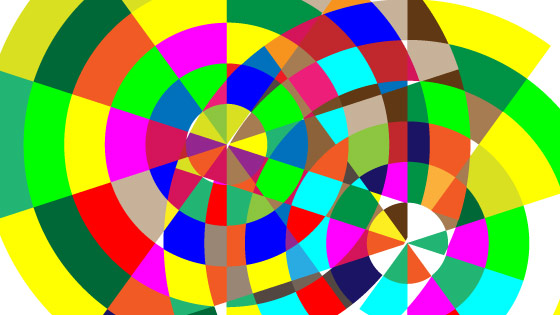
The design can also be quickly filled using the live paint bucket tool and clicking the individual cells of the grid and changing the colors of the live paint bucket using the left and right arrow keys.
7. Width profiles and polar grid tool
The polar grid can be used with a standard fill and stroke but you can modify the stroke with width profiles to create far more dramatic polar grids. Select the paths and then go to the width profiles at the top of the application
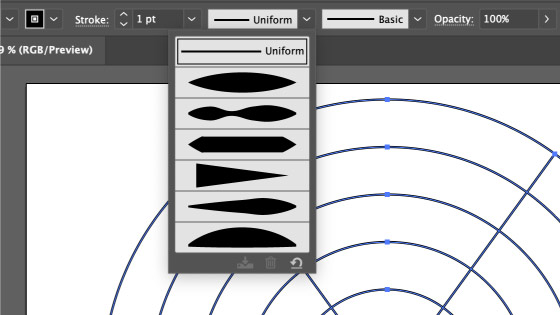
Select one of the width profiles or just go to the width tool and use that to modify the weight of the strokes at certain points
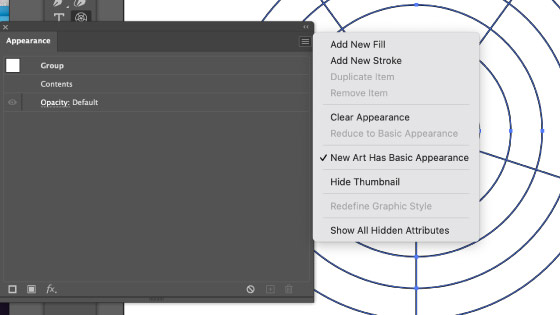
8. Add additional strokes etc to the polar grid
Select the path and go to the appearance panel found via the window menu. Go to the right side menu for the panel and select add new stroke
Goto the effects menu and distort and transform and then transform command enter a value in the horizontal and / or vertical move fields. You will now see two polar grids. You can then change the color of the second grid via the appearance panel. Multiple grids can be added this way. Other effects can be added as well as widths and dash etc

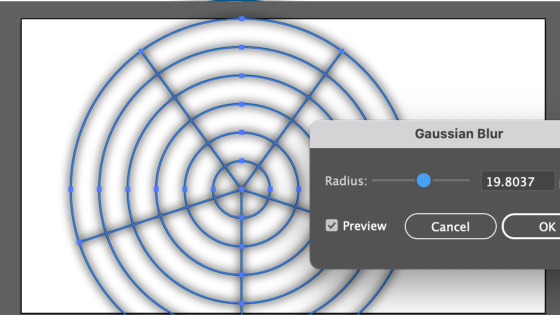
9. Add effects to the polar grid
Select the polar grid path and then go to the effect menu and apply zigzag / blurs etc found in the distort and transform. The effect can be added to any additional strokes added via the appearance as well as the source path.