Illustrator Rectangular Grid Tool Tutorial
graphicxtras > Adobe Illustrator tutorials > Illustrator tools tutorials
How to use the powerful rectangular grid tool in Illustrator to create amazing vector grids of all sizes and dimensions, how to combine, how to use with repeats, warping transformations, how to tweak the grid in all kinds of way, how to fill the cells, how to change the strokes of the rectangular grid etc
** Youtube video tutorial on how to use rectangular grid tool in Illustrator to create all kinds of amazing grid designs **1. Where is the rectangular grid tool
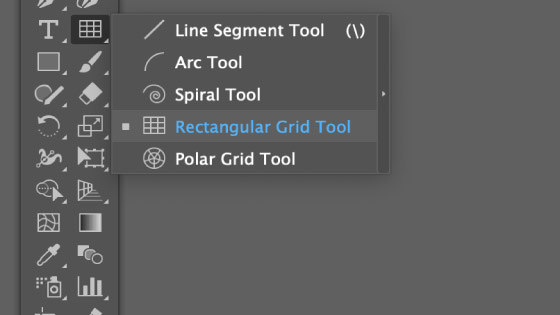
The Illustrator rectangular grid tool can be found in the Illustrator toolbar under the line tool.
2. Basic use of the rectangular grid in Illustrator
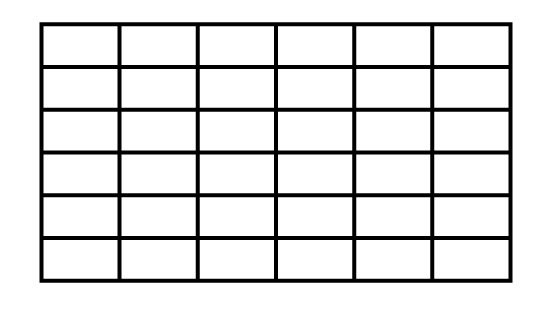
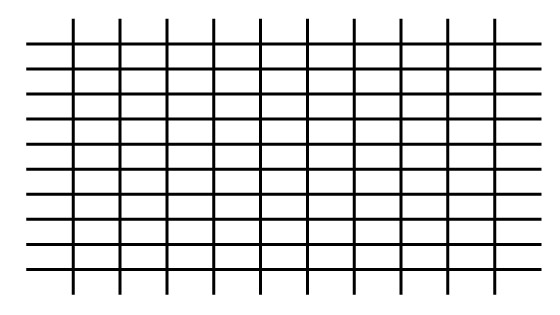
To use the rectangular grid tool, select and apply on the art board. It will use the current horizontal and vertical values. It is not a live grid so if you want to change it then you will just have to delete it and re-do the grid.
The grid is just a collection of paths and can be manipulated further by various tools such as adding effects, applying transformations and more.
Once you have added the grid, you can change the stroke setting as well as the fill
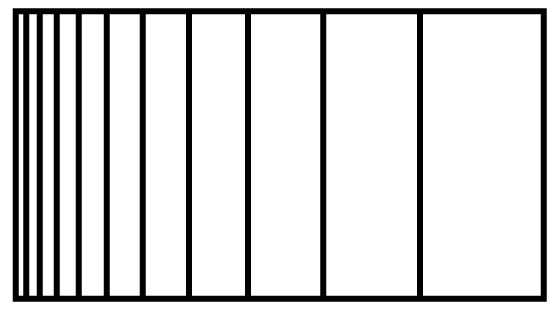
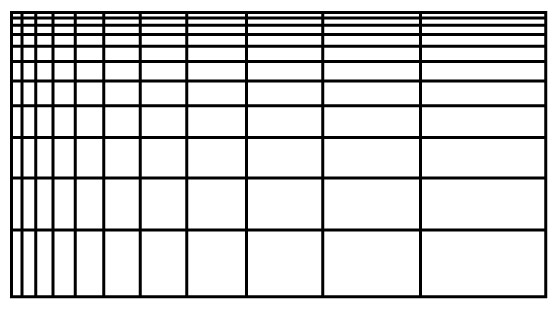
3. Set the options of the rectangular grids
Double click the rectangular grid icon and set the dividers (horizontal and vertical) for the rectangular grid.
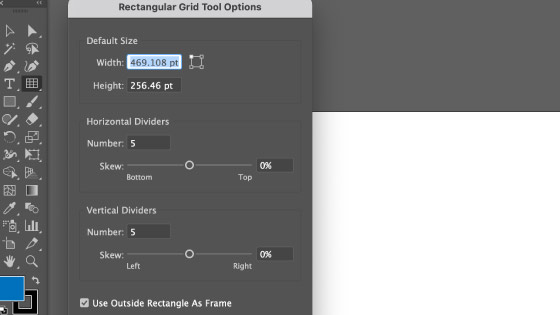
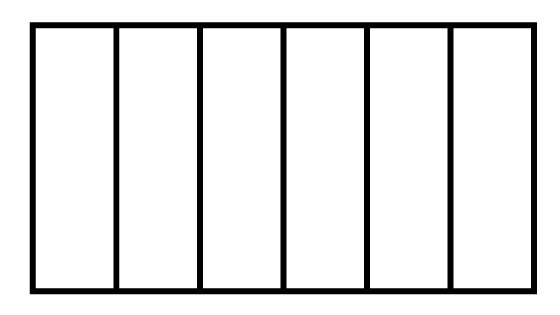
You can set the horizontal to 0 and just get vertical divider lines
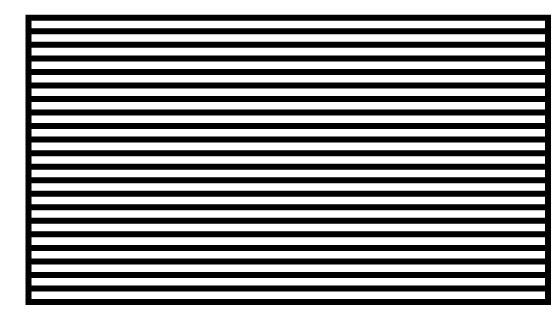
You can set the horizontal to 20 and set the vertical to 0 etc
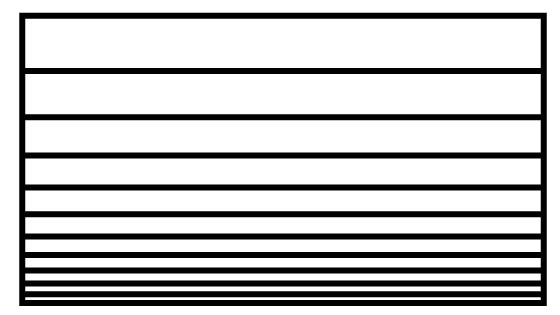
4. Skew options
Perhaps not one that I use a lot but you can create some interesting designs using the skew of the grid and horizontal
Or skew for the horizontal setting
Or if you are using both
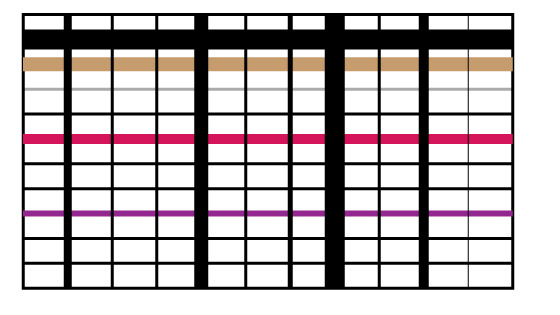
5. Ungroup to remove frame of the rectangular grid
Select the generated rectangular grid and then go to the object menu and ungroup. You can then select the frame around the grid and remove it
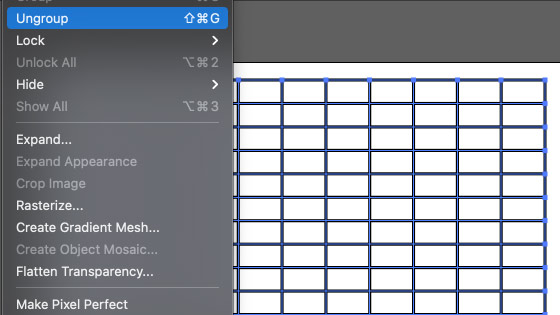
Delete the frame
You can also move the lines
You can also then change the stroke etc of the lines once you have un-grouped them, you can change the width, change the color, change the opacity etc
6. Warp the rectangular grid
With the rectangular grid selected go to the object menu and envelope distort and make with warp and select a war preset
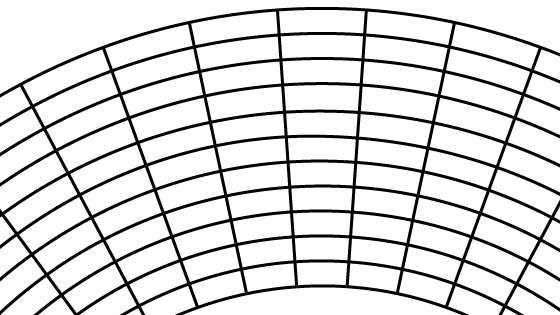
The result can be expanded via the object menu expand
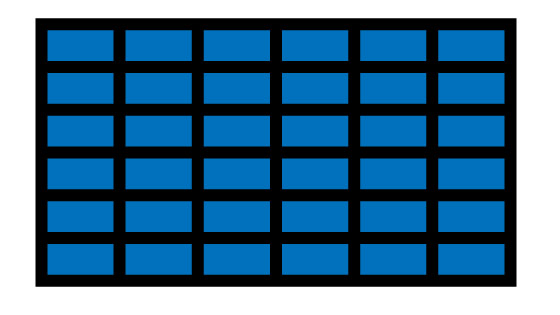
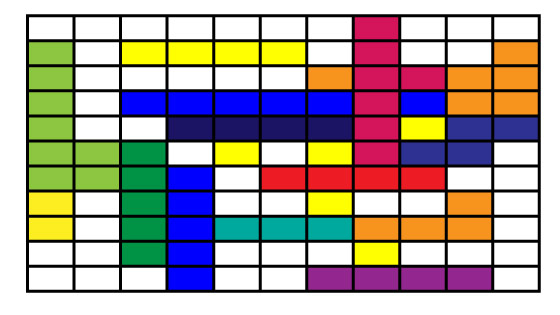
7. Filling the rectangular grid cells
You can fill the whole thing by just changing the color of the object, go to the tools box and select the fill color you wish to use. If you want to re-color individual ones then use the live paint bucket tool found beneath the shape builder tool in the tools box.
Hover over the individual cells and change the colors from the swatches panel via the left and right arrows
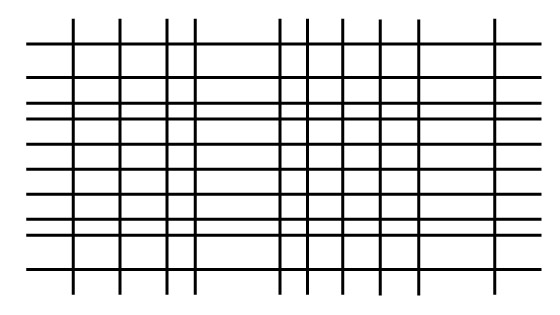
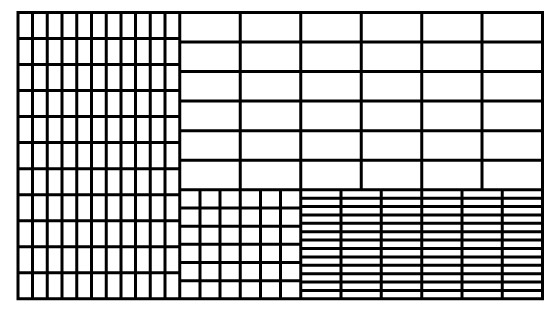
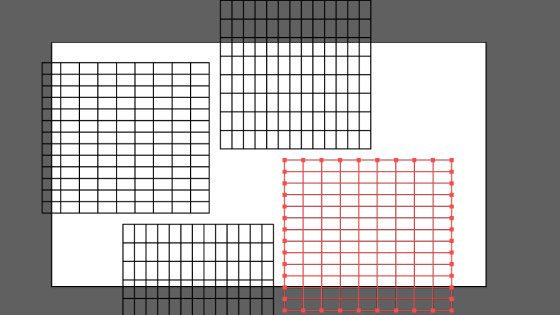
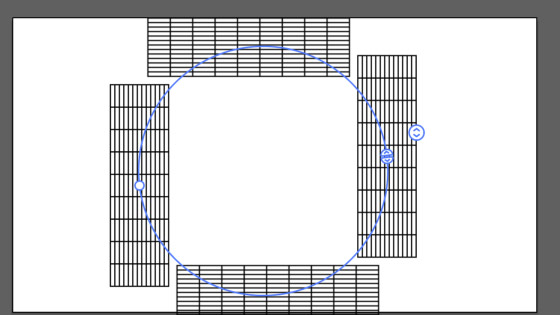
8. Combine multiple rectangular grids
You can use the grid as a single grid but you can also join them together with different horizontal and vertical settings. All kinds of combos can be made as all you need to do is change the horizontal and vertical settings and then draw out the grid so it matches the sizes (in the end) of the other grids unless you want uneven edges to your grid. You can then group all the grids together via the object menu and group
Or
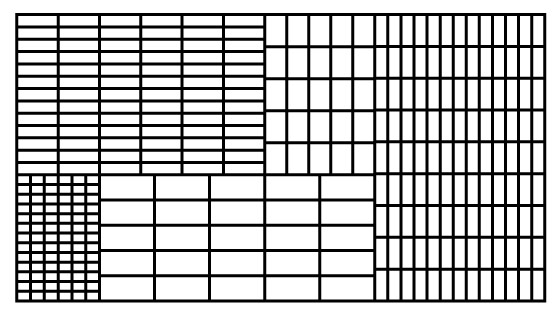
You can also take the above grids and then combine those together in all number of ways to create very complex and elaborate grids

9. Tilde and multiple objects
The rectangular grid tool can also be used with the tilde / grave key to create multiple objects very quickly. Start drawing the grid and then hold the key and then you will see a mass of paths
10. Repeat object and rectangular grid tool
You can create a grid and then go to the object menu and repeat and radial
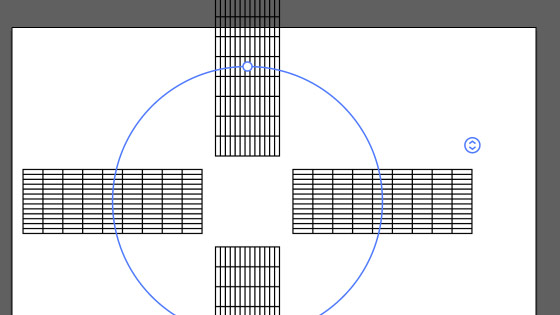
You can change the number of instances as well as radius and you can also double click any of the grids and then modify the design in isolation mode
Great for a quick frame design
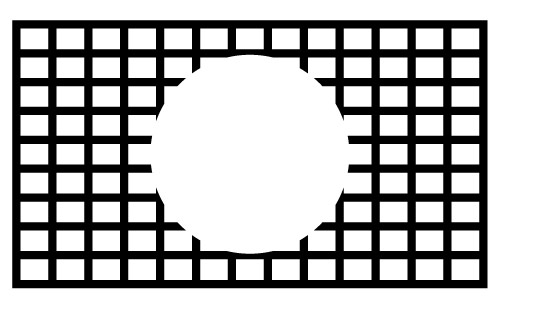
11. Subtract from the rectangular grid.
Once you have used the tool, you may wish to remove part of the design say a circular center. You need to expand the design via the object menu (so set the stroke to something other than 0) and then go to the pathfinder and click the unite for all the lines. Draw a circle on top of the grid and now subtract both and go to the pathfinder and click the minus front button
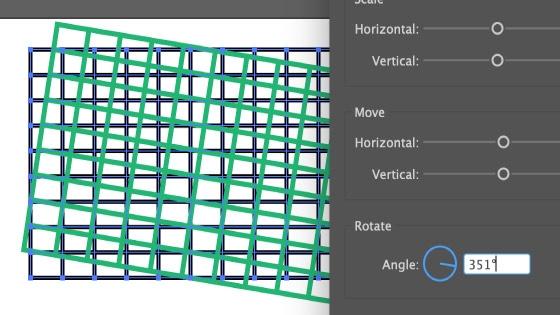
12. Appearance panel and adding fills etc
Add a grid using the rectangular grid and then go to the appearance panel (window menu) and go to the right side menu and add new stroke and you will see the grid now has a new stroke. Set the color for the new stroke and then go to the effect menu and distort and transform and the transform command and set the move values or the scale etc or the angle.