Illustrator Glyphs Panel tutorial
graphicxtras > Adobe Illustrator tutorials > Illustrator type tutorials
How to use the glyphs and glyphs panel with type in Adobe Illustrator for instant access to all the designs / characters / unusual characters in a typeface, how to access the glyphs panel, how to add characters by double clicking the glyph and more
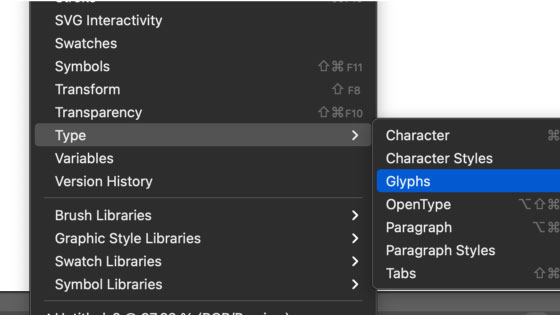
1. Where is the glyphs panel
The glyphs panel is tucked away in the type commands in window menu. Go to the window menu in Adobe Illustrator and then type category and select the glyphs to display the display the glyphs panel and all the glyphs for a particular font.
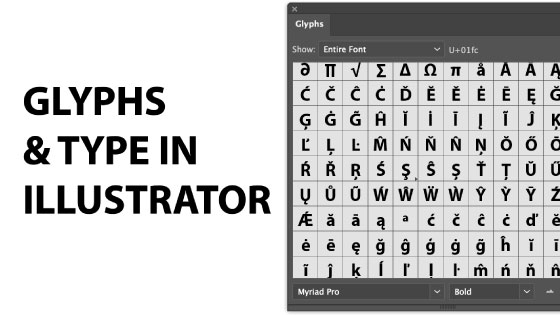
2. Basic Glyphs panel
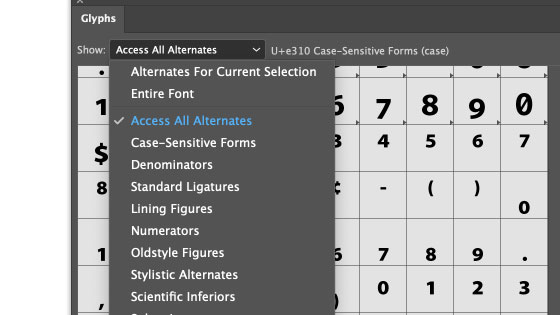
Select the font you want to examine and select to show the entire font or one of the sub sets. Go to the type tool and start to use the designs in the panel. You can see all the characters in the selected font (or any font you select from the bottom of the glyphs panel). You can also see alternates, superscripts etc depending on the font at the top of the panel which is a great way to group things but the list depends on the font
To access the designs, with the type tool selected, double click the glyph you want and it will appear at the current insertion point.
You can create all kinds of designs using this approach and also combine it with other tools such as the super powerful design tool, touch type tool in Illustrator.
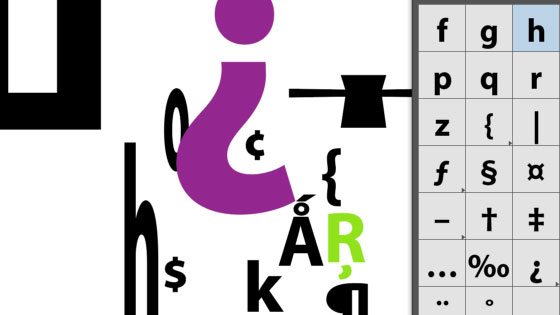
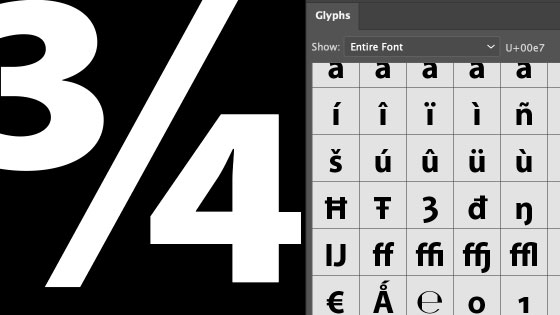
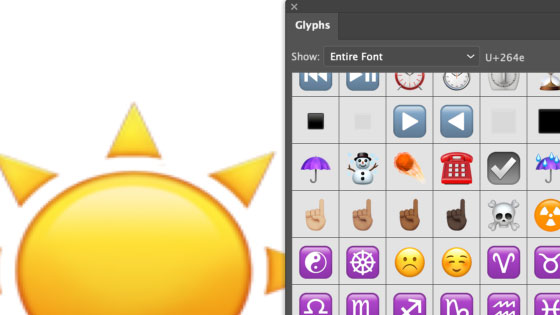
3. Access to more obscure characters using glyphs
The glyph panel is a useful feature to quickly access all the characters in a font without the need for any special characters / codes / decorative designs etc. Especially great if you want to access all the designs in the Apple Color Emoji font, try accessing them easily from the keyboard. The glyphs panel makes it so much easier to get to the various flags, items of food, Chinese symbols etc
Select the type tool and type some characters and select the type. Go to the glyph panel. You can change the font and font style in the panel. With the type tool selected, You can double click the glyph and that will change the current selected character or characters to the new glyph. You can also double click the Illustrator glyphs (without something selected) and that will generate other characters in the current type selection
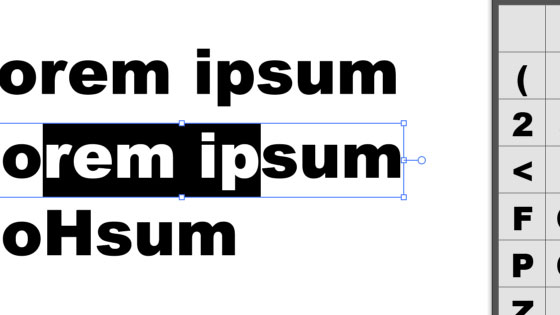
4. Change selected type via glyphs panel
Select some characters in your word and then go to the glyph panel and double click the character you want to use, it only generates one character (if you have selected six characters, only one will be generated)
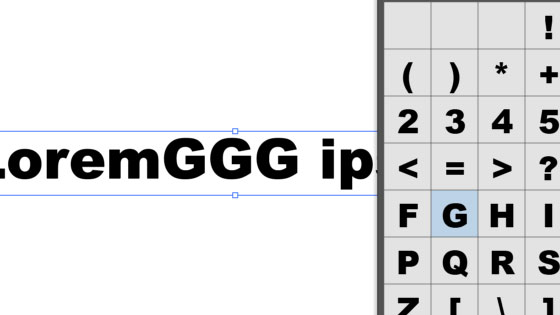
5. Add new characters via glyphs panel
Go to a word and and position you cursor at the insertion point for the new characters and double click the glyph in the panel. Double click multiple times to generate multiple characters
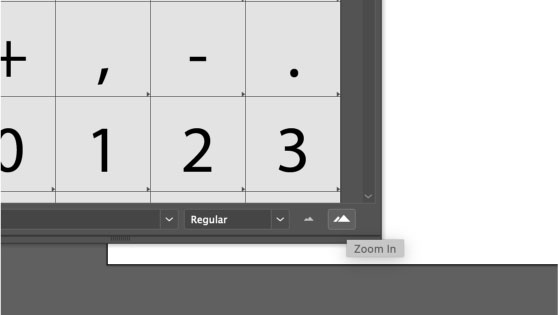
6. Change glyph size
Go to the bottom of the glyphs panel and the right side and click on the zoom level for the panel display, increase or decrease. The bigger the size, the less characters will be displayed.
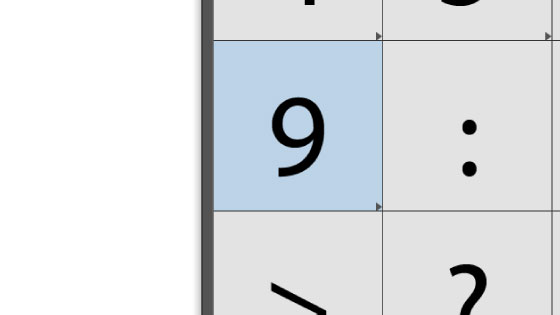
7. Access even more characters
In some glyphs character cells in the bottom right corner you will see a little triangle and you can expand that and you will see even more characters to use all grouped so you will see a number of different 9 characters
8. Foreign characters
Lots of different letters can be accessed via this approach, you could always remember the key codes for the characters and generate them that way
