Photoshop Symmetry Brushes Tutorial
graphicxtras > Adobe Photoshop tutorials > Photoshop brushes tutorials
With most recent versions of Photoshop, you can now apply Photoshop brushes with symmetry, not all brush tools allow for symmetry / mirror features but brush tool etc If you can't use the symmetry feature, Photoshop will let you know.
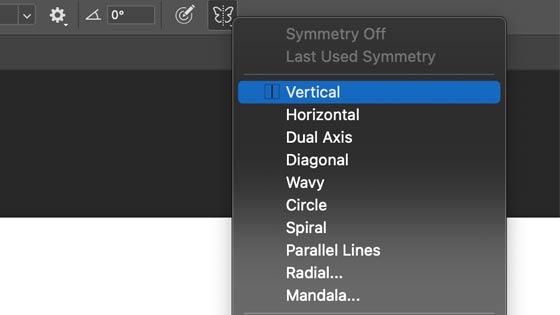
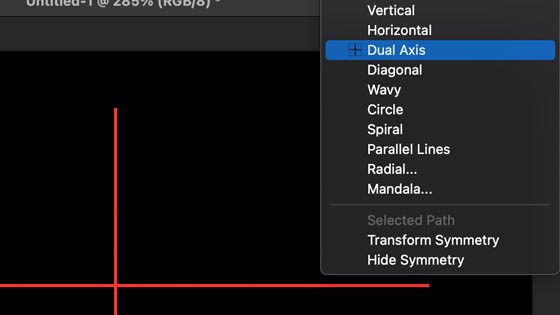
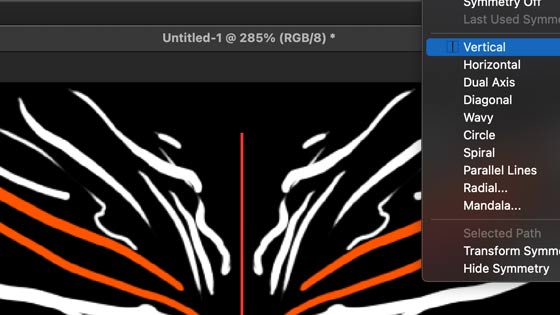
Select the brush tool in the Photoshop tools bar. Select the brush design, size etc and you will find the symmetry options for painting along the far end of the options bar (along the top normally). Click that and you will see a menu appear and you will have options such as vertical, horizontal, dual axis, diagonal, wavy etc. Select one of those and you will see a path appear. Press return to accept it or move or re-size and rotate it. Some of the symmetries are not particularly symmetrical such as the spiral and I must admit, I find it a little fiddly to use or to get great results from. You will see a path appear but the color of the path and size depends on the settings you have given it earlier (pen tool etc)
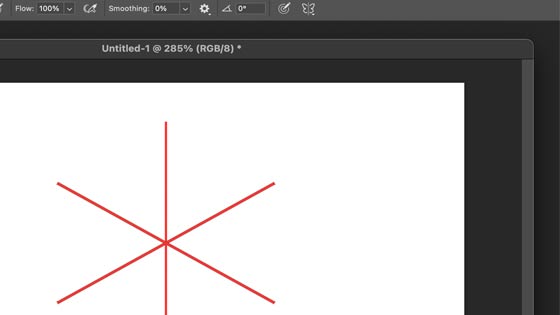
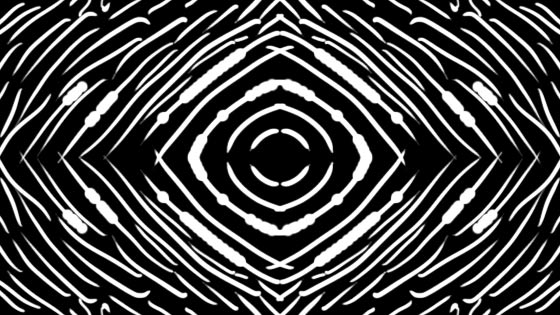
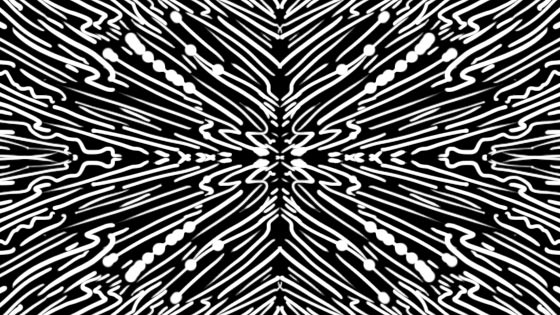
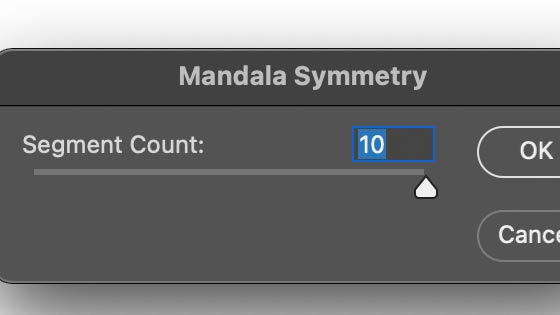
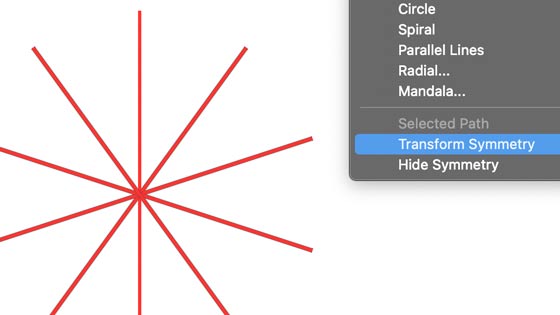
The best options for symmetry are the radial and mandala. You can then set the symmetry option 'segment count' though it is limited to a fairly low value of 10. Press return and then move the path and then press return again (a little odd). Once you have the path, now apply your brush stroke and if you have the mandala and 10 then you will have 10 lines / brush strokes combing from the center.
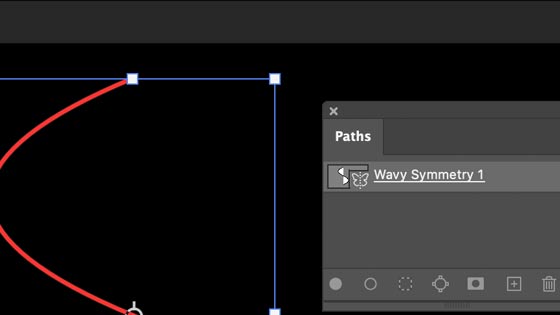
You can use the direct selection tool to modify the points of the symmetry path but for some of the paths it has no effect such as the mandala but if you use the curvature tool to modify the symmetry circle path, that will modify the path of the brush stroke. You can use the path selection tool to select the paths and move the symmetry path to a different location. You can use the path selection tool and hold down the alt / option key to duplicate the path (though it doesn't create a new path) and you can create a complex design of multiple mandalas for your Photoshop brush to apply the symmetry strokes to.
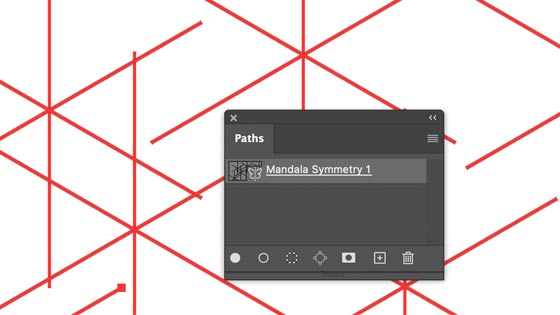
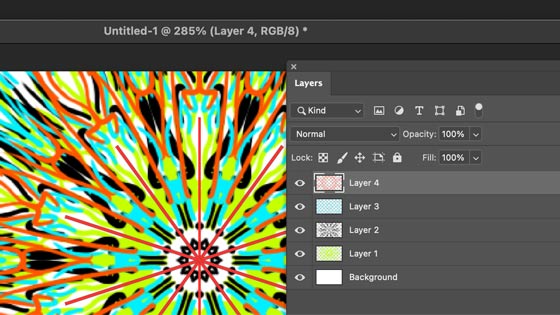
The brush strokes can be applied to the current layer with the mandala or other symmetry path but you can also create new layers (via the layer menu and create new layer) and create multiple layers with symmetry designs and you can use them to build up a very complex design
The symmetry menu also allows you to be able to turn the symmetry off for the brush stroke in Photoshop (first item). You can also use the transform symmetry command to modify the symmetry path. You can also hide the symmetry path for the brush but I must admit, why, as it really does make it even more hit and miss to use the symmetry brush. Personally, stick with transformation of the symmetry brush - scale and rotate.
You can also remove the symmetry path by going to the path panel (window menu)
If you just want to create a basic mirror effect then the vertical and horizontal ones are the best to use. If you want a wonderful tile creation then select the dual axis.
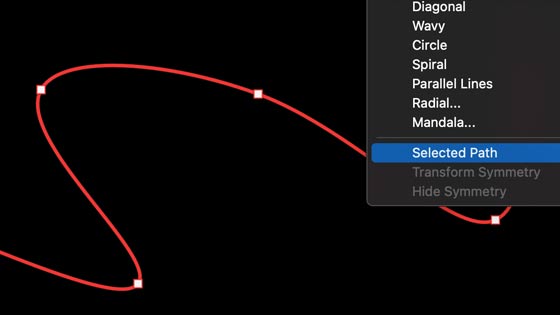
You can also create your own path such as using the curvature tool and then use that a symmetry path and use it with the brushes. Have to say that I have never found it particularly easy to create symmetry paths that are that useful beyond the ones that are currently available such as the dual etc
If you want to create seamless patterns with your brushes, you can use the brush tool with the symmetry and dual. Especially useful is the dual symmetry path is created dead center of the document. There is no pattern preview with the symmetry feature but luckily the dual feature wraps around the document so you can draw beyond the edge and it will appear on the other side of the document so the dual symmetry is a great way to create seamless tiles with brush strokes.