Photoshop Contour Effect Tutorial
graphicxtras > Adobe Photoshop tutorials > Photoshop effects tutorials
Contours and how to create them using Photoshop gradients tutorial. You can create contours using Photoshop gradients via a style and outer glow style. The preset to use is a multiple stop preset. You can also use adjustments to modify the contour effect. You can also modify the contour in countless ways by using contour effects etc
** Youtube video tutorial on how to create a Photoshop contour effect with selected layer designs **1. Where is the contour tool in Photoshop
Sadly there is no contour tool but you can create a contour effect by using the presets and the best one is probably the outer glow feature.
You can set this up by using the outer glow in styles
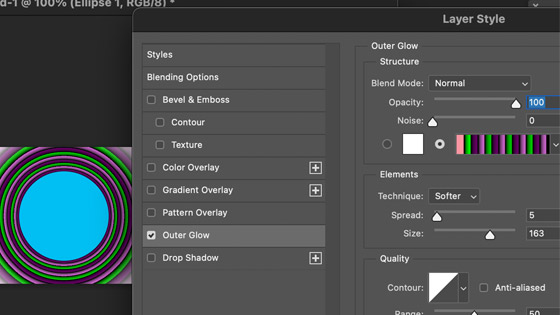
2. Set the outer glow style
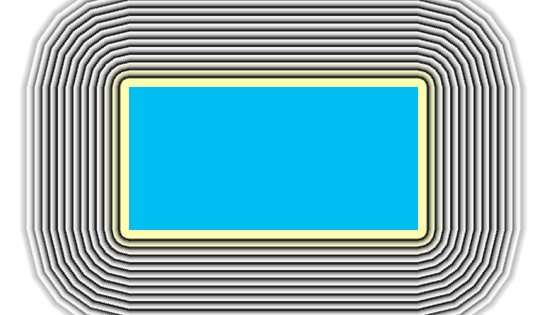
A good way, and there are always many ways to do this, is to use the outer glow style and that is to use a shape layer or image and then use the layer menu and layer styles and outer glow and set the opacity for outer glow to 100% and set the blending mode to normal not the default screen etc

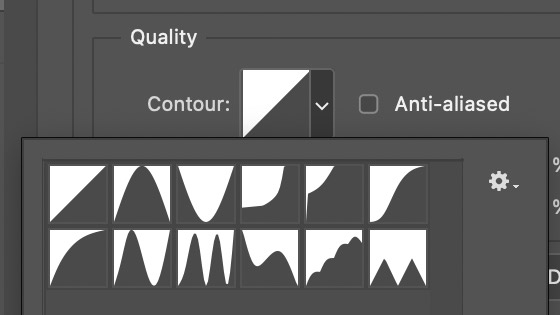
Set the elements technique to precise though it could be softer, it just won't follow the shape. Set the spread and size as required though probably works best if the spread is 0 and size is large. You can rapidly change the resulting contour effect by using the contour setting in the quality and there are a number of preset contours to choose from and they will vary the result of the gradient stops in the outer glows
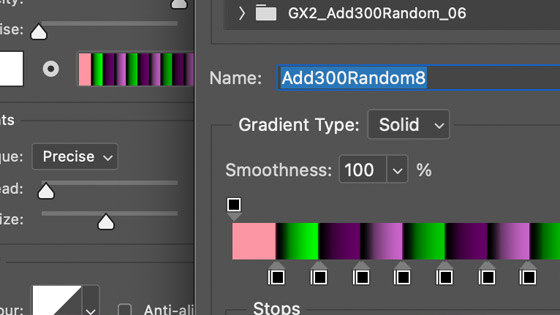
The key thing is to create a gradient with many stops. If you have a gradient with two stops then the contour will not look great
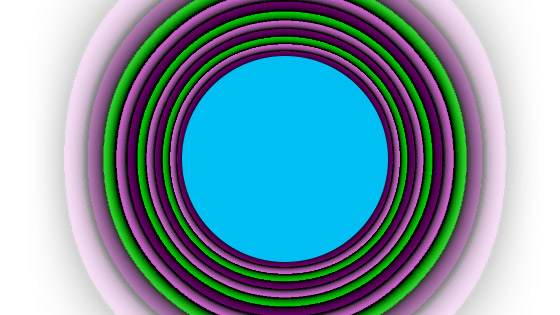
3. Outer glow contours
Go to the contour section in the layer styles panel
Change contour setting

4. Contour gradient
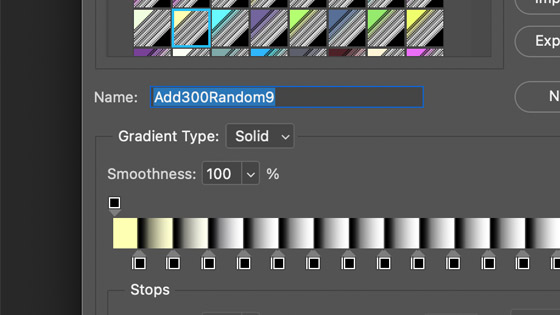
Change the contour effect by changing the stops in the preset. You can edit the preset via the editor option
5. Add additional contour effects
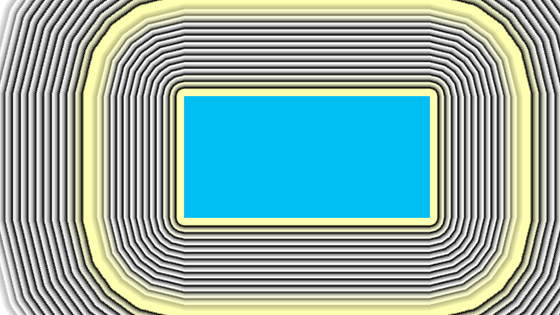
You can always turn the shape into a smart object with the contour effect added and then add another one to double up the design. Go to the layer menu and smart objects and convert and now go back to the layer menu and layer style and outer glow and add a new contour and set of stops
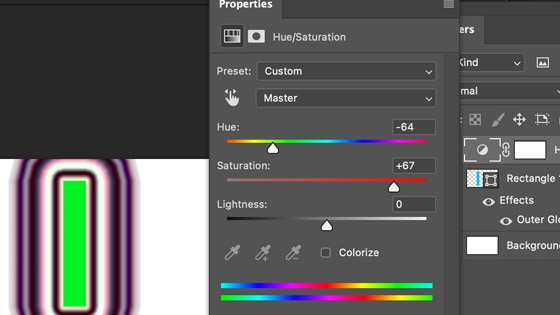
6. Re-color the contour effect
You can modify the underlying gradient but if you don't want to do that you can always simply add an adjustment / adjustment layer to the design and re-color it though it will also change the shape as well, though the shape can also be modified back to the original color as well via the fill setting for the shape
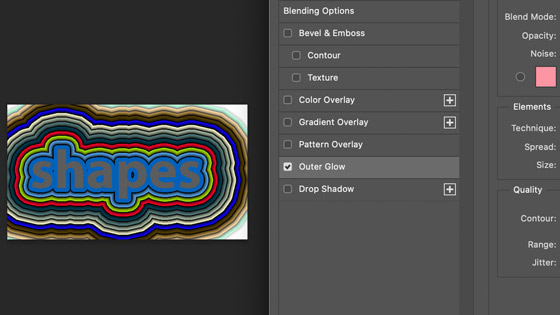
7. Contour effect added to type
You can use the above with shapes and you can also use it with type. Set technique to precise and set the spread to 0 and then set the size and vary the contour used