Photoshop Scratchy Texture Effect Tutorial
graphicxtras > Adobe Photoshop tutorials > Photoshop effects tutorials
** Youtube video tutorial on how to create a scratchy texture effect in Photoshop **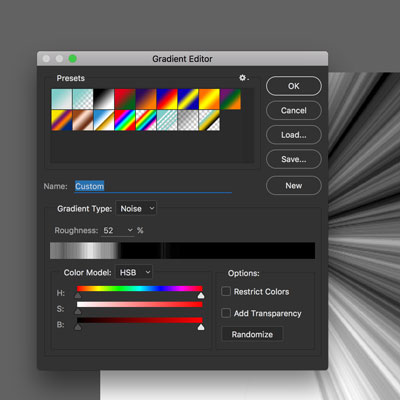
How to create amazing scratchy textures and designs and overlays using Photoshop gradients. You can use gradients to create all kinds of scratchy texture gradients by using the gradient noise type.
You can set the gradient to grayscale by setting the gradient model to HSB and saturation to 0. You can apply the gradient noise effects / streaks / scratches multiple times using angle mode as well as using opacity to 25%. You can also combine the noise scratchy gradients with render filter difference cloud.
You can apply the gradients multiple times to make all kind of scratchy textures. You can add them to images as well as using them as a source for patterns and brushes. This tutorial shows you how to create scratchy textures by using multiple applications of gradients in Photoshop
-
Setup the noise for this tutorial via the GRD tool found in the PS toolbox.
-
Select the GRD tool and double click on the current preset in the top option bar (it is on the left at the top when using the tool).
-
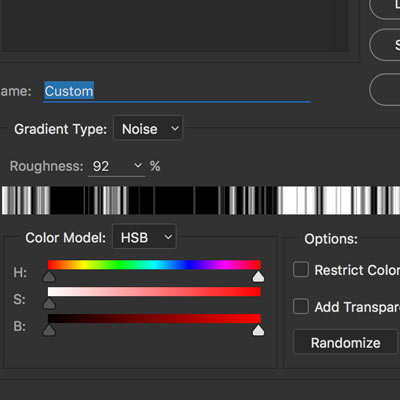
Set the type to noise and set the roughness to 100%. If you want to make the lines a little less intense then set the roughness to less than 100%.
-
Set the color model to HSB and then set the S (saturation) to 0 and check the restrict colors.
-
Click ok.
-
To create streaks or lines coming from a central point (for the scratchy effect) set the style to "angle" via the top option bar) and set the opacity to 25% so you will be able to see the underlying gradients after repeat applications.
Photoshop Noise gradients
-
Select the gradient tool in Photoshop toolbar
-
Click the gradient dropdown / presets picker
-
Set to gradient type noise
-
Set color model to HSB
-
Set Saturation 0
-
OK
-
Set to angle gradient style
-
Apply
-
Image
-
Autotone
You can create many different types of gradient noise gradients by using different color models. Another wonderful feature of the noise is that you can randomize the noise (unlike the solid gradient model) and so can create a vast range of noise effects
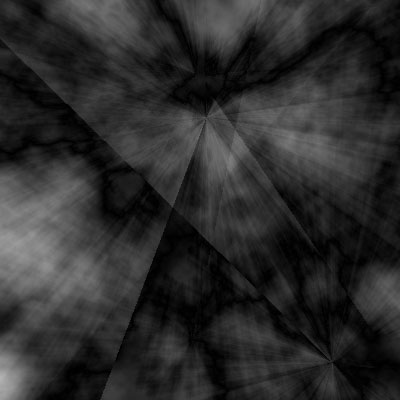
Application of the scratchy texture using Photoshop gradient
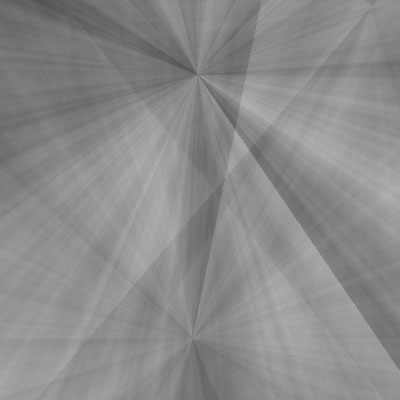
The image above shows just a few applications of the preset. Apply the origin of the preset in different locations in the document. This can be repeated and repeated to create ever more scratches and complexity.
You can also, if you wish, add some blurring by using the filter blur gaussian blur tool in between applications of the tool Again, repeat until you are happy with the number of lines applied. At this point, the artwork looks pretty scratchy already
-
Select the gradient tool via toolbar in Photoshop
-
Set opacity to 25%
-
Apply gradient with noise gradient in different origin points
-
Repeat a number of times
-
Filter and Blur menu and gaussian blur
-
Repeat apply gradient
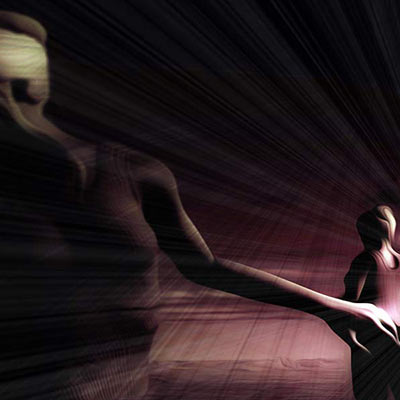
Difference cloud for the scratchy texture
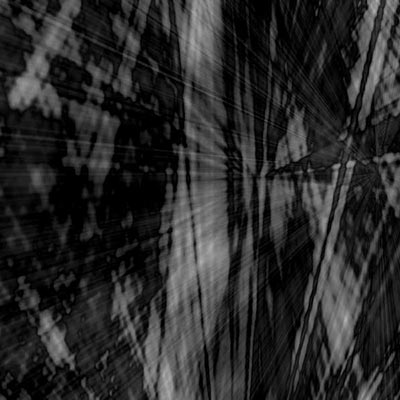
Apply a difference cloud via the filter menu render and difference cloud - adds a nice randomness to the already random scratchiness. The difference cloud returns some color back to the design so to remove the color, use the image menu adjustments and black and white filter
-
Set color of foreground and background to black and white (or use adjustments later)
-
Filter menu
-
Render
-
Difference cloud
Black and white and scratchy textures
I generally always use the presets with the black and white adjustments and just running through the presets you can see quite a difference in generated scratchy textures - all are black and white but not all black and white conversions are the same
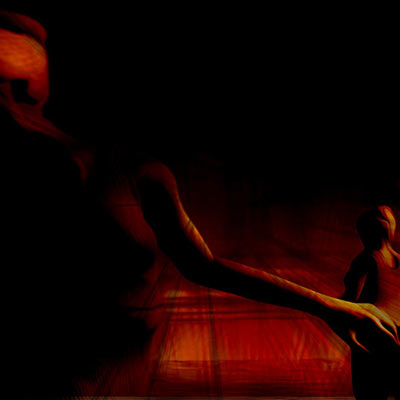
Color burn and scratchy texture
Before applying the difference cloud, you can also continue to apply more scratchy lines via the gradient tool but instead of using lighten or normal to apply the gradients, use the 'color burn' mode. This creates some truly intense dark lines in repeat applications of the tool
Again, apply the difference cloud filter and then also use the black and white tool to return the design to a standard black and white texture (a step you don't need to apply if you have the foreground and background color set to black and white). Many variations can be created for the artwork just by using different black and white adjustments.
-
Set color to black and white
-
Apply more noise gradients in different locations
-
Select blending mode to color burn
-
Apply gradient
-
Filter menu and render and difference cloud in Photoshop
Add scratchy texture to an image
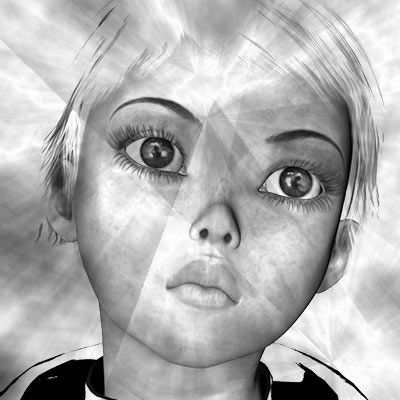
This can be applied as a background with the original image above the design.
To see the texture, either set the opacity for the top layer to something less than 100% or use blending modes such as "hard light" or "lighten" or "vivid light" or "soft light" etc.
Or have the texture on top of the original image and set the blending modes or opacity as required.
Use scratchy texture as pattern source
It can also be just used as a pattern via the edit menu define pattern command. Once saved to the patterns panel, open any design and then use that as a layer and apply a layer effect Via the Photoshop layer effect command) and bevel with texture set - the pattern being used as pattern source for the texture (surely that should be texture source) and setting the scale / depth as required.
If you are going to use it as a pattern source then it is probably best that you create a very large image for the scratchy gradient and that is then defined as a pattern
Use noise as a brush source or perhaps via fill layer
Instead of using the noise gradient as a texture, use it as a brush
-
Edit menu
-
Define brush
-
OK
-
Select brush tool
-
Set color to black
-
Set opacity to 50%
-
Apply noise gradient brush via brush tool
-
Multiple times
-
Apply in different locations and opacity