Smooth Sketch Effect in Photoshop Tutorial
graphicxtras > Adobe Photoshop tutorials > Photoshop effects tutorials
** Youtube video tutorial on how to create an amazing smooth sketchy effect in Photoshop using the powerful art history tool and different brush sources **
The key thing for the smooth sketch effect is to create a good brush and I have found that a star design seems to be the best (for me anyway) so go to the polygon tool and quickly create a very basic star (set star radius in the settings to 50%) and apply in pixels mode and black. Once you have the star design, select the star and then go to the edit menu and define it as a brush.
Go to the brushes panel and select the art history brush tool, note that this may be displayed or not depending on your customization of the tools.
Go back to your original photo (say of a cat or a dog or person etc) and then blur it. Go to filter menu and blur and gaussian blur and set a decent sized radius for the blur. After you have applied the blur or perhaps an oil paint effect etc, go to the history panel (this can be found in the window menu) and then go to the left side of the entry that has the recent filter effect and click it to add a 'history state'. The history state is the source for the art history.
You can now restore the original image or perhaps use a solid black color or white etc via the edit menu and fill for the start point for the smooth sketch effect.
Set the brush size for the art history brush to about 9px or so. Set the blending to normal, opacity at 100% (or vary it if you wish) and set the style along the top to 'loose long'. Set the area to 50px
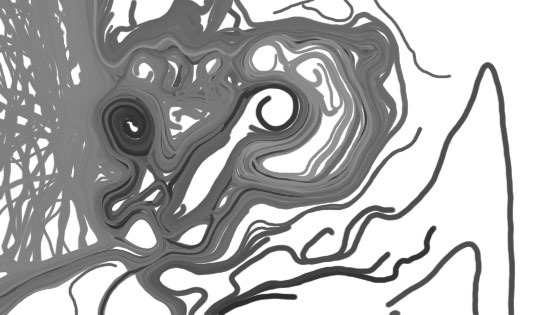
Apply the smooth sketch artistic effect brush 'art history' to the image.
Hold down the mouse or pen and apply the brush, you can move over the image and create more and more of the smooth sketch effect. The tool uses the lightness / darkness of the image.
You can apply more in part of the image, you do not have to fill the entire image.
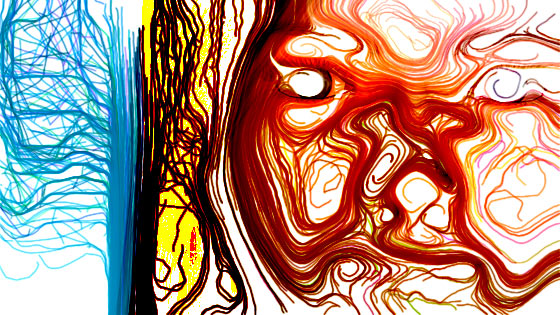
The colors that end up in the sketch depends on the original image, so if you want a black and white image then before you capture a history state for the smooth sketch effect, apply a black and white adjustment to the image or perhaps use a hue / saturation adjustment to make the image more green or red etc. You can also, if you wish, capture multiple color states for the image (before you do any sketching) and save them as a snapshot and then use the snapshots as a history state so you can generate brush strokes in the smooth sketch style in different colors.
You can also add different colors into the design by going to the brushes settings panel and setting the color dynamics and setting a high hue / saturation etc value and instead of just the current image colors, you will see more random colors coming into the sketch.
If you wish, you can always add back the original image into the smooth sketch image by setting the history state to the original image and then going to the edit menu and fill and select history as the content and also using blending modes such as darken or lighten to layer more designs into the image (you could also just save the original image as a layer and work on a separate layer for all the brush strokes)
The brush strokes have all been added to the current layer, you can always add the smooth sketch brush strokes to new layers and build up multiple layers via the layer menu and new layer command. You can then use the layers panel to apply blending modes as well as add in bevel and depth and shadows etc via the layer menu and layer styles command to each of those layers.
You can continue to add more and more brush strokes in different parts of the image and layer your smooth sketch strokes to create a complex image or a very sparse one in Photoshop.