Photoshop Glass filter Tutorial
graphicxtras > Adobe Photoshop tutorials > Photoshop filters tutorials
Glass filter for Adobe Photoshop and distortions tutorial and how to use them. How to use the glass filter to create all kinds of amazing distortion and warping effects.
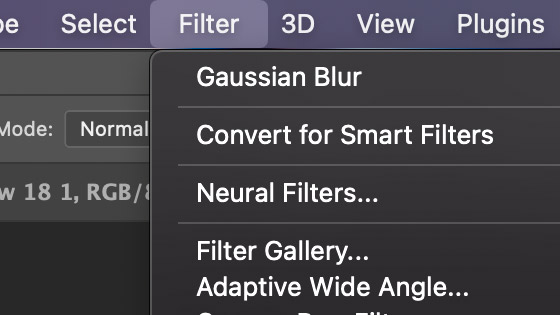
1. Glass filter is located where in Photoshop
The glass filter is found in the filter gallery and uses displacement maps PSD files to modify the glass effect in Photoshop and comes with a range of settings and can be combined with other filter gallery effects. Select a layer to work with in the layers panel
Once you are into the filter gallery, go to the distort selection and select the glass

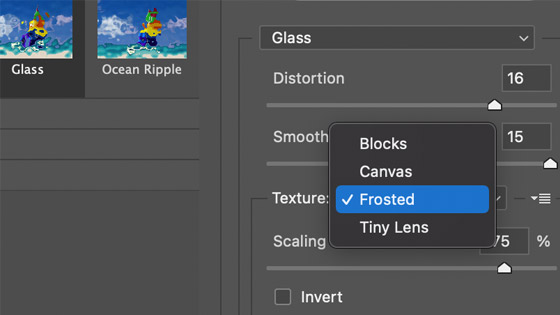
Select the level of distortion and select the smoothness of the glass effect and select the texture and you can also browse for a texture / displacement as well
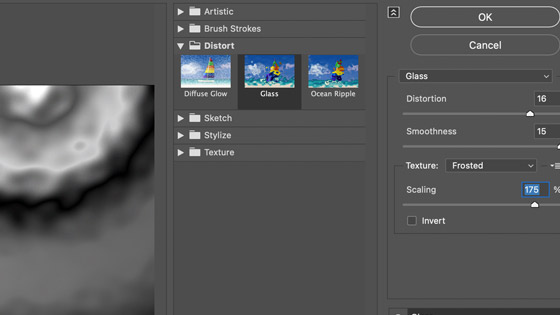
Use a texture, one of the four (you think they would update that list a bit in the most recent version)
Go to the right side menu if you want to use a different file
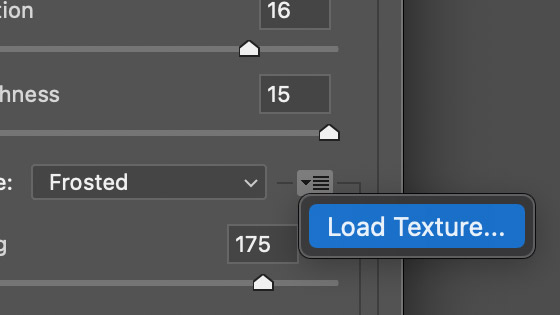
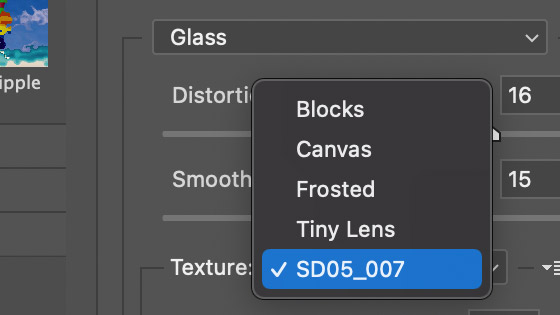
Browse for a PSD file, use your own or you can find many on this web for seamless textures etc, select scaling, invert or not, click OK. You will now see the name of the file in the list
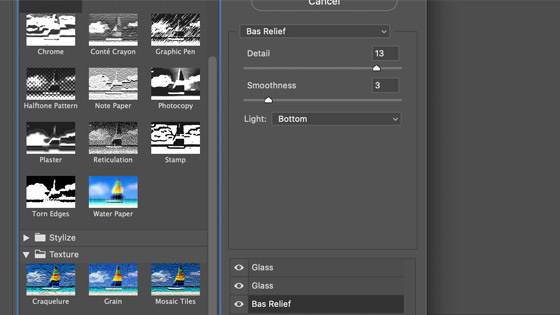
2. Options for the glass filter in Photoshop such as distortion and smoothness and textures
The glass filter in Photoshop only includes (like most filters) only a few settings (if you want more you should be using After Effects etc) and they are
Distortion + Smoothness + Texture (this is the place for the selected PSD file) + Scaling + Invert
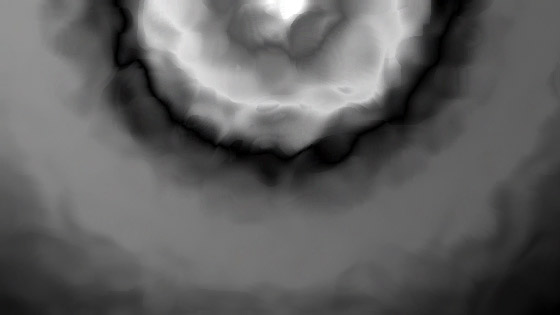
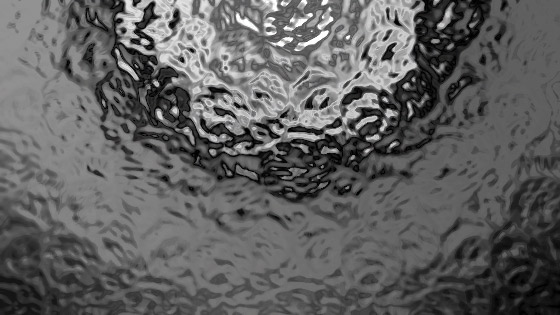
Distortion: if you set the distortion to a very low setting you can hardly see the distortion with any displacement map. Set the distortion high and the displacement map can be seen as clear as day
Smoothness: Low, you can see more a thin line embossing effect. Set high and you see a nice smooth effect applied to the distortion (as long as the setting is high enough)
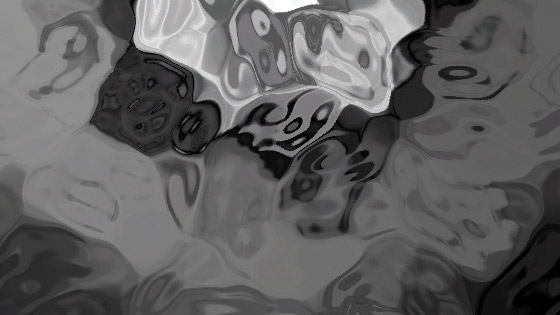
Texture: this is the main area for the displacement maps PSD files. The displacement maps can be seamless (all of the displacements on this site are seamless) but you can also apply any other image or non-seamless displacement. You can also scale the browsed for displacement. You can convert PNG files to PSD etc and use those as well
Scaling: Fairly limited range, not sure why the glass filter doesn't go beyond 50% to 200%. At least with the glass filter in Photoshop, you can zoom the preview to 100% and see the result of the scaling. The displace filter still has no preview.
Invert: changes the angle of the light to the opposite direction
3. New effect layer and glass filter in Photoshop
One great feature of the filter gallery and the glass filter is that you can add a new effect layer within the filter. You can add multiple layers as well as delete them and disable them via the filter gallery. You can see a little eye on the left of the effect entry, you can turn that on or off.
You can set the new effect layer to the same glass filter (that is the default) as the current applied effect. You can then set the scaling as well as the texture etc to a different setting in seconds.
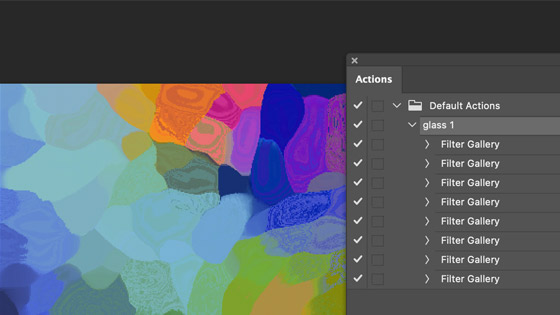
4. Photoshop actions and the glass filter - it can be combined with other effects as well as multiple glass filters
As with all the filters in Photoshop, the glass filter and multiple filter gallery effects can be combined together with other filters in Photoshop as well as with adjustment layers etc in a Photoshop action and that action can be run multiple times via the actions panel. Record the glass filter action and then apply other filter effects such as oil paint and camera raw and then save that to run the filter effects on other designs such as type and images
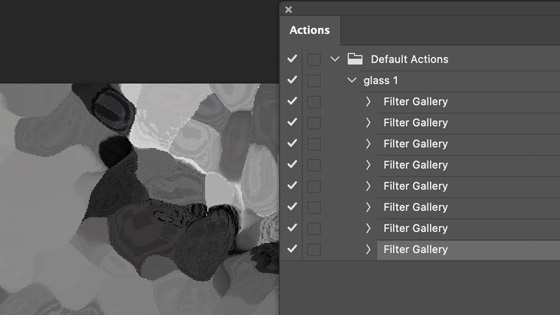
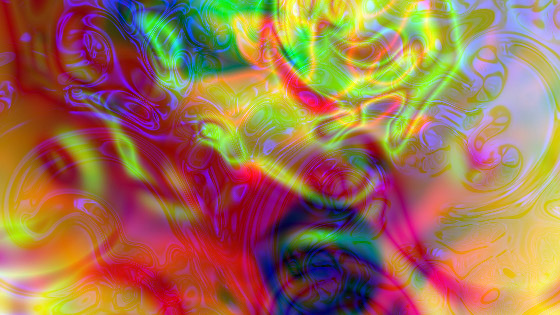
The glass filter effect can be re-applied numerous times and combined with varying settings of scale and perhaps different displacement maps, all kind of distorted and paint liked effects can be created with the effect such as the golden glass effect
5. Glass filter and type - you can use the glass filter with type / text in countless ways for distressed and subtle type distortions
The glass filter can be used to great effect with type. Apply some type and flatten and then apply the glass filter.
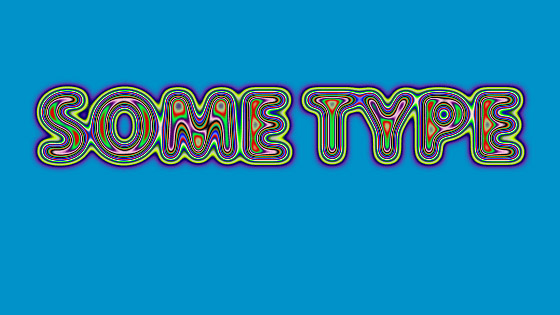
The glass filter does not work so well with type as a smart object or layer but it does work well with the artwork applied to a layer or background layer with some more than just the type to work with

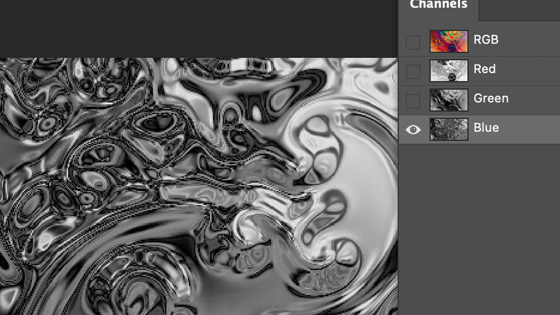
6. Glass filter and channels
Go to the channels panel and select the red channel and then apply the glass filter with one set of settings, go to the green channel and use a different set of settings and same with the blue channel
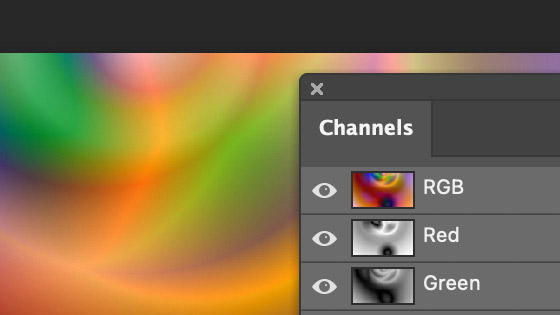
Select the individual channels and use the glass filter on those with different settings
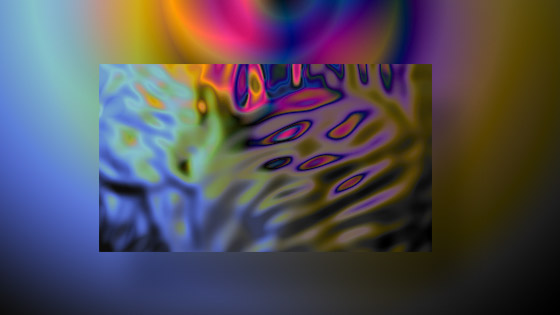
The end result in RGB
7. Use the glass filter on layers
You can select one layer in the layers panel and apply the glass filter with one set of settings. Select another layer and then apply the glass filter with a different set of settings and you can then combine those layers using different blending modes. The layers can be different images or they can be the same image duplicated or perhaps the image but slightly smaller than the lower layers.
Or use with blending modes via the layers panel

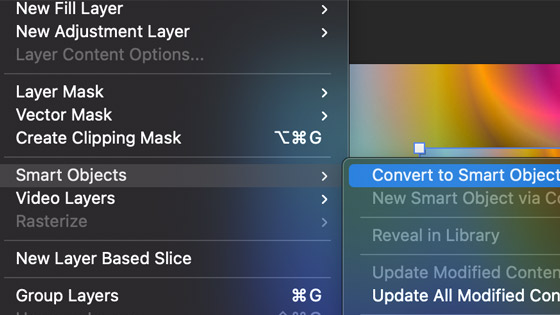
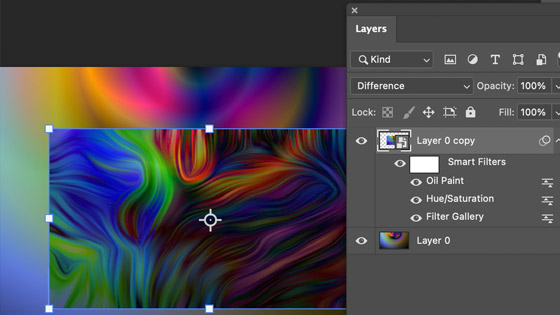
8. Smart filters and glass filter
You can convert a layer into a smart object via the layer menu and smart objects and then apply the glass filter to that via the filter gallery. You can apply multiple glass filters to that layer and combine them using the blending modes for the smart filter.
Add multiple smart filters and adjustments
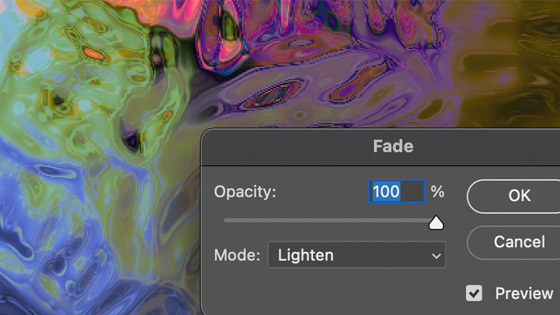
9. Edit and fade the glass filter
You can apply the glass filter effect with the full settings but if you want a subtle glass filter effect you can always apply it and then go to the edit menu and select fade and then use the different blending modes such as lighten or change the opacity of the applied glass effect to reduce the impact.