Photoshop Gradient Typography Tutorial
graphicxtras > Adobe Photoshop tutorials > Photoshop gradients tutorials
** Youtube video tutorial on how to use type with gradients in Photoshop to create the most amazing Photoshoop gradient typography effects **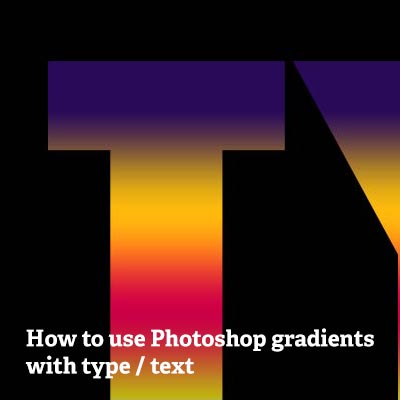
How to use Photoshop gradients with type / text in many different ways for the most amazing gradient typography effects. Type / text in Photoshop can be used with Photoshop gradients in a number of ways.
You can use gradients as well as very complex gradients created by blending modes with type. Create the gradient and then use the horizontal type masking tool found in the Photoshop toolbar.
You can then copy and paste the type as a layer. You can also add single or multiple gradient overlays via the layer style panel with the selected type.
You can also convert the type into a smart object via the layer menu and the gradients can be added to that via layer styles as well as via gradient maps adjustment layers (and combined with effects). You can also add gradient overlay to Photoshop smart objects and by converting that into a new type smart object, additional gradients can be added.
You can also select type and use the layer menu fill content and use gradients as the fill content. You can also use gradients as a pattern to fill type. You can also use the type with masks and add a gradient to masks to fade the Photoshop type.
This tutorial shows you how to use type with selections, with layer styles, fill content, smart objects and masks in Photoshop.
-
Create some type using the type tool in Photoshop
-
Layer menu
-
Layer styles
-
Gradient overlay
-
Select gradient from dropdown
-
Click ok
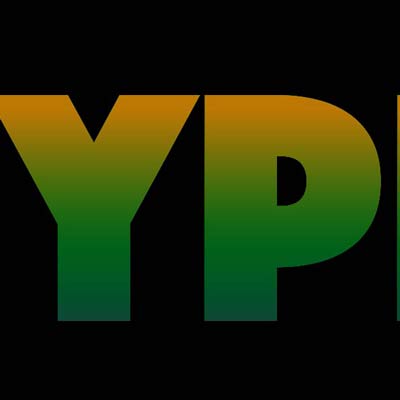
Type / text fills with Photoshop gradients using type masking tool
You can use the Photoshop gradients in type / text fills in Adobe ® PS.
-
Create a new document
-
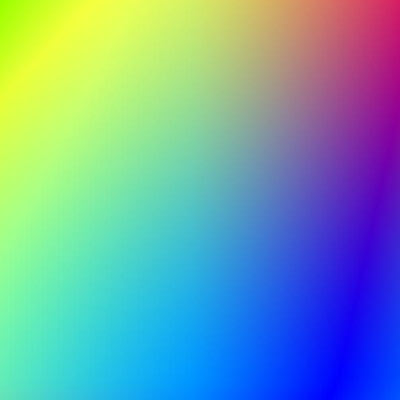
Fill the document with a gradient using linear mode or radial and perhaps combine multiple applications of that preset or another GRD via the preset tool
-
Use blending modes such as difference to create all kinds of super colorful backgrounds for your type.
-
You can also modify the color of any generated background by using tools such as adjustments and plugin tools such as camera raw filter
-
Type some text using the horizontal type masking tool to create a selection from the type.
Adding layer styles with type
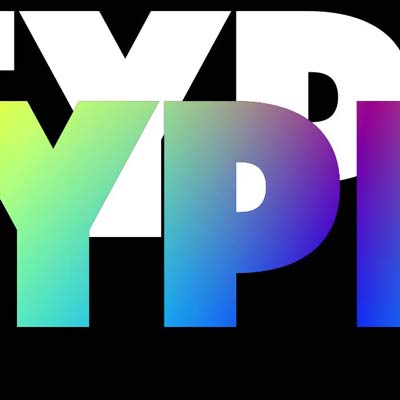
Create some text / type and go to the layer menu and Photposhop layer styles command and select the GRD overlay and set either a pre-defined preset such as 'foreground to transparent' or perhaps select one of the other GRD files included in the list or perhaps check out the selection on this site or other sites (there are 32,000 different presets available in one amazing super cheap bundle on this site - all by this site) or just create your own using the stops and colors.
With the latest version of CC you can now add multiple gradient overlays to the type by using the '+ to add an additional preset overlay and you can then using blending modes within the layer styles dialog to create all kinds of super colorful items and these can also be saved to the styles panel as well as stored in the CC libraries for future use.
You can also duplicate the type layer and then combine those in many different ways with the first layer.
Smart objects / type and gradients

You can also convert the combined overlay and characters into a smart object via the smart object command in the Photoshop layer menu and then combine the color effects with smart filters as well as smart adjustments and you can then add additional shapes and gradients to that and also combine the results with blending modes and more in a smart object which can also be placed into the CC libraries. The key thing is that the type is still live and the layer style and gradients can be modified at any point.
The smart object approach is also useful if you wish to add a quick extrusion with the type and overlay.
-
create some type via the type tool in Photoshop
-
select type layer
-
layer menu
-
layer style / gradient overlay
-
keep selected
-
layer menu
-
smart objects
-
convert to smart object command in the layer menu.
-
go to the filter menu and add a smart filter
The smart object can have smart filters and adjustments added.
You can also just combine the artwork with the background via the flatten command and then add brush strokes and other effects to the type such as adding color LUT adjustments as well as many other adjustments such as color filters or hue and saturation filters and more
Type and Photoshop blending modes
-
Create type via the type tool in Photoshop
-
Flatten
-
Select the gradient tool
-
Select a gradient via dropdown in Photoshop as well as linear mode etc
-
Apply a Photoshop gradient using a blending mode such as lighten on top of the type.
You can use any of the presets as well as any of the blending modes and perhaps opacity etc as well as perhaps combine with effects to create all kinds of super colorful type effects with the presets.
Or use other modes such as darken but they all depend on the actual GRD and also the color of the type itself as well as the background.
Darken blending mode in Photoshop can be useful for creating all kinds of weird distortions to the color of the text
Using the fill content layers in Photoshop type
You can also add a gradient to the type via
-
select type layer in layers panel
-
layer menu
-
fill content layer.
-
Select gradient as the content
-
select the gradient from the dropdown
You can use the layer on top of the type layer and use it with blending modes or opacity or any transparency included in the fill content layer. You can use more than one fill content layer and change the position of the origin as well as type such as radial, angle etc
Adding them as a pattern
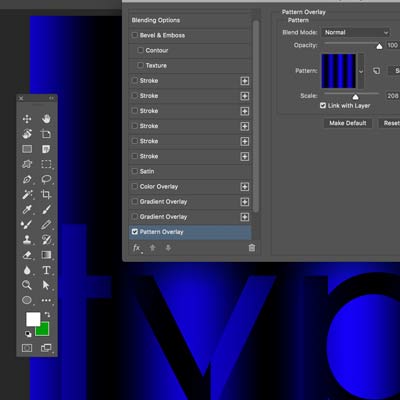
You can also turn a GRD preset into a pattern though it is unlikely to be seamless, if you add the preset to a very large document and then define that as a tile then it can be easily used with the text as well.
Open a document (make it 2000 x 2000 etc) and then select the tool from the toolbar and apply to the current background (black or white etc) and then re-apply using blending modes. Use the edit menu to define as a pattern and then select some type and use the above methods such as fill content layer or perhaps layer styles etc to add the tile. One advantage of the pattern approach is that you can use it with the paint bucket tool (select the pattern option) and then you can add the color to the individual letters with different presets.
Another option is to use the radial mode and avoid touching the seams so the circles etc are only in the center of any image and do not touch the edge of the defining document. You can also then use multiple radial color effects with blending modes such as darken or difference to combine the presets and the results can then also be defined as a new pattern. The pattern can then be re-scaled etc as required. The results of all these tiles can also be saved as a PNG file and then opened and used in tools such as Affinity Photo via the bitmap fill option in the gradient tool. The same approach can also be used in other tools though the actual terminology may change.
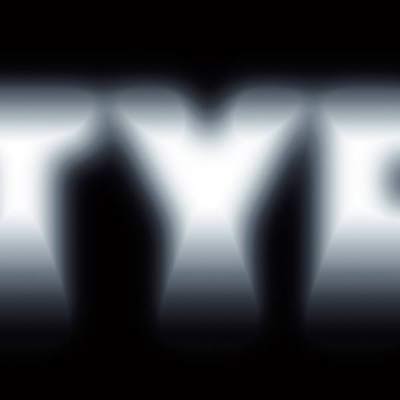
Masks and gradients and type
Select some type and go to the layer menu and layer mask and add a gradient to the mask in the layers panel.
-
select type
-
layer menu and layer mask and reveal all
-
go to the type in the layers panel
-
select the mask in the layers panel (the second thumbnail)
-
add gradients to the mask in the Photoshop layers panel for the type