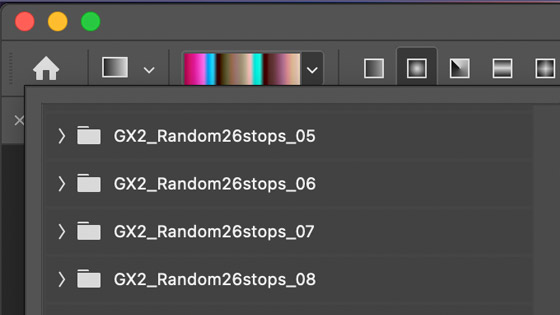
32,000 Photoshop Gradients
graphicxtras > Adobe Photoshop tutorials > Photoshop gradients tutorials
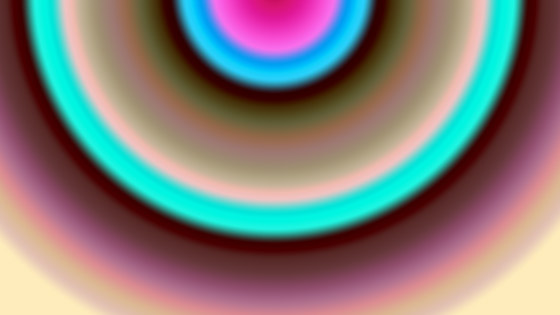
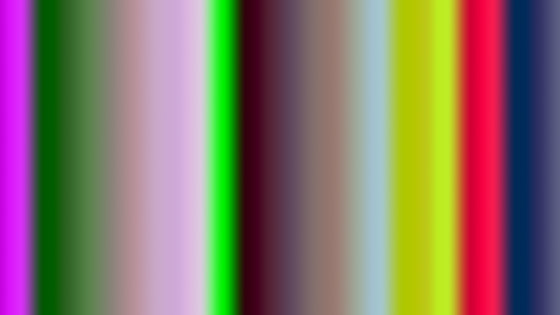
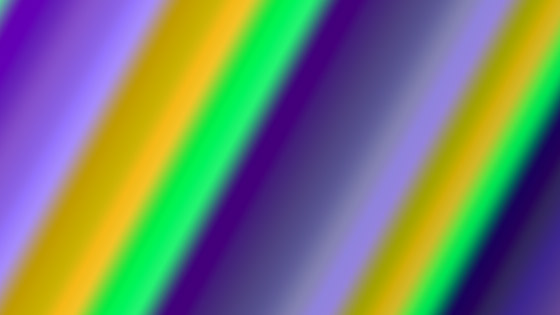
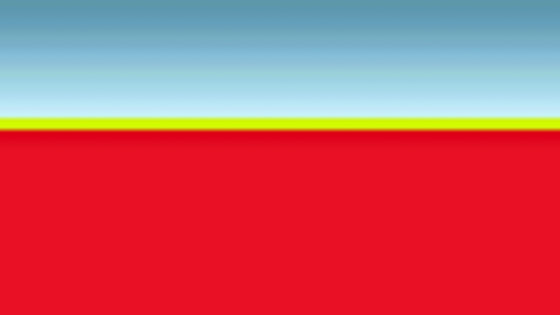
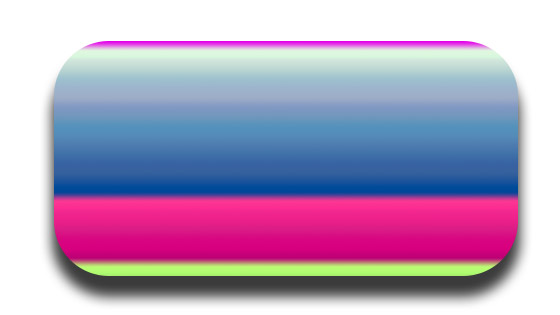
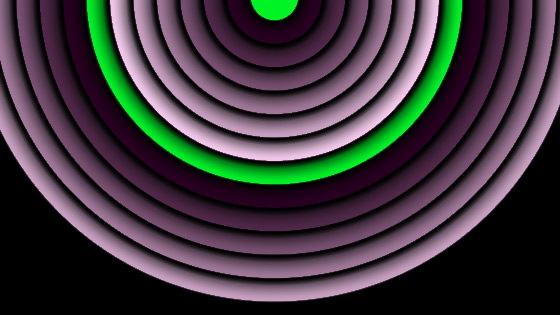
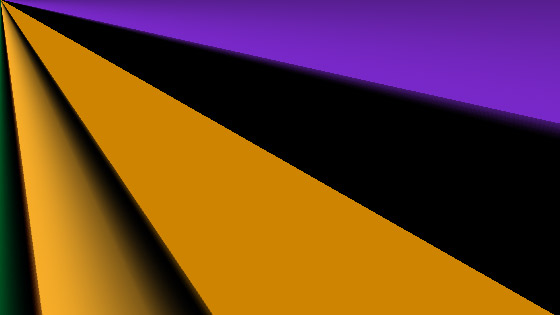
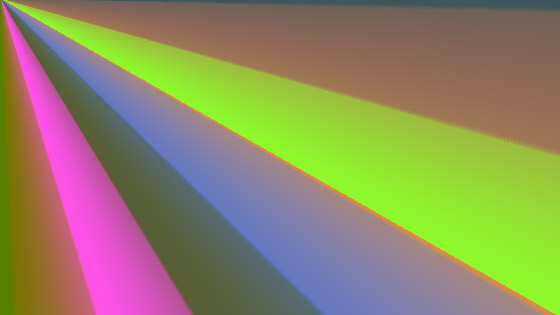
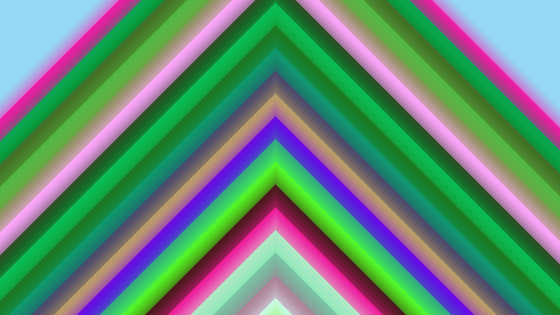
Gradients for Adobe Photoshop and Photoshop elements on the PC and MAC. The Photoshop gradients are for commercial and personal use, all royalty free, all by graphicxtras.com. The Photoshop gradients set includes 32,000 unique colorful gradients for all your projects such as radial gradients, line gradients, harmony gradients, columns, intense zoom gradients and more. The set is supplied in GRD format
** Youtube video tutorial on how to use gradients in Photoshop, how to use them in countless ways to create amazing colorful designs **
The Photoshop gradients are for any size of document. They can be applied via the Photoshop gradients tool found in the toolbar. You can use the Photoshop gradients in fill content for shapes. You can use the gradients as an overlay in styles. You can use the Photoshop gradients as a linear as well as radial and diamond and reflected and angular design. You can add the gradients as overlays. You can use the gradients as textures. You can combine them with adjustment layers and plugin effects. You can use the Photoshop gradients as a great source for brushes and patterns and displacements. You can use the gradients with Photoshop type. You can use them once or multiple times.
BUY £6.50 GBP (Approx $7.50, 7.25 Euros, 900 Yen, 11.70 AUS etc) ** 32,000 Colorful gradients GRD format, easy to load and use (see the video at the top of the page), download
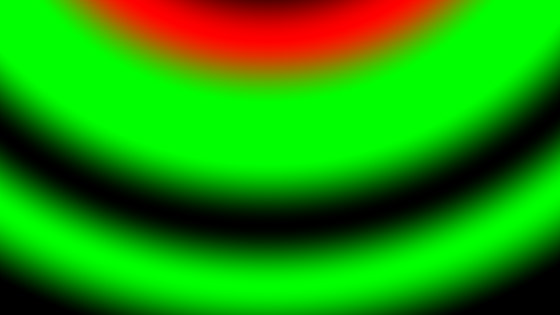
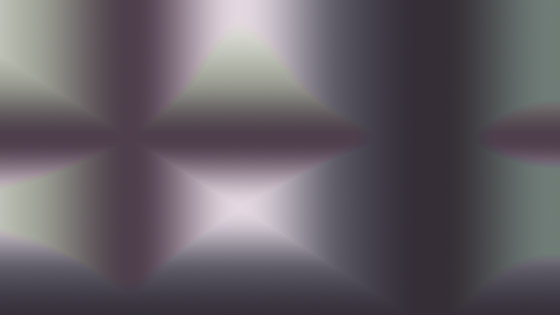
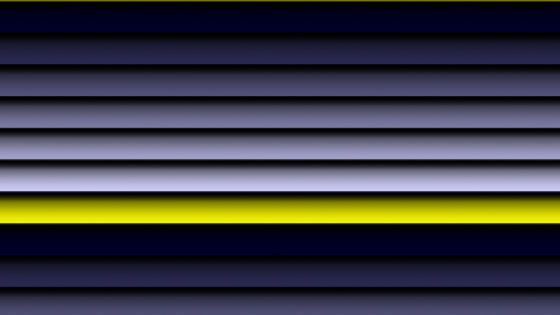
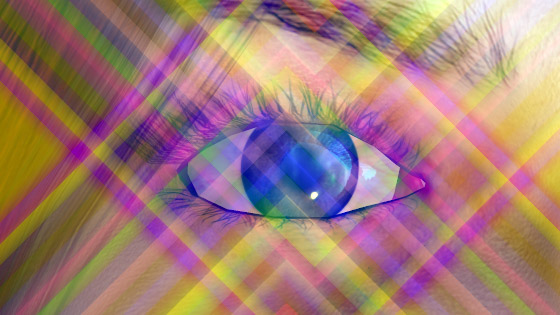
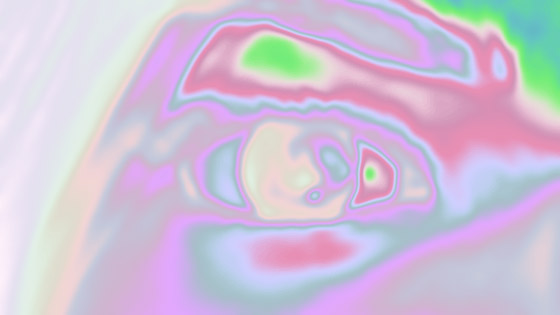
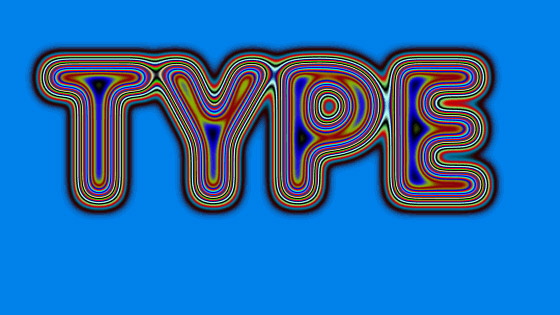
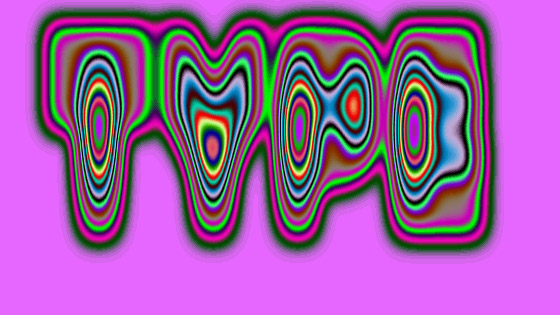
Examples of the gradients in use below, please check out our gradients on our youtube channel 'graphicxtras' as well, 1000s of examples on there such as with type, images, maps, layers, blends and more


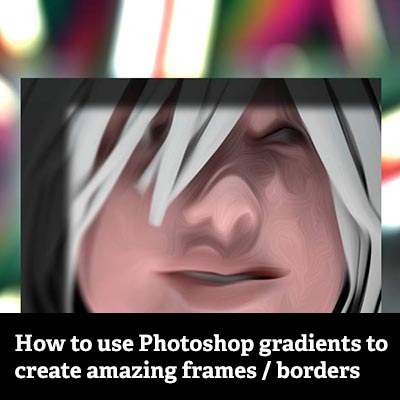
Create Frames using Photoshop Gradients Tutorial
-
Image and select area for image using rectangular marquee tool in Photoshop
-
Copy
-
De-select
-
Gradient tool
-
Apply Photoshop gradient to image
-
Paste selection back onto image
-
Flatten
How to create frames and borders using Photoshop gradients tutorial. You can use shapes with a gradient fill. The gradient shape layers can be added around the image to create a super colorful frame. You can use gradients with transparency to cover parts of the image (the edge) and leaving the rest of the image untouched. You can use the gradients on a layer duplicate the layers around the edge of the image to create a gradient frame. You can also use a selection around the edge of an image and fill with gradients to create a colorful frame. This tutorial shows you how to create all kinds of frames using Photoshop gradients
Creating a border / frame using shapes

The Photoshop gradients are perfect for creating borders and frames in all versions of Photoshop and also PS Elements. The actual approach can be as varied as the features in Adobe ® Photoshop ®.
-
Open image
-
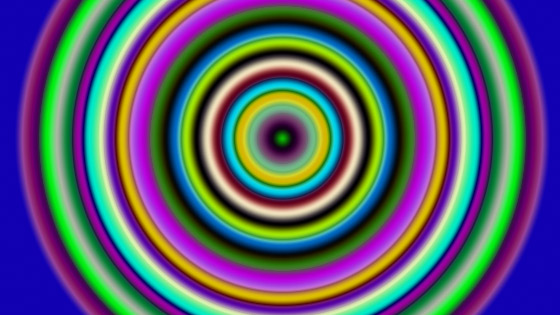
Go to the ellipse tool
-
Set to shape option
-
Set fill to a gradient
-
Set style to radial
-
Apply circle (hold shift)
-
Alt / option and duplicate gradient circle around image
-
Change sizes of gradient shape layer etc
-
Apply all the way around image
-
Flatten
Frame / border via transparency
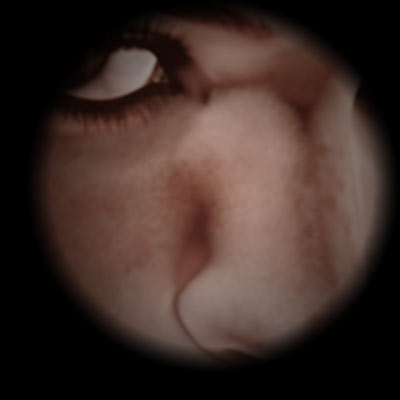
Many of the gradient presets on the graphicxtras site contain transparency which means the underlying background image can be seen, the rest of the image and the frame are blocked out.
To use the gradient, setup the preset with transparency stops set to 0%.
The transparency is set to the left side of the preset in the gradient editor. To display the editor, select the GRD tool and click the GRD panel.
You can use two colors for the preset but you can also add in additional color such as black to the mix before the start of the transparency. To get a sharper and more intense edge to the artwork you can also use the stops and midpoints as well as the midpoints for the transparency. Instead of having the midpoint at the actual midpoint, you can set them a different location so say 80% and combine that with a set of intense blacks around at the same point of the start of the 100% opacity then you can create all kinds of very interesting edges
-
Go to the gradient tool in Photoshop toolbar
-
Dropdown gradient
-
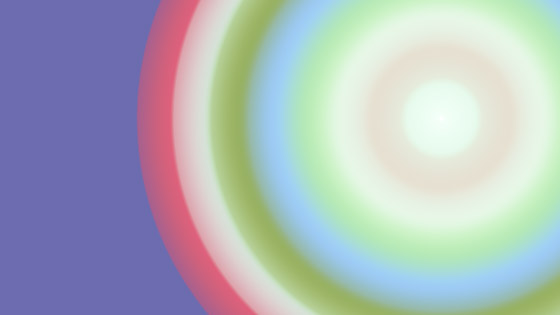
Go to the foreground to transparent preset (reset gradients if needed)
-
Move the first color / opacity stop to 20%
-
Move midpoints to closer to the first stop
-
OK
-
Set to radial gradient
-
Reverse gradient
-
Apply radial gradient in the center of the image
Using transparency to create frame / borders using gradients
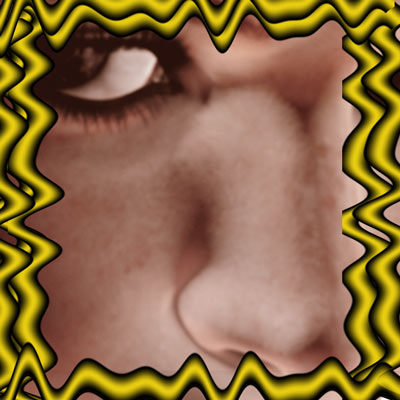
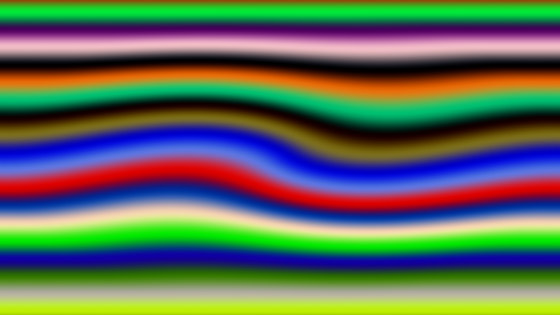
You can also use the transpency with linear gradients and the gradients can have transparency at both ends of the gradient. You can then use the linear gradient as a line or edge. Apply this linear gradient to a layer and the layer can also be warped and distorted by effects to create more interesting linear effects. The linear layers can then be added around the image
-
Select the gradient tool in the toolbar
-
Click the dropdown
-
Create a gradient with four stops on top bar (opacity) 20% 80% zero opacity 30% and 70% 100% opacity
-
Three stops for the color stops black at 20% and 80% Yellow at 50%
-
Layer menu
-
New layer
-
Create gradient on the left with linear mode
-
Alt / option duplicate multiple times and place around the image
-
Filter menu
-
Distort
-
Wave
-
Set the wave options
Frame / border using selections
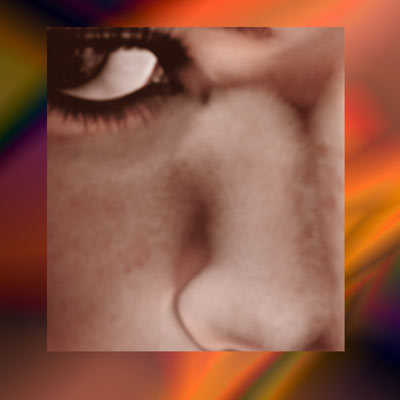
You don't have to use just transparency, you can use selections / masks to create even more interesting frames in Adobe ® Photoshop ® using the presets. Creating them is easy but sometimes it is hard to stop or know when to stop. Use the rectangular marque tool or elliptical tool to create a selection; you could also just use a free form selection.
Once you have highlighted the area for the Photoshop frame then go to the select menu and use the inverse. You can now fill this region / area with GRD preset (you don't have to be limited to one). You can use the transparency of the preset but you can also just fill it with the solid color by turning off the preset's transparency. You can also use different blending modes to apply multiple presets. The one on the left uses the same GRD preset as above right with the double transparency (0% opacity) and the preset is then added to the selection multiple times
Of course, you can extend this approach with additional selections, you don't need to keep at a single selection. You can remove the previous selection and then add a new selection or perhaps select the selection and copy and paste and use the frame as a layer and then add layer effects. You can also add into the mix additional presets as well as effects such as poster edges or blurring of the edge.
-
Go to the rectangular marquee tool
-
Draw selection along one edge
-
Hold down shift
-
Draw selections along other edges for the frame
-
Select the gradient tool in Photoshop toolbar
-
Set gradient style to linear
-
Set blending mode to difference
-
Select gradient
-
Apply gradient to selection multiple times
3D extreme model creation using Photoshop gradients tutorial
** Youtube video tutorial on how to create amazing 3D model designs in Photoshop using Photoshop gradients all accessing the 3D menu **
Learn how to create extreme 3D models using Photoshop gradients via the 3D depth maps in Photoshop. The key thing is to start with a gradient and the gradient for the 3D model can be anything (you can also modify the Photoshop gradient with effects etc to modify the end result of the 3D model which can be exported to other applications such as Poser)
Create a gradient using the Photoshop gradient tool via the toolbar
You can create gradients in many ways in Photoshop and probably the easiest is the gradient tool
-
Select the gradient tool
-
Select a gradient
-
Select the blending mode for the gradients (such as difference)
-
Apply gradient
-
Apply effects etc as required
3D model via the 3D menu and mesh / depth maps in Photoshop
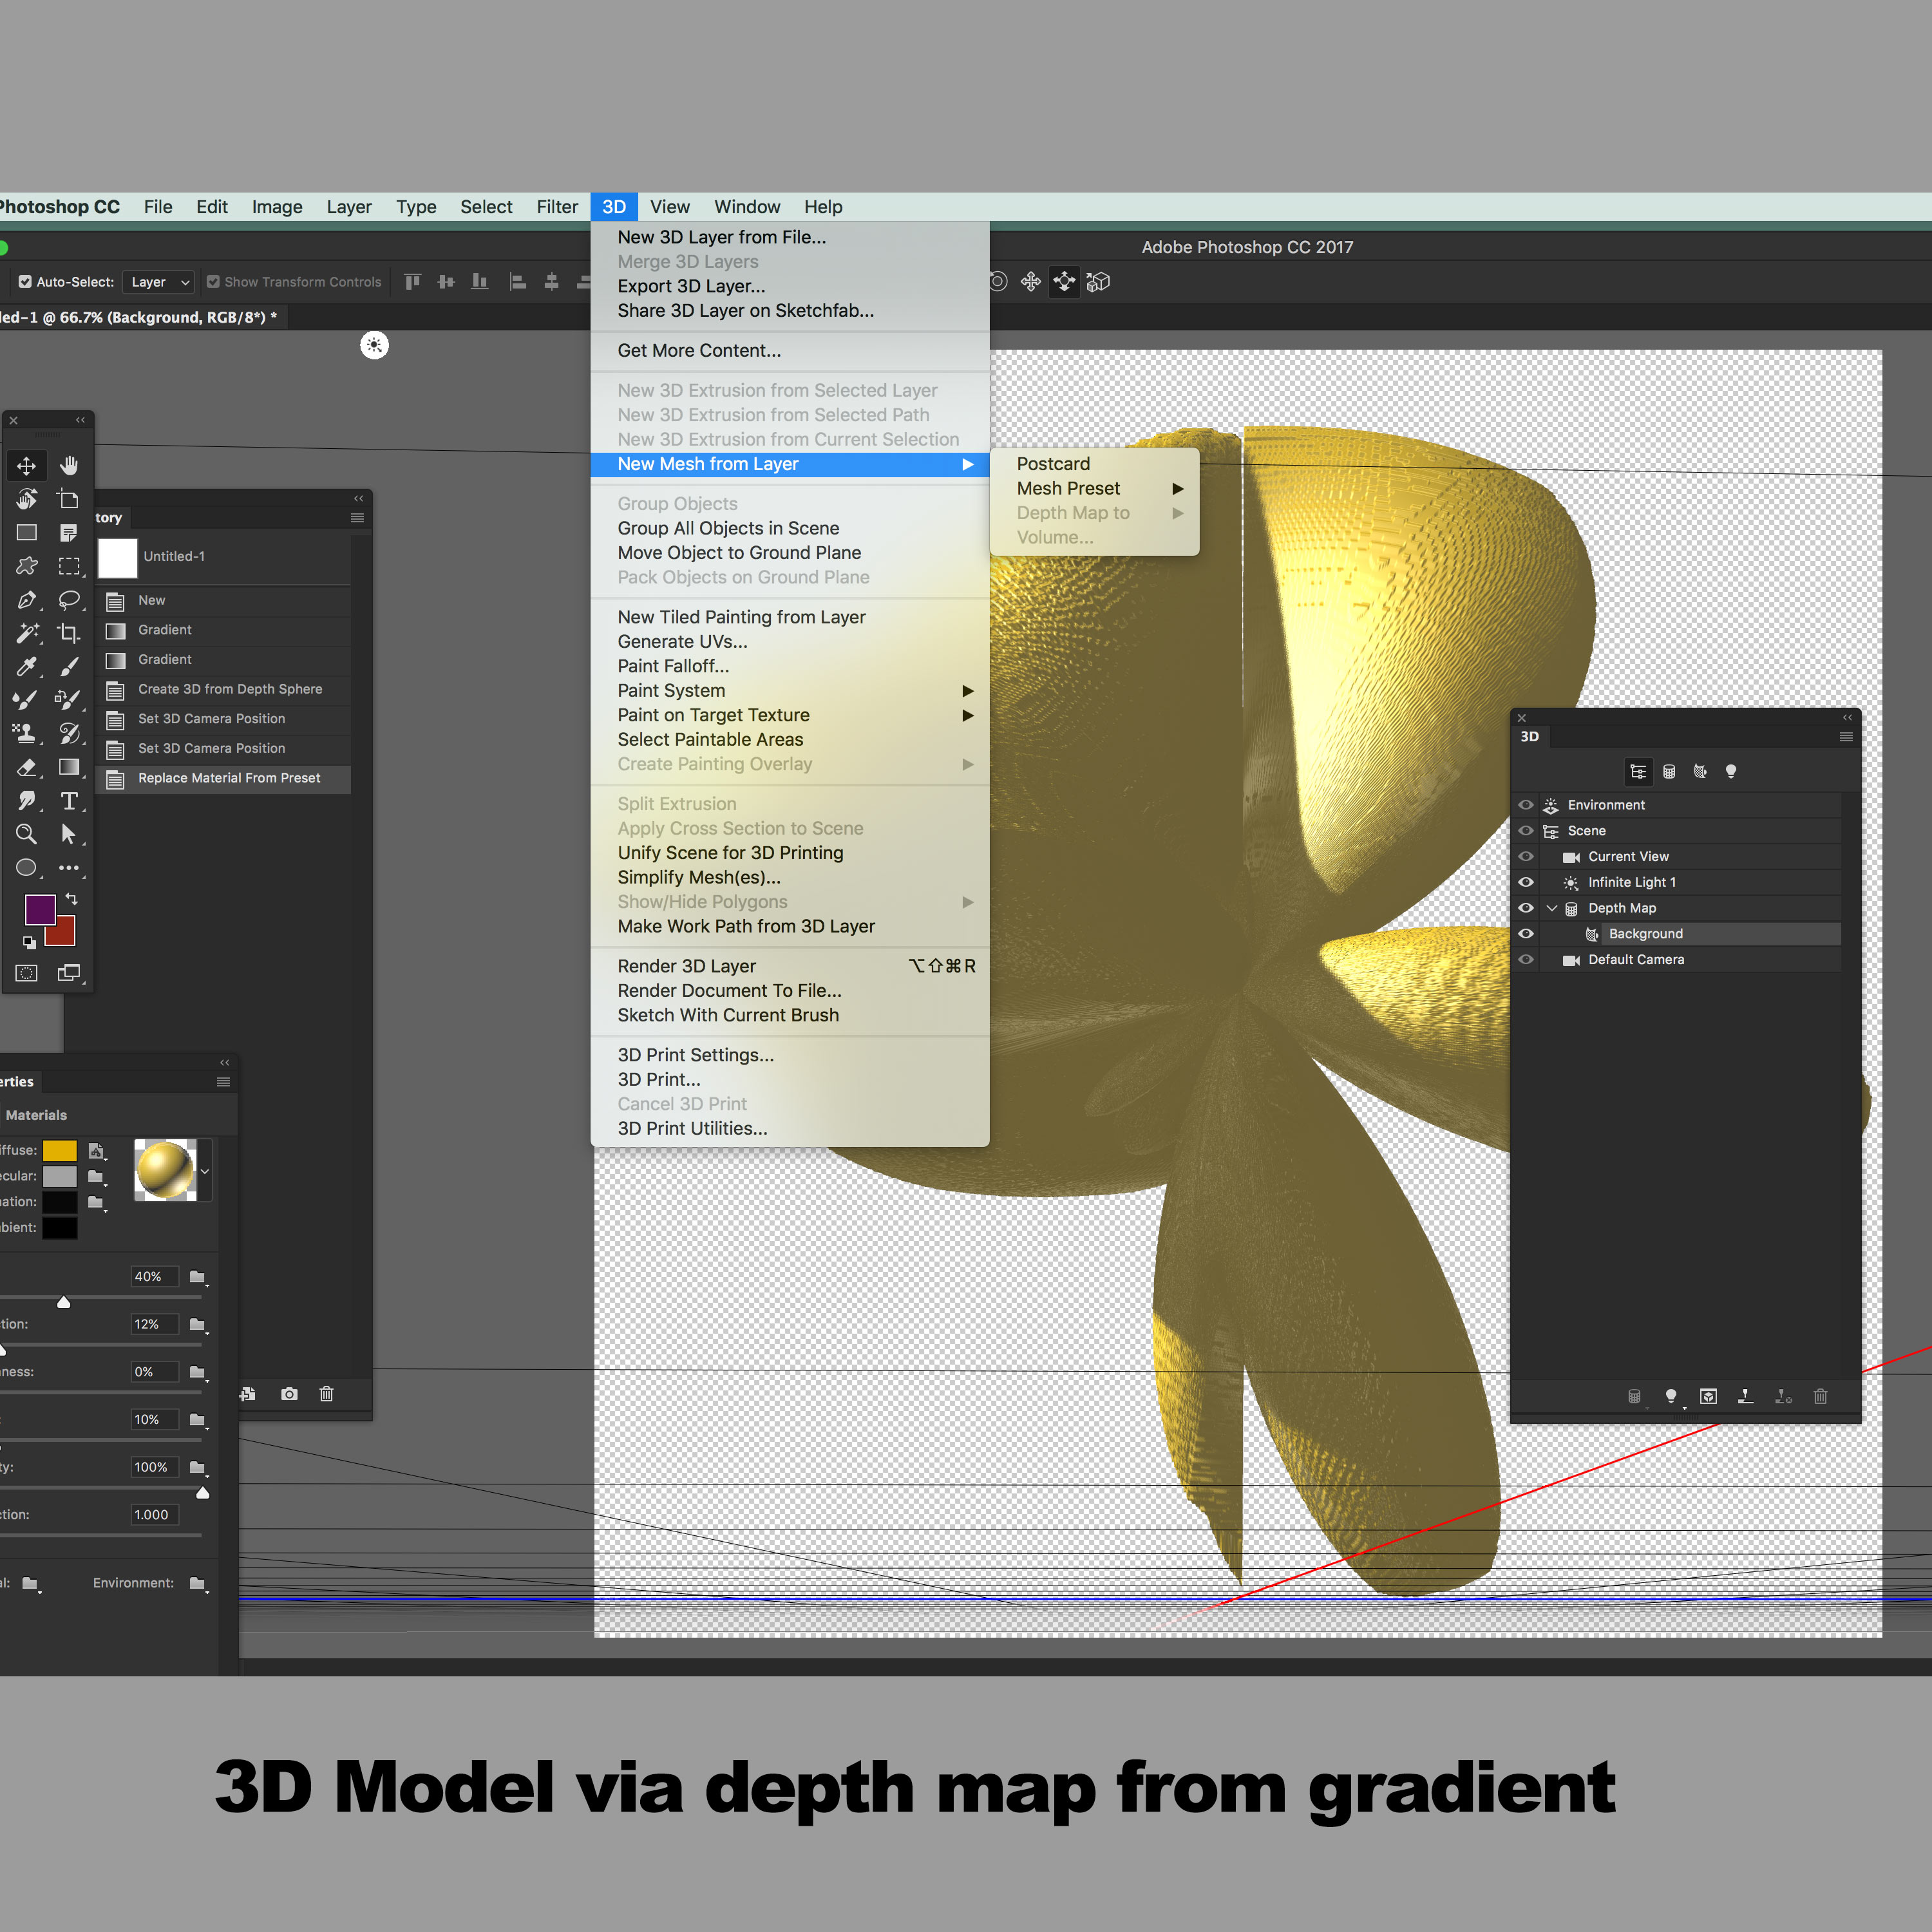
Once you have a gradient, you can now use the mesh 3D tools / depth map commands to create a 3D model. I often use sphere but the other options are pretty good as well for creating extreme 3D models
-
3D menu
-
New mesh from layer
-
Depth map to
-
Sphere
Now you have the 3D model, you can rotate it, simplify the 3D model, transform, blend it, create an instance of the 3D model but the key thing is the export to other apps such as Poser
How to export the 3D model (generated from Photoshop gradients)
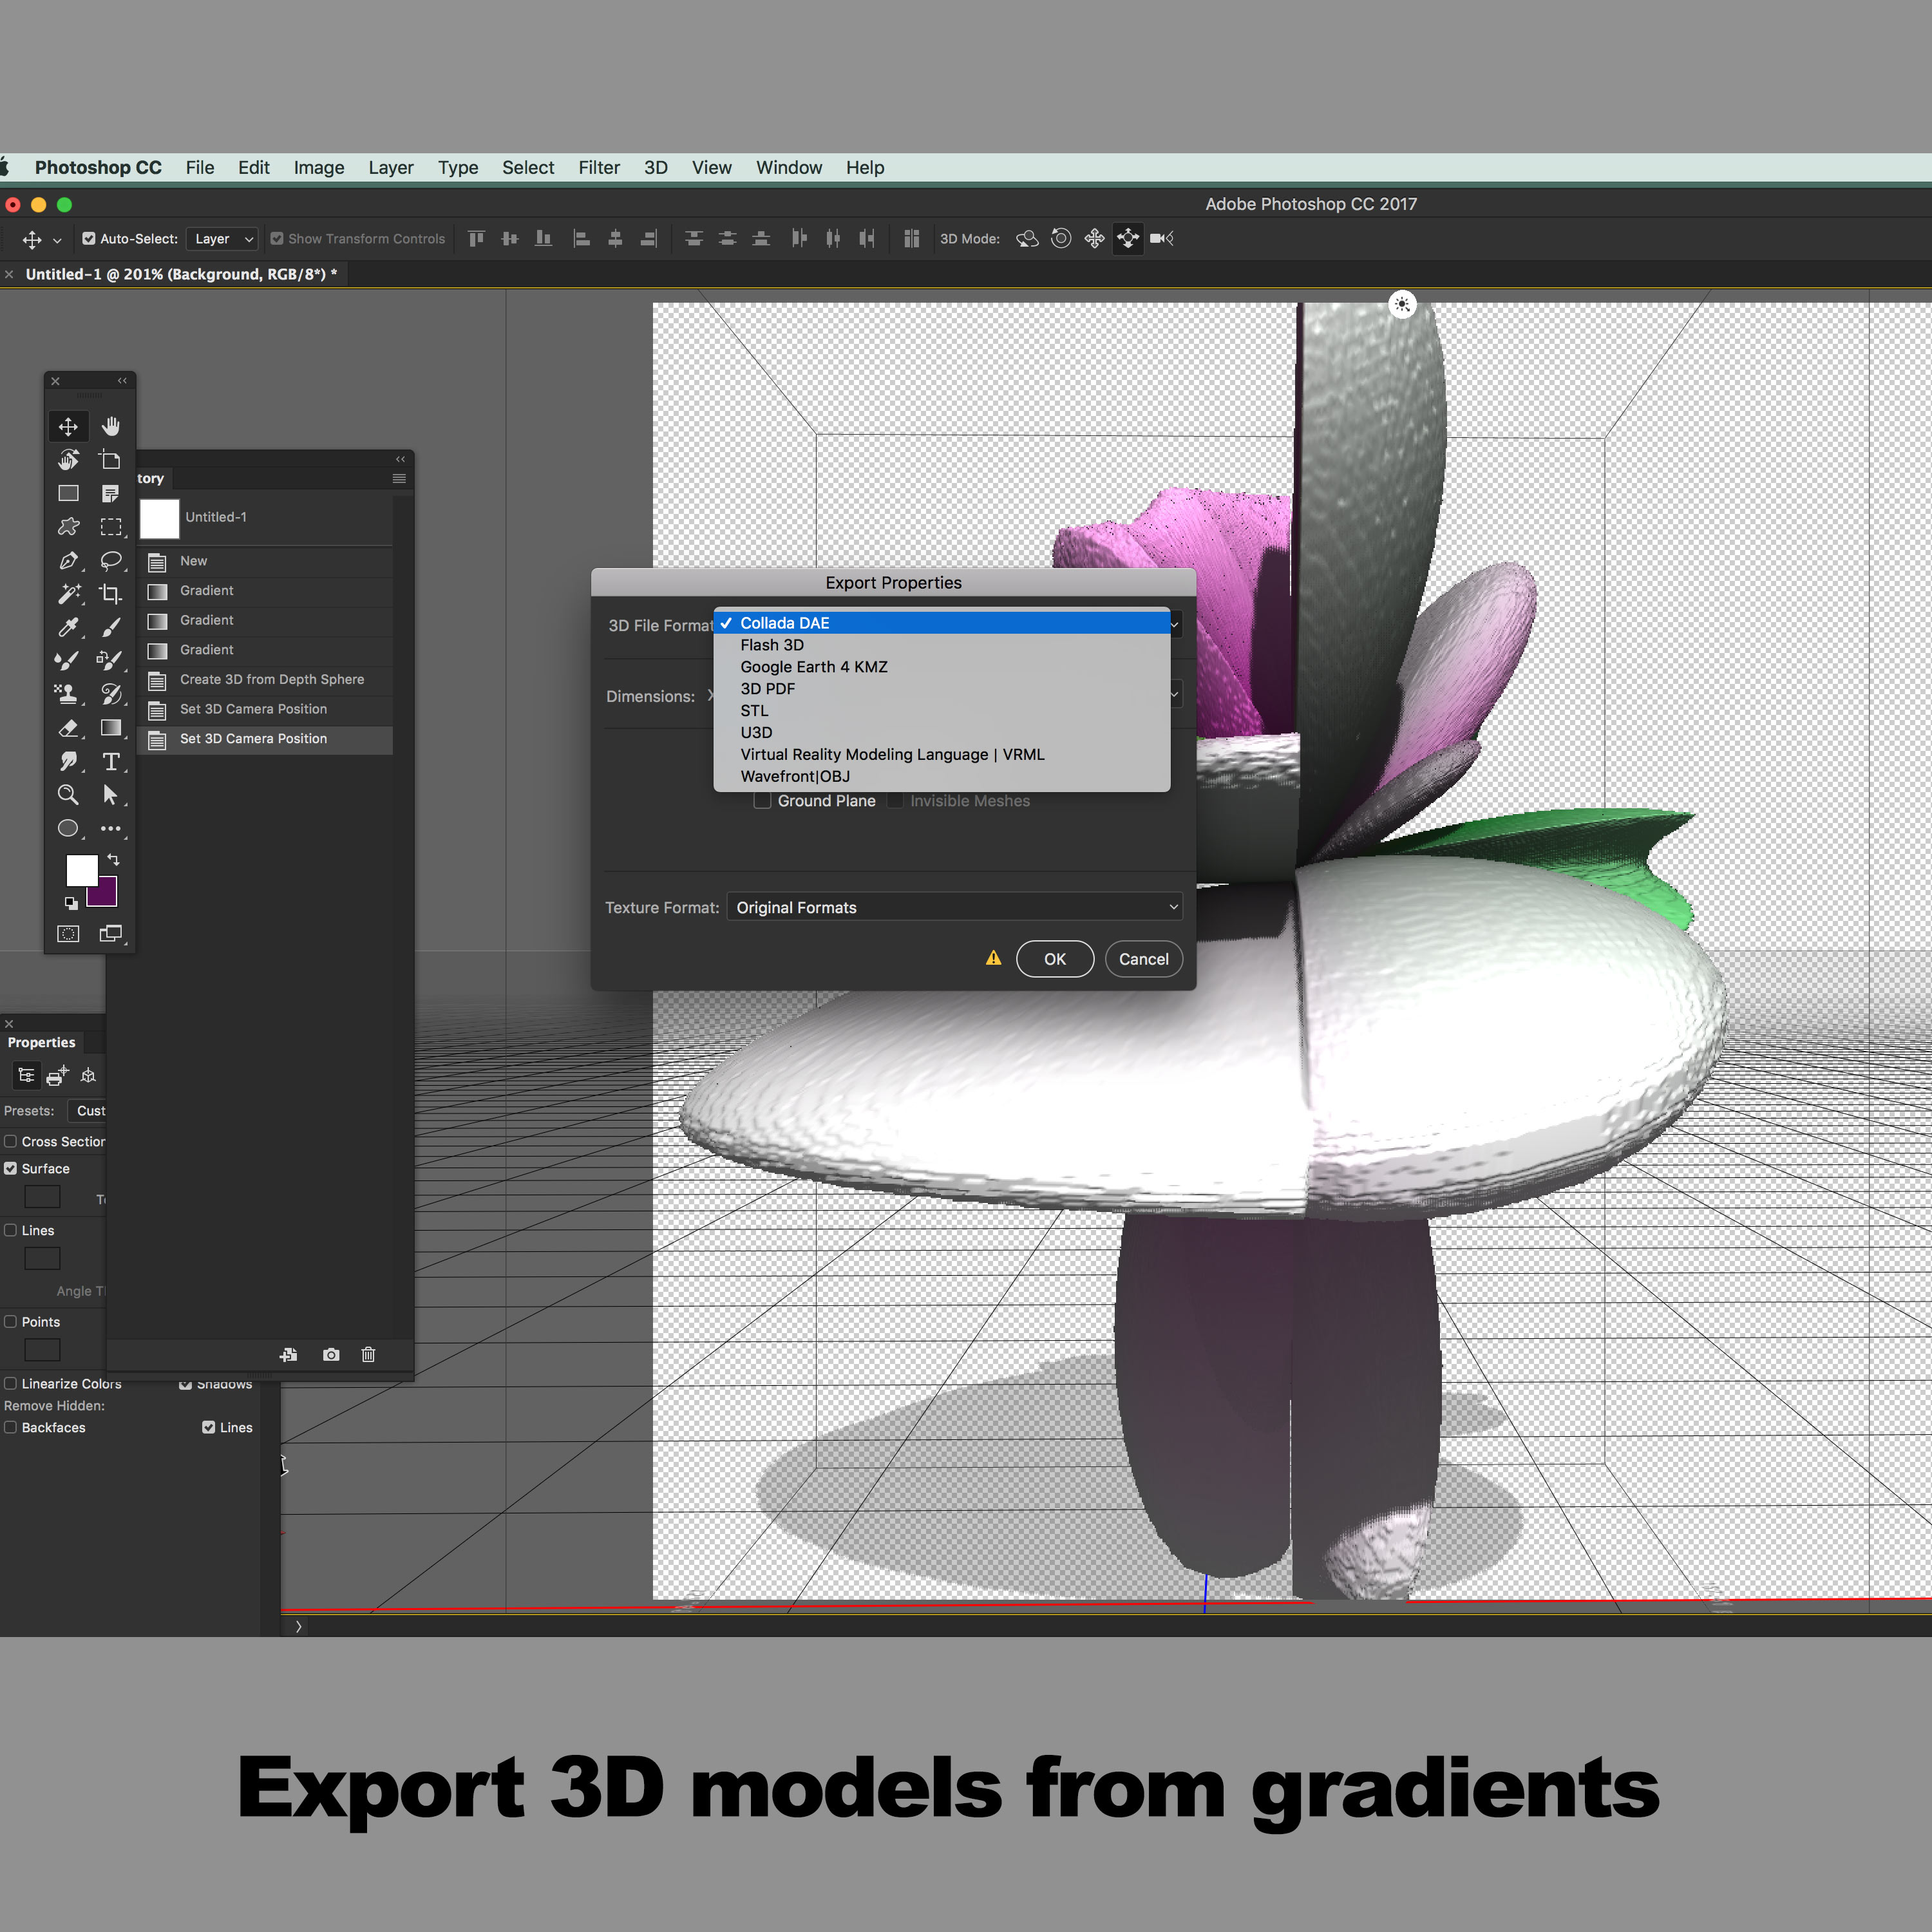
There are a number of formats such as OBJ etc to choose from and that can be exported to Poser etc (or any other 3D application)
-
3D menu
-
export 3D layer
-
Select OBJ etc
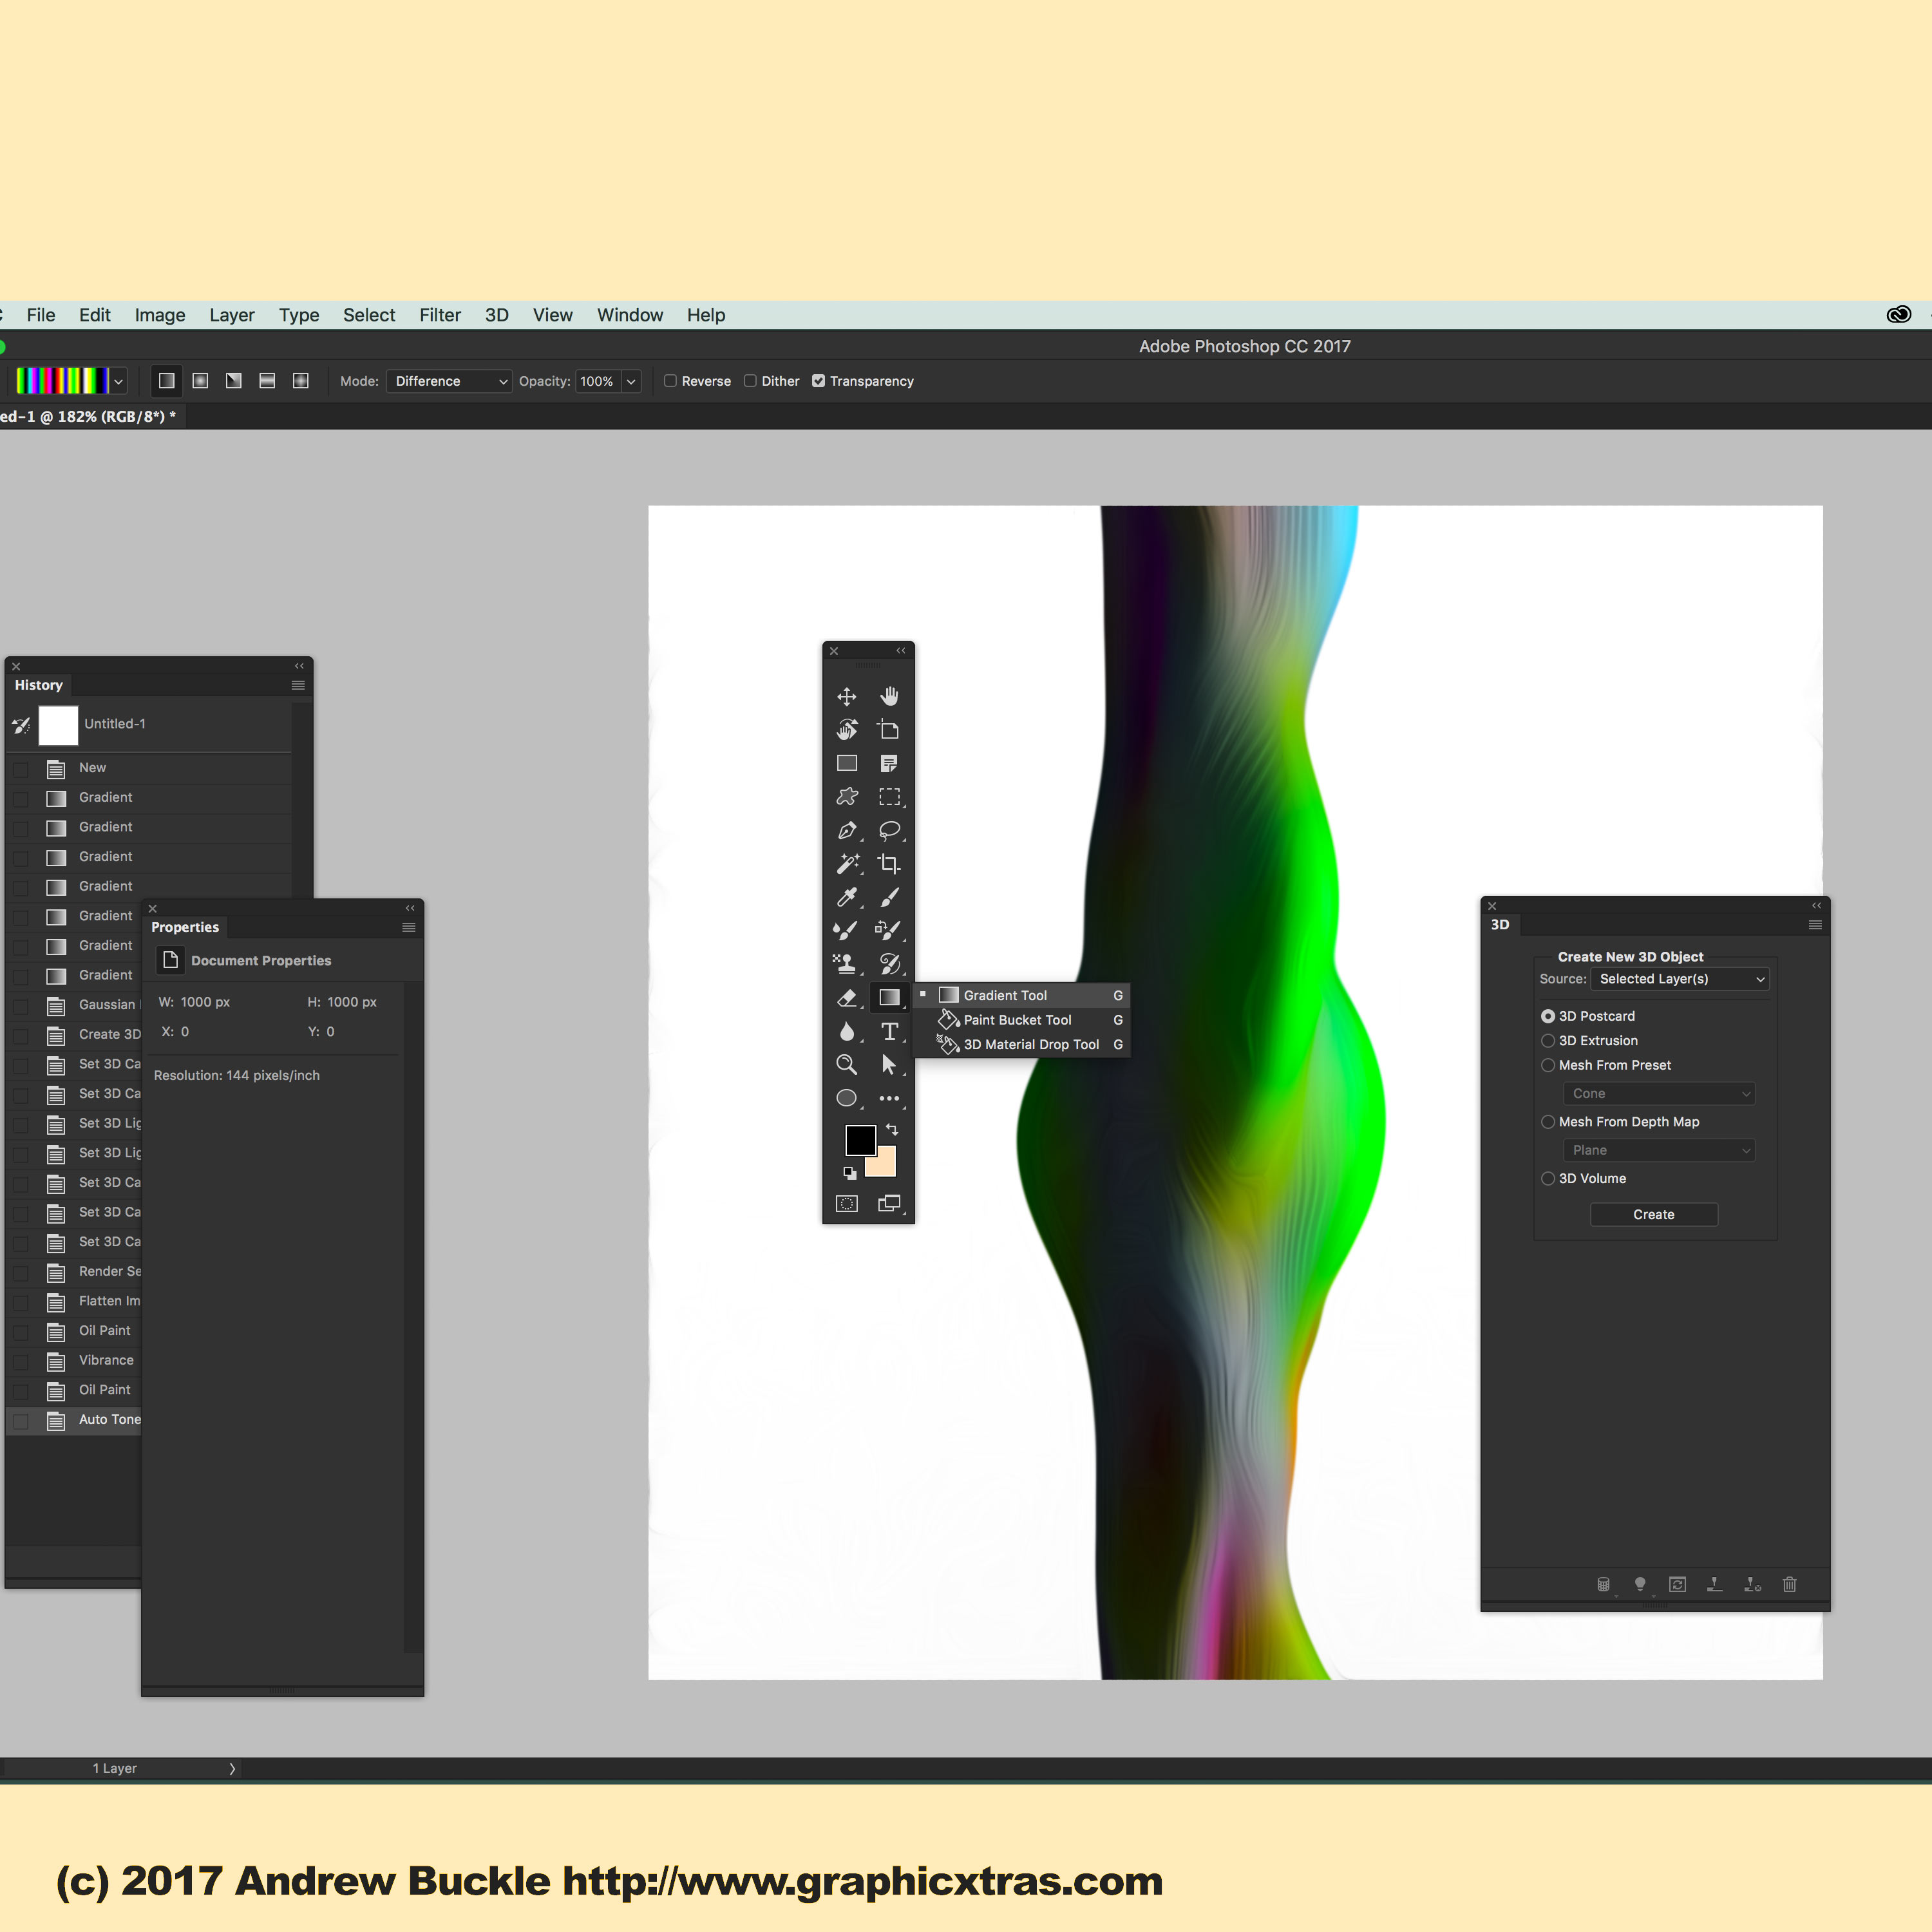
Create 3D models using gradients and effects in Photoshop
-
You can also create slightly different and unusual 3D models by using gradients and blending modes such as difference combined with adjustment layers as well as effects such as blurs to create a perhaps more subtle 3D model.
-
Select the gradient tool
-
select a gradient such as a multiple colorful stop gradient
-
apply in linear type gradient across document
-
go to the mode option along the top bar and set to difference
-
apply the gradient again perhaps at 90 degrees to the original
-
filter menu and blurs
-
gaussian blur and high setting to really blur the colorful design
-
3D menu and new mesh and depth map and "cylinder" (there are planes / spheres etc)
-
move and rotate as normal with the 3D model
-
exit layer and go to another non 3D layer
Effects can also be applied to the 3D layer such as oil paint filter