Adobe Creative Cloud Libraries Photoshop Tutorial
graphicxtras > Adobe Photoshop tutorials > Photoshop how to tutorials
How to use the Photoshop creative cloud libraries to store your presets and resources and files and how to use them in Photoshop. How to access the creative cloud libraries as well as how to create a new library etc. How to break the link between the library and the artwork displayed. Create new libraries, rename libraries. How to use Photoshop with other apps in Creative Cloud linked via CC libraries such as Illustrator and After Effects. Use objects as smart objects and more
** Youtube video tutorial on how to use the Adobe Creative Cloud libraries along with Photoshop **1. Where are the creative cloud libraries in Photoshop
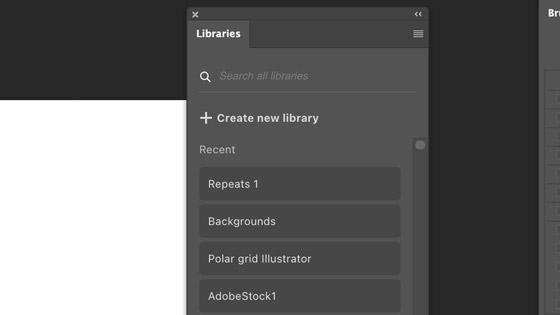
You can find the Creative Cloud Libraries via the libraries panel in the window menu in Photoshop. You will then see the panel with all your current resources and libraries. The libraries are all the files stored on the cloud, they are not on your local machine
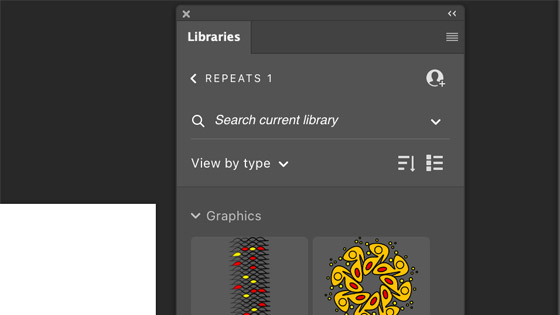
2. Libraries - multiple in the single panel
The libraries panel contains multiple libraries or groups of assets stored in the individual themed (or in the case of mine, randomly named libraries). It is basically a folder structure, at the top level you can see all the library names and even better, you can search all the libraries for a particular resource / asset so it is always a good idea to give all the assets a great name that can be easily found ('background' is probably not a good name). You can have many libraries, not sure there is a limit but I guess it could take a lot of time to scroll 100s of them.
3. Searching the Creative Cloud Libraries
Go to the top of the panel and enter some text in the search all libraries field. You can also go into an individual library by clicking on the library entry and search that by 'search current library'
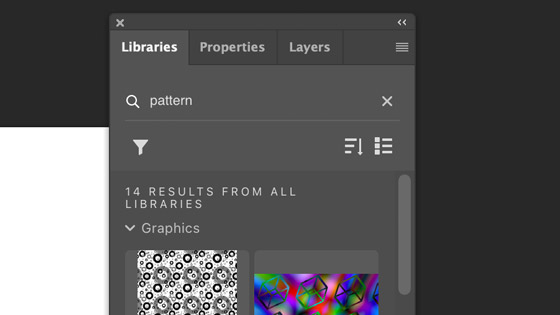
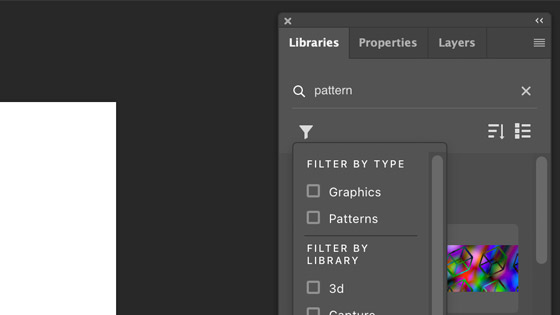
Below the search box there is a filter which is super useful as you can filter by type as well as library if you wish
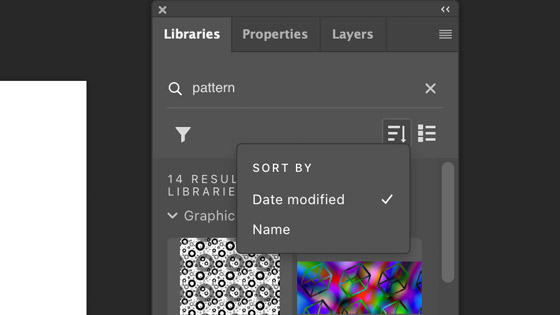
4. Sorting the creative cloud libraries
The creative cloud libraries can also be sorted by date as well as name.
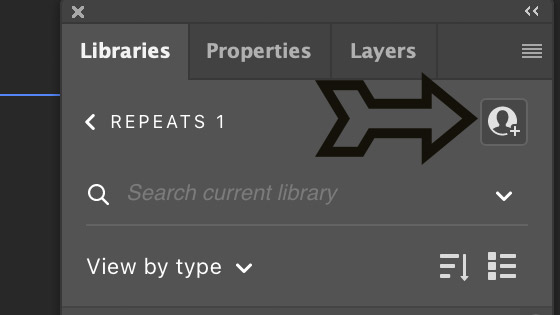
5. Invite creative cloud library
You can go to a particular library and invite people to check out the library (to be honest, not sure I will ever use that feature but if you are part of a team, it is of use I am certain)
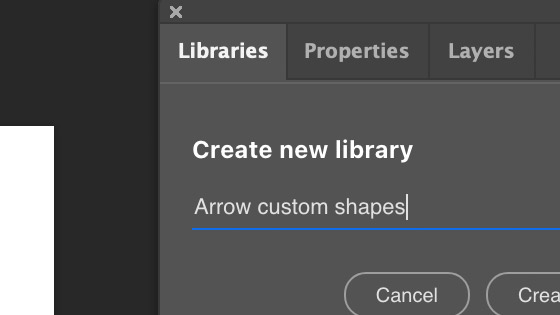
6. Creating a new library
You can create a new library at any time and it is great to add multiple libraries to the creative cloud, so much easy to organize things but if you could just use one library and then use the search to find material as long as the naming convention is good. Click the + create new library button on the panel

And give it a name
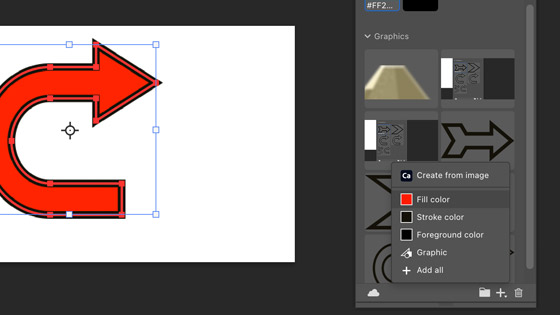
7. Adding assets to the creative cloud library
You can do it a few ways. Drag the resource into the library (not everything can be saved this way) or go to the '+' at the bottom of the libraries panel and select create from image, foreground, graphic etc
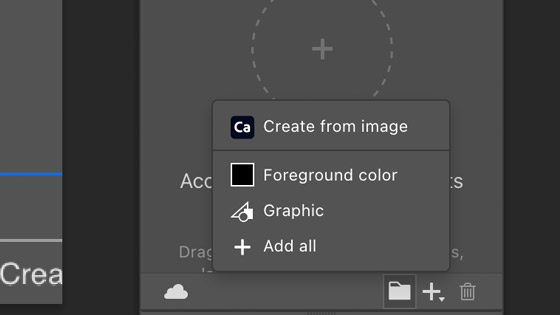
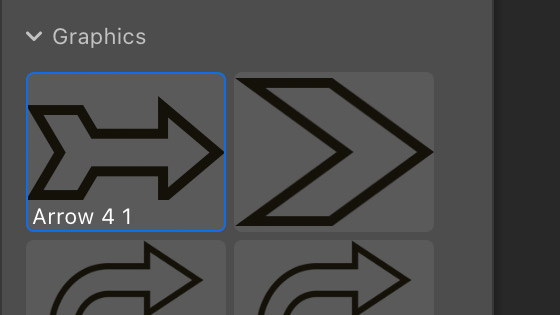
If you have a lot of shapes selected then click the + add all and they will all be added to the panel but all as a single arrow set which is not so useful.
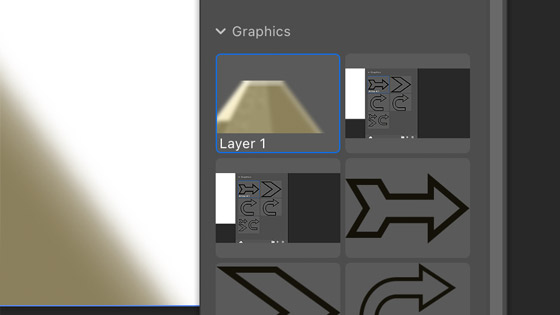
You can also drag individual items to the panel and they will be saved as a cloud object and they end up looking like a pixel object, they are basically a smart object which you can access and if you are using a custom shape, the custom shape vector design is still there, you just need to be able to double click the item in the layers panel to access it. A little fiddly.
When you drag an asset such as a shape into the panel, a '+' will appear before you drop it and it will say the format such as 'layer'. All these designs are stored on the cloud.
You can drag layers, you can drag all kinds of designs into the panel and they will all be saved in the current library.
Personally the best format to drag into the creative cloud library is a smart object as the smart object can have all the smart filters, adjustments, shapes, brushes, styles, type enclosed and that will then reside in your library and can b dragged back at any point to be used in new projects and all the component assets are still available and can be expanded.
8. Access the creative cloud library designs
OK, you have added them to the library and that is super useful but how to use them later.
You can drag them back in to the document, any document, in Illustrator, After Effects etc and of course, Photoshop. The design is linked to the creative cloud library so any changes you make to the smart object etc (the resources themselves) will be reflected in the library. If you re-color the design etc that is not updated in the library.
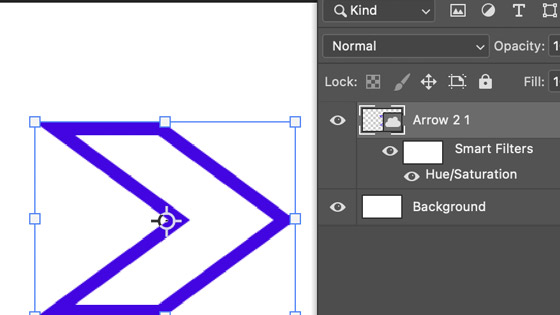
If you look at the design dragged from the library in the panel, you will notice that it is a smart filter. You will see any adjustments or effects added to it do not change the design in the panel, only on the art board and the layers panel will display the smart filters and adjustments etc
You can modify the design by double clicking the entry in the layers panel and then editing the PSB document and any changes will be reflected in the library entry and on the art board
9. Breaking the link with the Creative Cloud Library
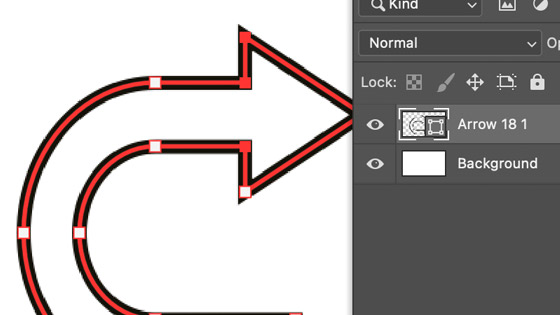
You may create a design that you want to edit but you don't want to change the library version, well you can hold down the alt or option key when you drag the item and that will create a design that is not linked back to the library. If the asset was originally a custom shape, the new design will still be a custom shape and you can edit the points etc using curvature tool, direct selection tool etc
10. Fill / Stroke color stored via the creative cloud library in Photoshop
Say you have a shape etc and you have a fill / stroke color that you really like and you want to save it, go to the + at the bottom of the panel and select the fill / stroke color option and it will be saved
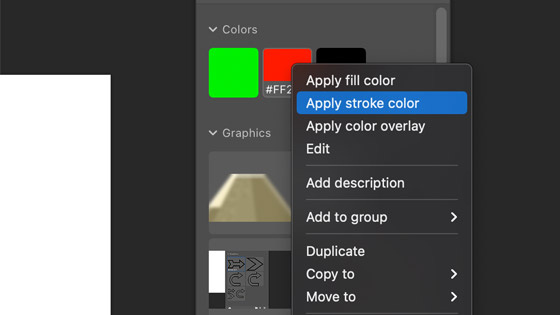
11. Creative Cloud Libraries Right click menu
There are a number of options that you can use if you have an object selected and you right click an asset in the library. The menu depends on the item selected so if it is a color
If it is a graphic, the list will be different (though some things are the same such as duplicate, add to, description, copy to etc)
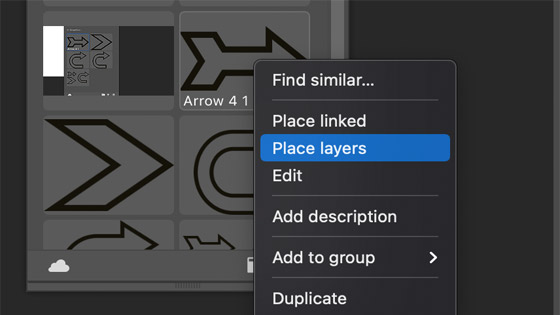
The duplicate and copy to etc and rename are useful to changing and moving items around the library. You can also add a description up to 130 characters.
You can also use the place embedded as well as place linked, the place embedded is the same as alt / option drag
12. Right side creative cloud library menu
There is also a super menu on the right side of the panel
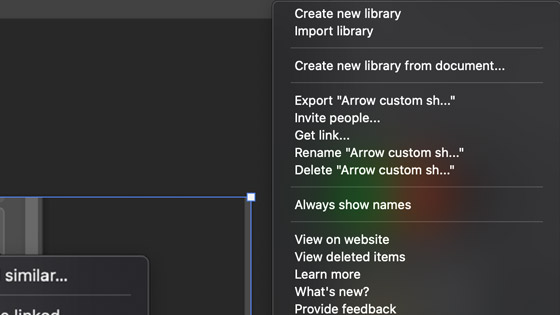
Where you can create new libraries, import a library, export the library as a cclib format and you can then import it later or perhaps for a client etc. You can invite people to check out the library, you can rename the library etc and you can also view all the library on a website (it is a cloud service). There is also the useful learn more and what's new and even more important, provide feedback (I love that kind of feature as I have tons of suggestions that would be useful for me but perhaps no one else)