Photoshop color channels Tutorial
graphicxtras > Adobe Photoshop tutorials > Photoshop how to tutorials
How to use Photoshop channels, channels can be used with brushes, effects (not all) as well as gradients and also shapes and patterns. How to create amazing color effects with the color channels in Photoshop. Use in red, green and blue as well as use with cyan, magenta etc. How to split and merge the channels. How to create a new alpha channel etc
** Youtube video tutorial on how to use the color channels panel in Photoshop to create all kinds of amazing colorful artwork **1. Where are the channels in Photoshop
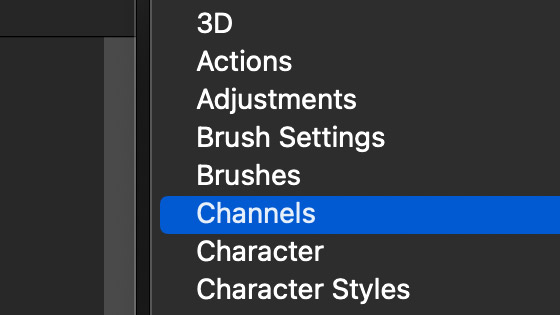
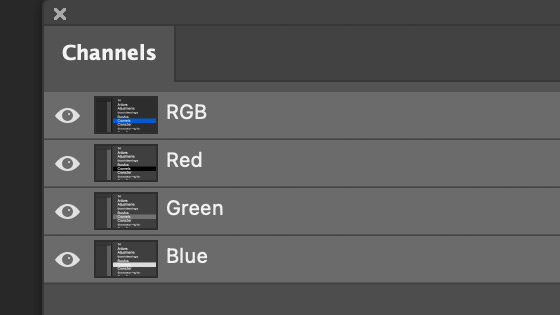
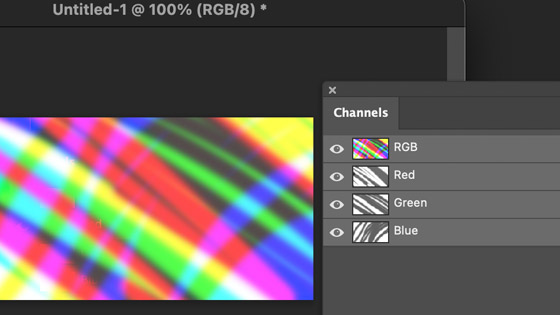
The color channels can be found via the window menu and channels. If you are currently in RGB image mode, the channels panel will display the red and green and blue channels. If you are in CMYK then you will see the cyan, magenta etc channels
The color channels panel displays the current channels. You can add additional channels to that panel
2. Basic use of the color channels - Gradients etc
You can do quite a lot with the channels but the basic use, simply select the red channel and you are then working in the red channel. Some of the functionality of Photoshop is not available in the single channel so you will some of the filters are not available etc but you can use many of the features such as the brushes, gradients etc
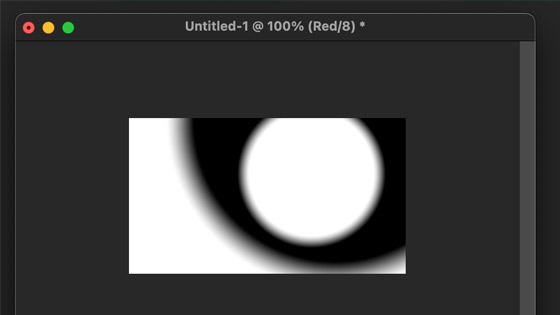
By selecting the red channel
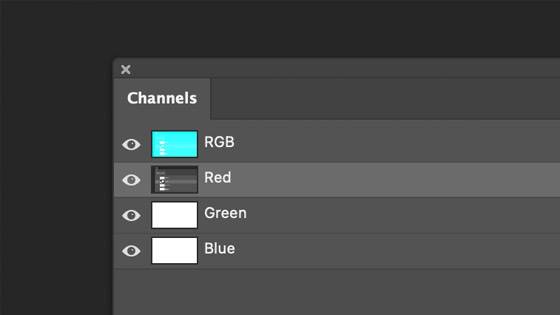
You can also select the green and blue or even just make them invisible by clicking the eye on the left
You can also apply brushes etc
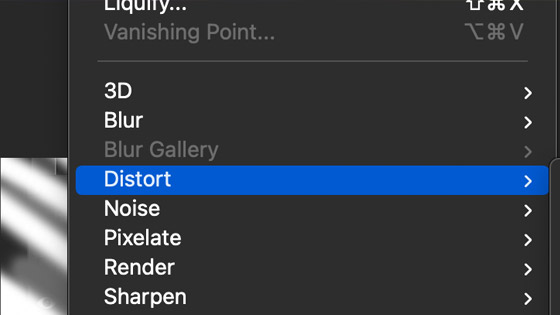
Or apply filters (note that all are available)
3. Channels functionality in Photoshop
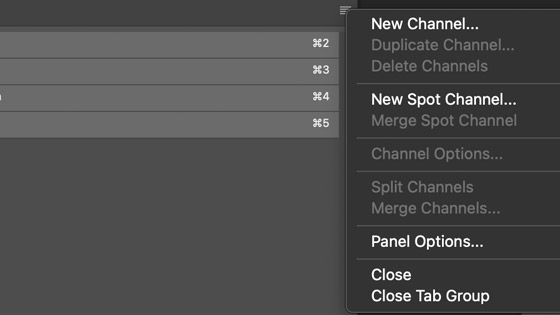
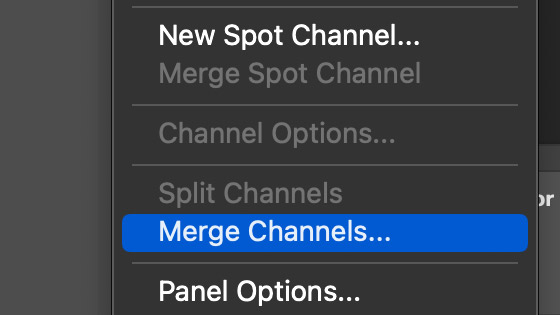
Go to the right side menu of the channels panel and you can see a number of commands such as new spot channel, split, merge etc
4. New channel in channels panel
You can go to the right side menu and select the new channel option. This does not create a visual channel on your image though. It does allow for some very interesting designs to be created though.
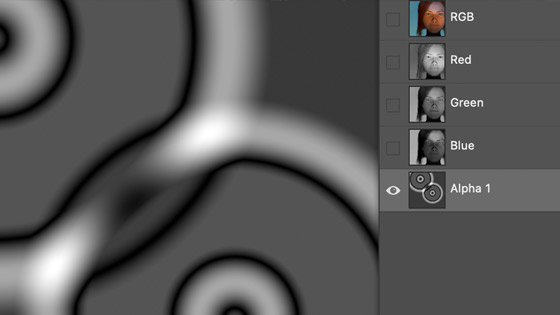
Right side menu and new channel. Go with the alpha channel.
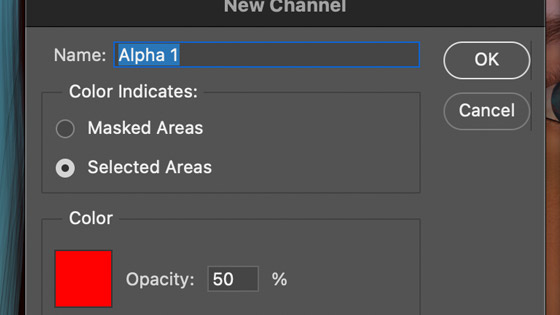
By default for some reason it doesn't seem to allow access to the alpha channel (maybe different on your version) but go to the RGB and then back to the alpha 1 and then you can access it. OK, now add a gradient or brush strokes etc and these are now in the alpha channel.
If you want to use this alpha channel as a selection then go to the select menu and load selection and select the alpha channel (in the channels drop down)
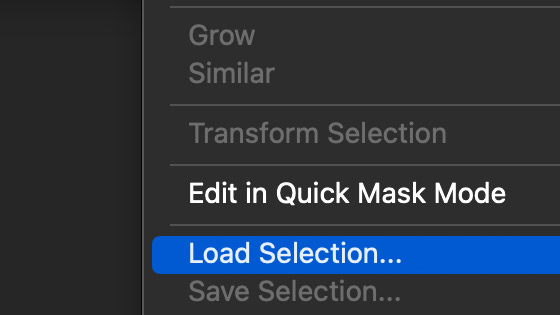
You will now see the selection from the gradients (and this could be any imagery perhaps an image or brush strokes or shapes etc)

And then apply effects etc based on the selection

5. Duplicate channels
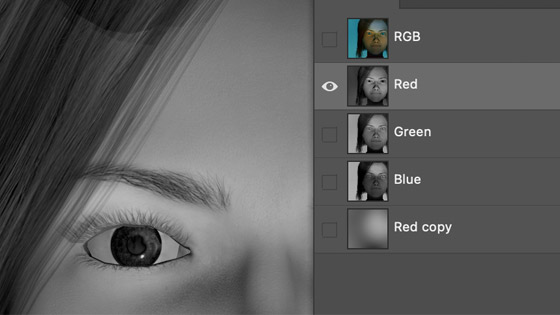
You can duplicate a channel via right side menu, so select the red channel and right side menu and duplicate command. You have two red channels. It should be noted that this does not become the red channel, even if you delete the original red and replace it with the new red because the green and blue channels suddenly change to magenta etc. Still it is a useful place to store data and you can apply effects etc to the new red channel and copy them into the actual red channel and perhaps even use blends etc as well as the edit menu fade command for the paste.
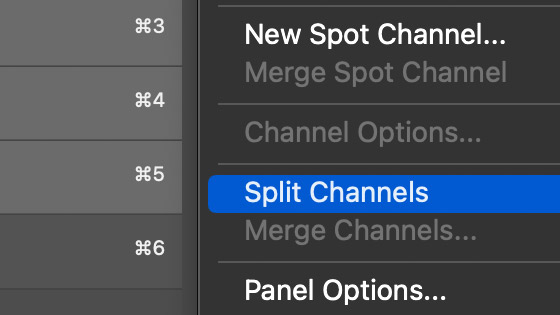
6. Split and merge channels
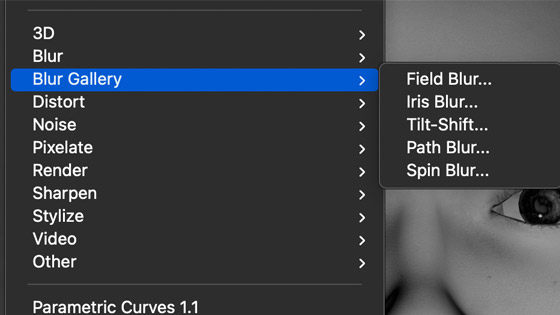
This is super useful for many purposes, such as if you have an effect that cannot be used in a particular channel such as blur gallery etc. You can use the right side menu command 'split' to split into multiple files for the red, green and blue (or whatever image mode you are using)
You will now see new documents marked red green etc and these relate to those channels (if you use a different image mode then they maybe cyan etc)
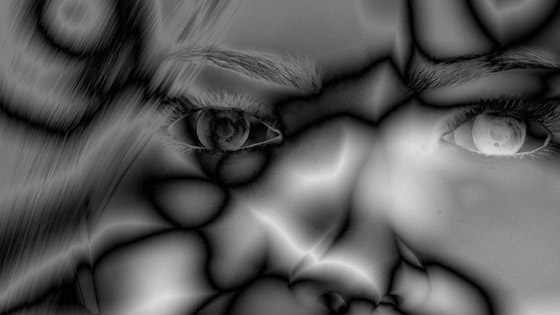
Apply effects etc on that image (red) and then apply the effects to the green and so on with different settings and different gradients etc
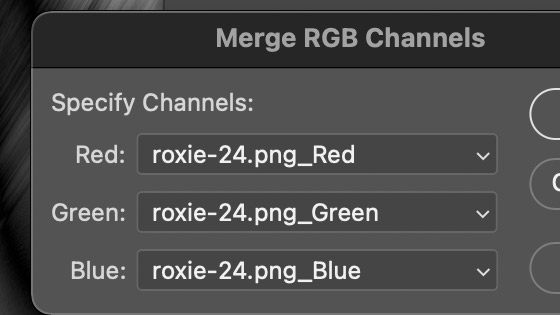
To put it all back together, go to the right side menu and merge command and merge the three images
You can take this opportunity to mess around with the channel names and files etc if you wish for the red green etc
To get the resulting image back again though you should note that merged file is untitled and a new document so any history etc is lost