Photoshop LUT / Color Lookup Tables Tutorial
graphicxtras > Adobe Photoshop tutorials > Photoshop how to tutorials
** Youtube video tutorial on how to use the Photoshop LUT / color lookup tables in adjustments as well as how to create new LUTs **
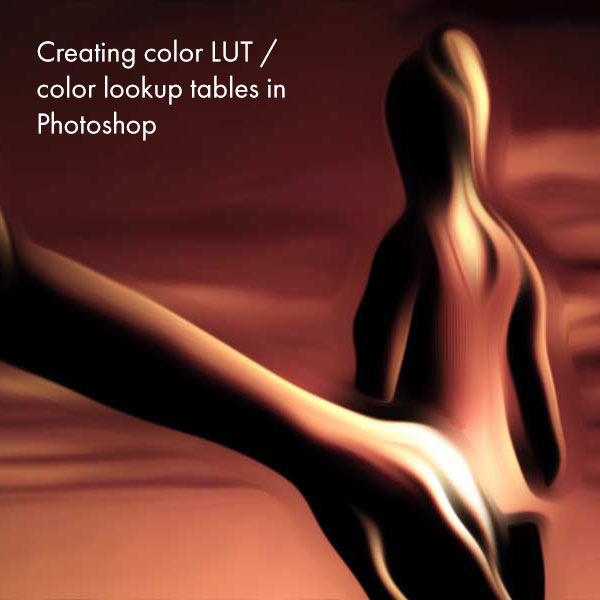
Learn how to create a color LUT / color lookup table in Photoshop tutorial. Color LUTS are a useful color manipulation tool in Photoshop (and other apps).
Photoshop includes a number of color LUTs for use with the color lookup adjustment in the image menu. The color LUT or color lookup tables for Adobe Photoshop include many color LUTs such as Fuji, Kodak Color LUTS as well as surreal color LUTs and color specific color LUTs such as turning an image green and red. Color LUTS or color lookup tables can be created in Photoshop and exported in a number of formats by using adjustment layers.
The color LUTs/ color lookup tables can then be loaded in the adjustment color lookup and used to manipulate all kinds of images. This tutorial is a guide to how to create a color LUT / color lookup table and how to use it to create an unique color to all your images.
-
Open image
-
Layer menu in Photoshop
-
New adjustment layer
-
Vibrance and set properties and OK
-
New adjustment layer
-
Curves and set properties and OK
-
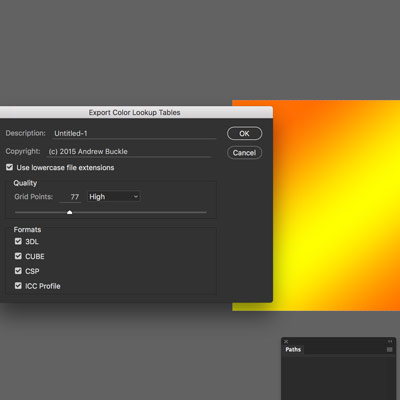
File menu
-
Export and Color lookup tables (for your color LUT in Photoshop)
-
Set quality and formats etc
-
OK
-
Save
How to use layer styles and blending modes to create even more interesting color LUTS in Photoshop
You can add two or three of the same adjustment layers (and why not) and you can also mix in opacity via the layers panel and also different blending modes (such as hard mix or hard light or difference) as well as other modifications to the layer (it is a layer in exactly the same way as a normal layer and can have all kinds of extra twists such as gradient overlays and satin to change the adjustment).
And all those changes will be reflected in the actual color lookup generated (not perhaps the best way to generate gradient overlays for use in other apps without the need for layer styles but it does seem to work in a garish way). Right, a gradient was added to a layer and then that was exported as a CSP etc file via the export command color lookup
-
New layer
-
Fill with white
-
Layer menu and layer style and gradient overlay
-
Apply linear gradient
-
File
-
Export
-
Color Lookup Tables
You can then apply it to an image
-
Open image
-
Image menu
-
Adjustments
-
Color Lookup
-
3DLut
-
Load 3D LUT
-
Browse
-
OK
You can also use fill pattern layers as a great source for color LUTs in Photoshop
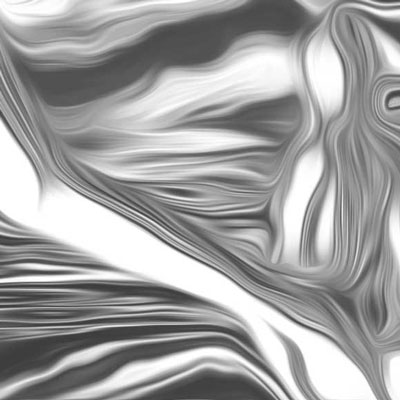
Weirdly, the export also can use other layers and not just adjustments so if you create a new layer and then fill that with a gradient or pattern or brush strokes, that also can be used as a color lookup - so much for the warning message about adjustment layers.
The image right uses a pattern layer made up of black and white scratches and lines (again, slightly blurred to reduce the file size) but the end result is more like the chrome filter found in the filter gallery.
Or using a combinations of gradients to a layer (and that is the key thing) though the actual result can definitely depend on the underlying image and how everything maps out.
To create the pattern based LUT
-
Layer menu
-
New fill layer
-
Pattern
-
OK
-
Select the pattern
-
Set the scale
-
OK
-
File menu in Photoshop
-
Export
-
Color Lookup tables
-
Set formats etc
-
OK
-
Browse and save
How to use an image as a layer for export as a color LUT in Photoshop
You can also use effects as well as just an image as a LUT export
-
Open an image
-
Layer menu
-
Duplicate
-
File menu
-
Export
-
Color lookup tables
You can now use them via the image menu and adjustments. You can apply the LUT multiple times to create interesting color effects