Photoshop Diagonal Line Creation Tutorial
graphicxtras > Adobe Photoshop tutorials > Photoshop how to tutorials
How to make a diagonal line in Photoshop as well as add dash styles, how to use the live shape features, how to set the weight of the line etc in Photoshop - a quick and easy tutorial
** Youtube video tutorial on how to create diagonal lines in Photoshop **1. Where is the diagonal line tool in Photoshop
There is a the live line tool and you can set it to a diagonal by holding down the shift key and drawing at 45 degrees
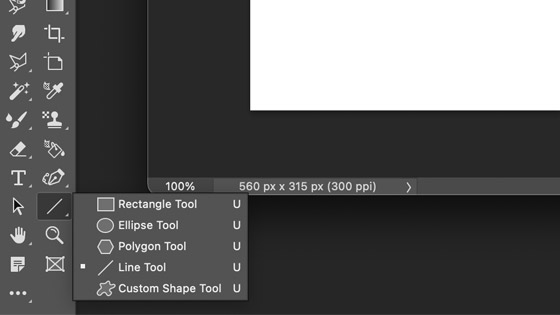
2. Draw a diagonal
Select the tool and then go to the top left and select shape or pixel and set the color and then set the weight setting then click the art board and start to draw
Hold down the shift and draw at 45 degrees. Don't hold down the shift key unless you want to combine the lines into a single design.

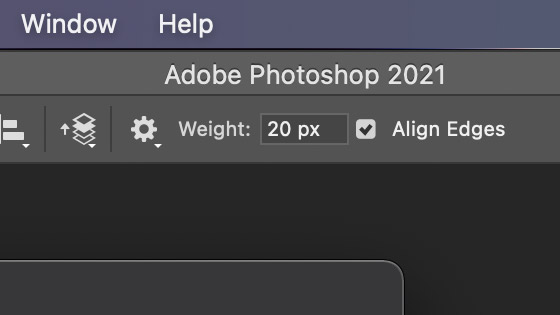
3. Mix different widths of diagonal
You don't have to use the same width all the time for the diagonal. You can set the weight to 10px or 30px etc and you can fill the diagonal with all kinds of different pattern fills as well as gradients and solid colors. Sadly, the weight feature is not available via the properties as a live feature of the diagonal. Set the weight before you start and then draw the diagonal and hold the shift to constrain

4. Diagonal both directions
All the above have the diagonal line going left to right, you can apply the diagonal in the opposite direction as well

5. Dashed diagonal lines in Photoshop
You can add a stroke around the diagonal by changing the stroke setting. This is a live setting that can be changed (as mentioned, weight is not).
You can also also set it to dashed lines via the stroke properties panel
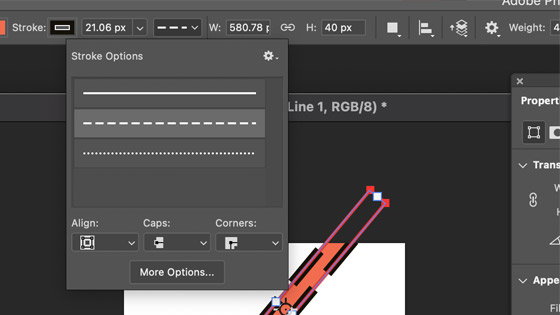
Set dashed to ON. Notice the diagonal itself is not a dashed design

6. Pen tool and diagonal
Select the pen tool and click on the art board. Hold down the shift key and then click elsewhere and angle approx to 45 degrees and you will end up with another diagonal. Set the stroke to black and set to the fill to nil and set the dashed to ON via the stroke options. Change the width of the line via the stroke weight setting
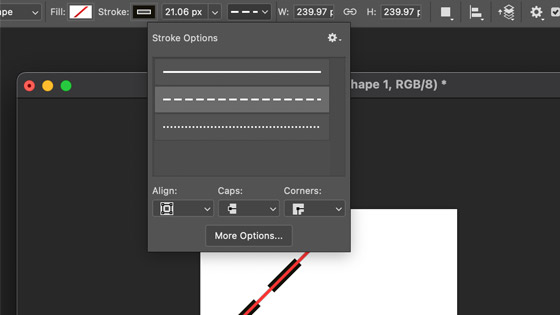
Such as 40px for the stroke weight

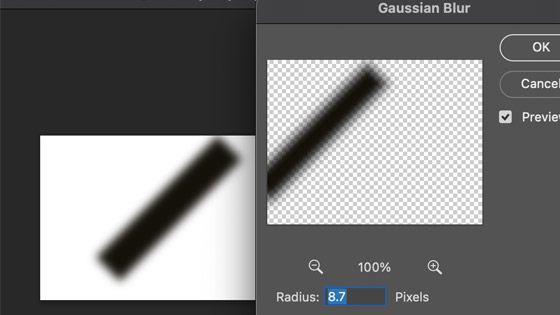
7. Add effects to diagonal
As the design has been created as a shape (set the option in the top left when using the tool), you can add effects to it. The design will be turned into a smart object and the smart filters can be applied and changed at any time. Go to the filter menu with the diagonal selected
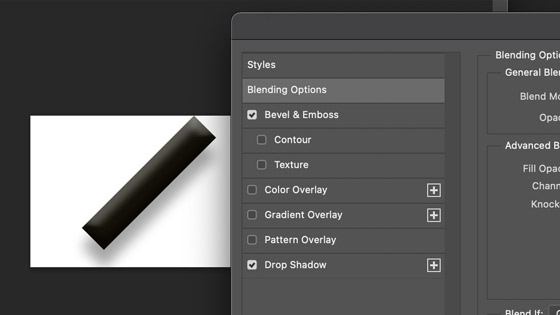
8. Add a shadow to the diagonal
As the diagonal is a layer, you can add layer effects via the Photoshop layer menu and layer styles such as shadow
9. Diagonal in pixel mode
You can also apply the diagonals in pixel mode. For a period, the pixel feature was not available for the line tool but it is back. Set to pixel and set the weight and color etc for the line and click on the document and hold the shift down and draw 45 degrees. You can repeat this multiple times and use different colors and blending modes and opacity to draw your diagonal lines

Use blending modes such as difference for unusual color combos of diagonal lines