Photoshop Honeycomb / Hex Frames Tutorial
graphicxtras > Adobe Photoshop tutorials > Photoshop how to tutorials
** Youtube video tutorial on gow to create a honeycomb / hex frame design in Photoshop **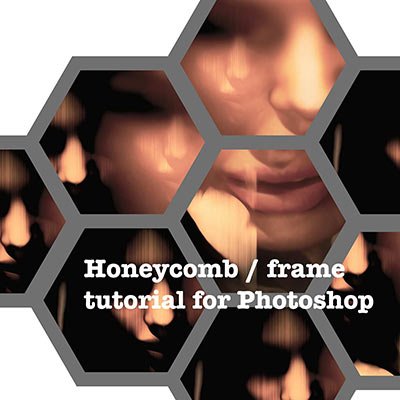
Learn how to create a honeycomb frame / insect eye / broken look in Photoshop.
The honeycomb frame is created using shape layers in the style of 6 sided polygon. The honeycomb frame is then created combining the Photoshop shape layer using the alignment features of Photoshop.
The key thing is to define the source image as a pattern. You can then use the pattern / image as fill content for the honeycomb cells (instead of a solid color). The honeycomb frame cells can also have a stroke added and set to any color. The fill content for the honeycomb frame in Photoshop can be re-sized and shifted to create unusual different views in each honeycomb cell. You can also apply effects to the original image and define those as a pattern and use those for the honeycomb frame cells.
This tutorial shows you how to create amazing honeycomb frame designs in Photoshop with any image. How to create insect eye designs in seconds using shapes and patterns in Photoshop.
Honeycomb frame - Image Setup so you can use the image with the honeycomb effect in Photoshop
The key thing here is the image that you want to use to create the honeycomb frame effect in Photoshop.
Probably works best with a very large image as the effect uses different views of the same image. Open the image and then go to the edit menu define pattern command. You can make certain that it has been defined by going to the pattern stamp tool and then checking the palette (I have noticed that sometimes I seem to have no change to the pattern palette so it is always best to check)
Create a new document or use an existing one with layers for the honeycomb
-
Create a new document or use an existing one with layers (up to you).
-
Go to the polygon tool (this can be found normally under the rectangle tool but it may not be there now as you can now change the toolbar via the customization feature in Photoshop).
Shape layer for the honeycomb using the polygon set to 6 sides
Set the type to a shape layer (not pixel or path) and set the color to black or a solid color or perhaps a gradient or different pattern. Set the number of sides to 6 and then create the shape. Align as required (I prefer the above polygon style).
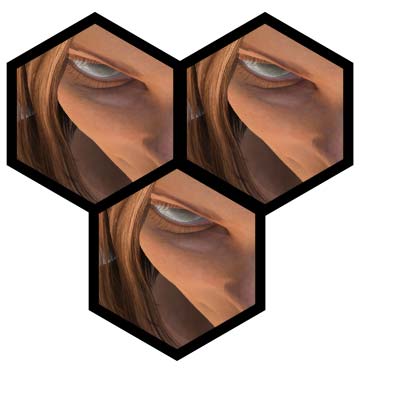
Now go to the layer menu and duplicate that layer. Re-size the polygon (duplicated one) using the bounding box and make it smaller than the original and then select both layers and align them using the horizontal and vertical alignment buttons. Now go to the top layer and set the shape fill to the previously defined image / pattern
Duplicate the 6 sided polygon / honeycomb layers and align in Photoshop
-
Select both of the layers and then hold the alt key down and duplicate the layers. You may wish to set the smart guides to on (done via the view menu) but you can also easily align them visually as well.
-
Position the layers in a honeycomb (loose or not) layout.
Shift image / random positions for the supplied images and the honeycomb
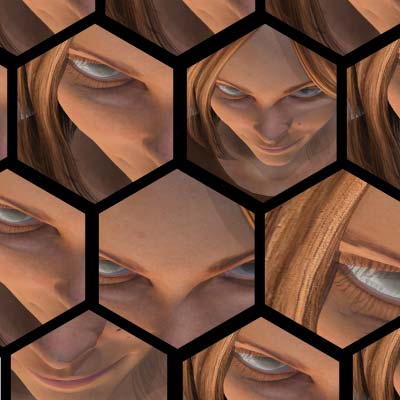
If you wish to use all the same images in all the frames then you can stop now and just flatten the image or not.
If you wish to create random different views of the same image then you can go to the layer menu and select the layer content option and then shift the pattern around (avoiding the seam though) so if you are using an image of a face then you can perhaps select the nose as the focus or the eyes or perhaps the lips and so on.
You don't even need to use the same face or image for the shape pattern, you can also change the pattern via the preset browser dropdown in the layer content so you could perhaps have different letters filling the scene.
So there you have it, a honeycomb frame themed design in Photoshop in a few minutes