Photoshop layer styles Border Creation Tutorial
graphicxtras > Adobe Photoshop tutorials > Photoshop layer styles tutorials
How to create amazing border designs in Photoshop using the power layer styles so you can create beveled / drop shadow borders, standard stroke border such as gradient etc, brush themed border designs, gradient themed borders for all your images and photos etc How to use selections etc. Many different designs can be added and then modified in countless ways
** Youtube video tutorial on how to use layer styles / effects in Photoshop to create awesome border frame designs **
1. Border designs using a Stroke
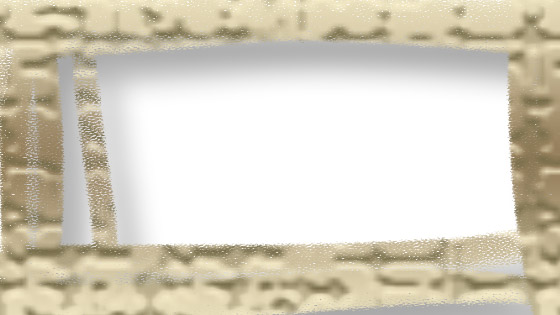
Select a layer in the layers panel and then goto the layer menu and layer styles and stroke and then set the size to greater than 0 and set the position to inside.
You can set the border to be any color such as a solid color but you can also fill with a gradient as well as a pattern via the stroke panel by changing the fill type to gradient etc. To change the stroke at any point go to the layer and double click the stroke entry
2. How to create a super quick border by using two basic rectangles or any other paths and then using the combine shapes command
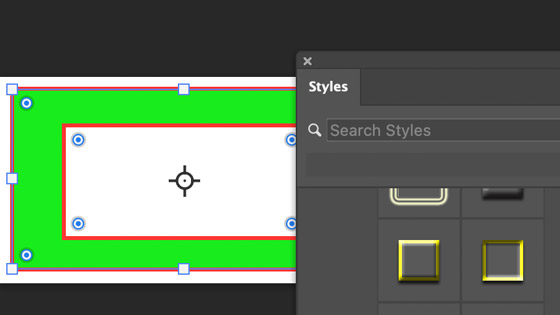
You can create borders in numerous ways such as using a combination of shapes. Create a rectangle (select shape as the option in the top left) by using the rectangle tool. Create another rectangle shape but a little smaller and then align the second shape on top of the first shape and then select both via the layer panel and then go to the layer menu and then combine shapes and use the subtract front shape
You can now add any style to this by going to the styles panel via the window menu and selecting a style
Or create a style for it via the layer menu and layer styles

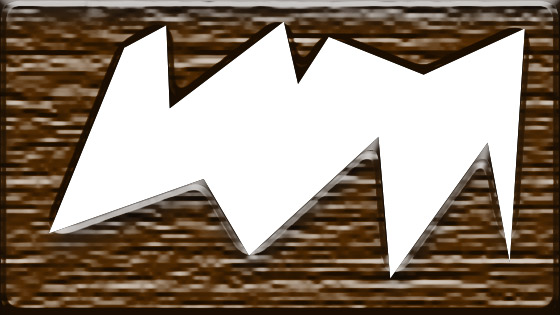
3. How to use selections to create super fast borders Effects for your photos in Photoshop
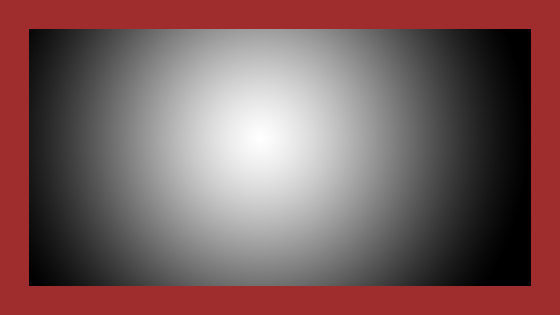
You can also use a selection to create a border for the style. Select the part of the image you want to border with the marquee tool and then go to the select menu and invert the selection and then fill the selection with white or black or solid color. With the result, copy and paste and the result will be a layer on top of the image which can then be used as border.

With the new layer, apply any of the styles

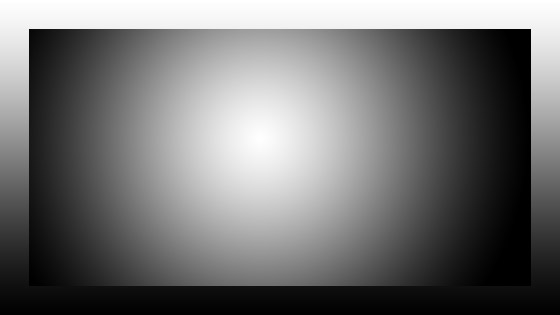
The selection can take many forms so all kinds of possible borders can be quickly created using this approach and not just using a rectangular selection such as using the polygonal lasso selection tool instead to create the selection.
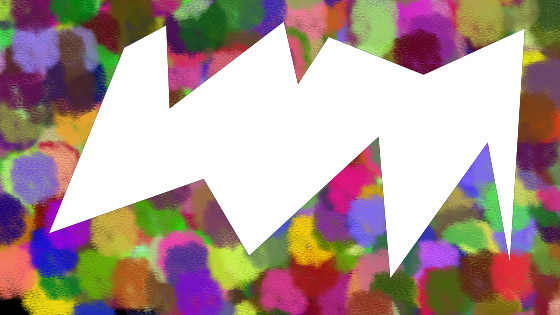
4. Brushes as a border effect
You can fill a selection with all kinds of brush strokes to create amazing borders. Create a quick selection using the polygonal selection as above. Select the brush tool and select a brush stroke from the presets. Copy and paste the selection and then go to the window menu and brush settings and set the scattering dynamics and color dynamics. Apply the brush stroke to create a super colorful frame with a variety of brush strokes
Go to the layer menu and layer styles and add a bevel or drop shadow to your border design.
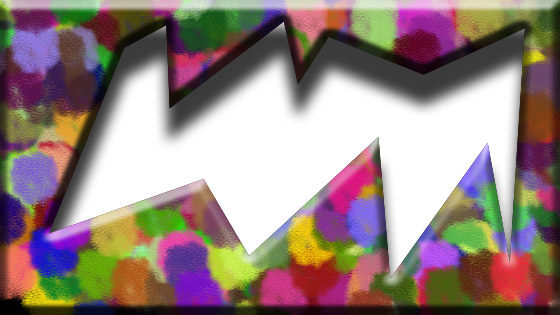
You don't even need to create a selection. You can add a new layer and then add the brush strokes to that layer and draw around the edge of any image and that will be the border. Apply the brush stroke in black and gray if you wish.
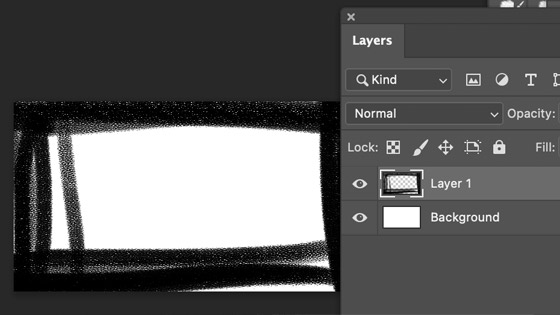
You can then add a style to those brush strokes via the styles panel