7000 Photoshop Styles / Layer Styles
graphicxtras > Adobe Photoshop tutorials > Photoshop layer styles tutorials
Photoshop styles / layer effects are a powerful feature of Photoshop.
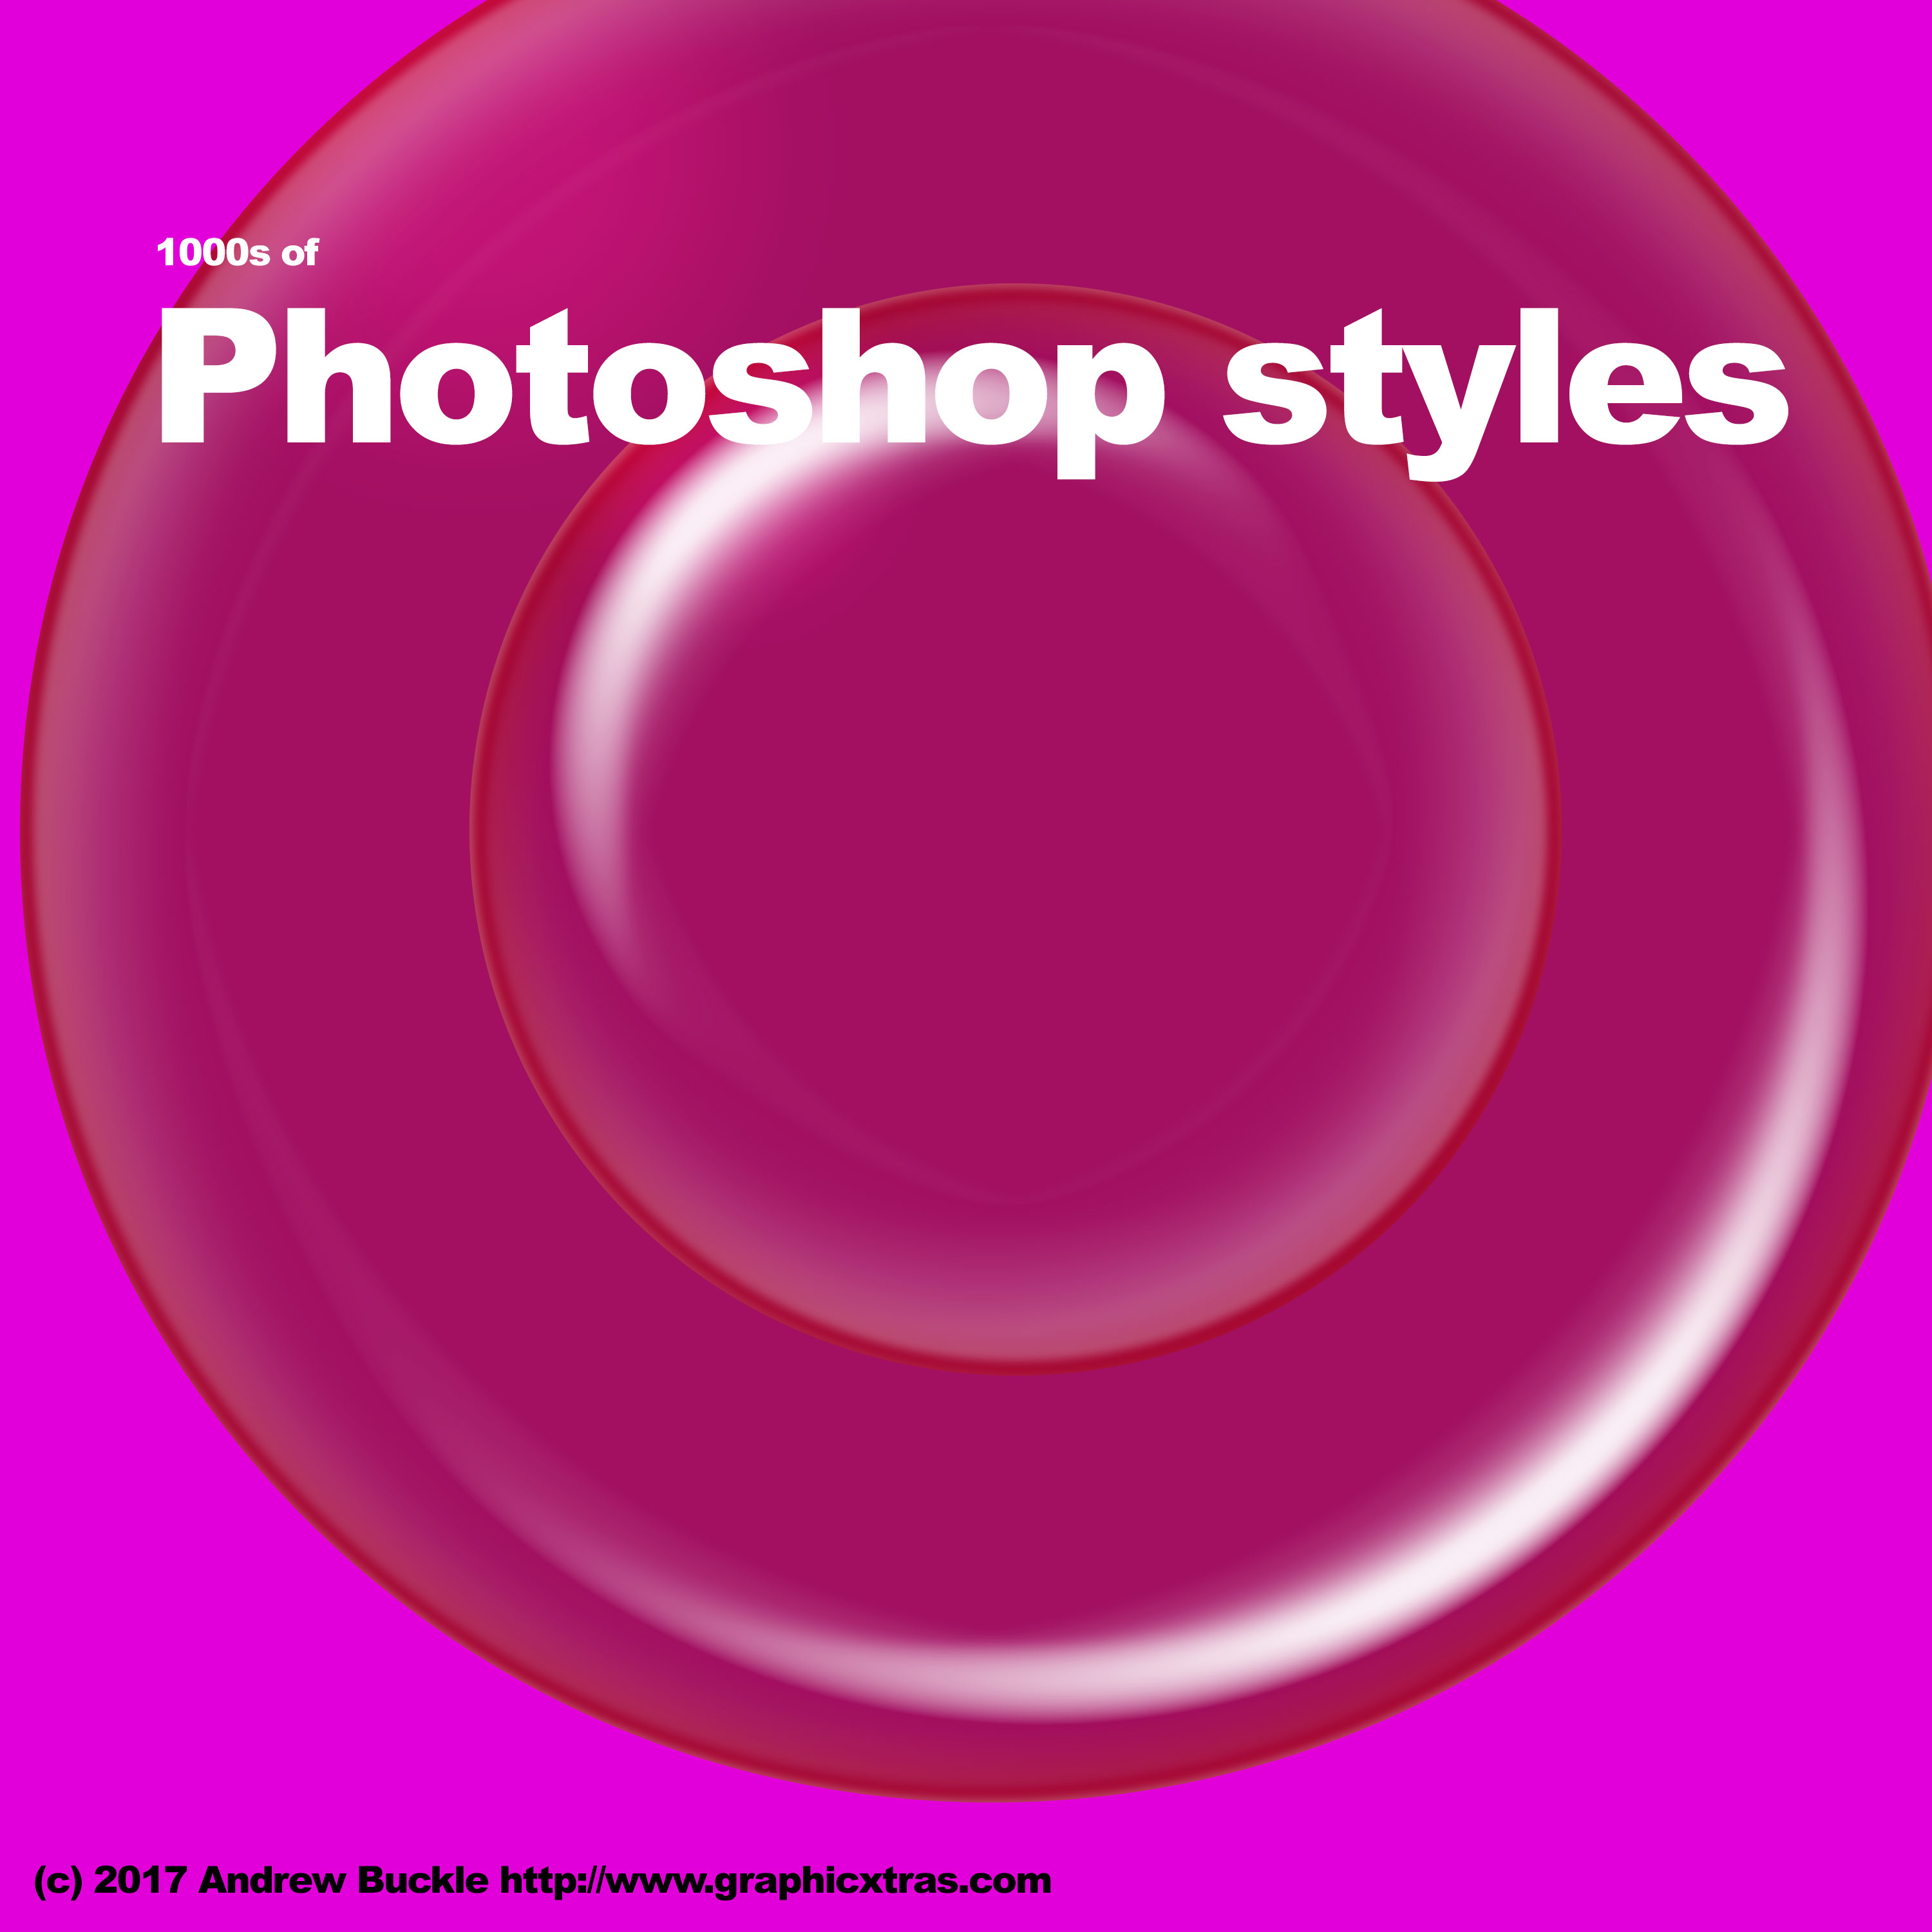 The Photoshop styles can be used with layers as well as type layers and can be used to create wonderful frames and button designs and more. The Photoshop styles include many different combinations of gradients, inner glows, outer glows, bevels, pattern overlay, contours, satin and strokes.
The Photoshop style effects include metallic designs, intense gradients, weird super colorful styles, basic flat styles, intense background styles, etc. The Photoshop styles can be applied as a one click effect in seconds via the styles panel to any layer.
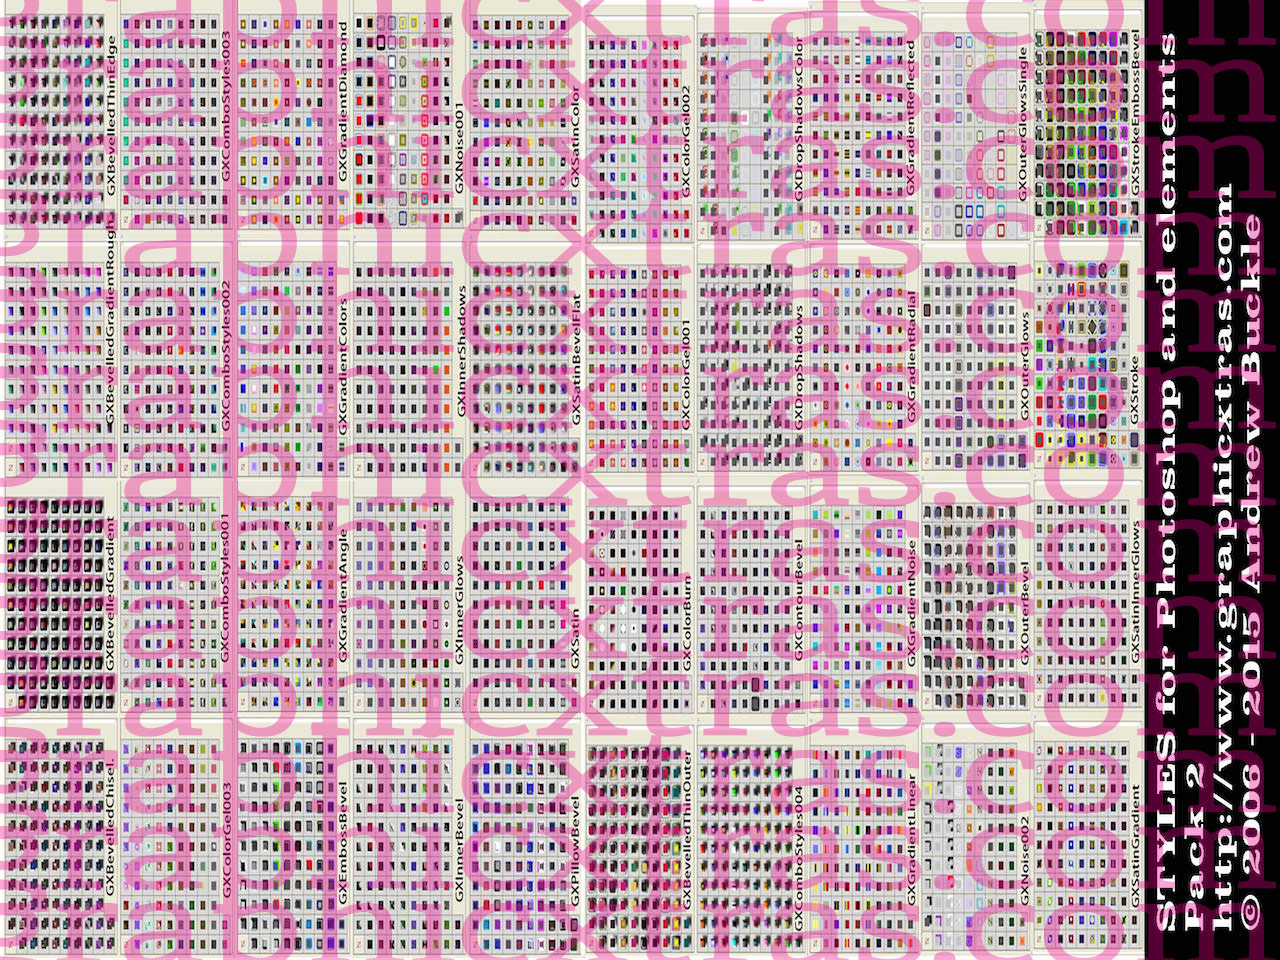
You can also edit any of the Photoshop styles applied via the layer menu and layer styles command. You can also add additional gradients and glows and strokes etc as well as modify the bevels and patterns and color overlays used in the Photoshop style. Photoshop styles are stored in standard ASL format and can be loaded into Photoshop and elements via the styles panel as well as preset manager.
The Photoshop styles on this site are royalty free, all are for commercial and personal use, all are by graphicxtras.com.
£6.50 GBP (Approx $7.50, 7.25 Euros, 900 Yen, 11.70 AUS etc), download, ASL format each
BUY ** 4000 Photoshop styles / Layer Effects ASL (V2) Styles for Adobe Photoshop and Elements
BUY ** 3000 Mixed layer effects ASL (V1) Layer Styles for Adobe Photoshop and Elements
How to install the Photoshop styles
Load them via file menu and open command or via the panel load and replace commands. Access the layer effects via the presets panel. Modify effects via layer dialog or scaling. Apply to text as well as images and layers.
How to install the Photoshop styles
They can now be installed in the c drive 'user' appdata roaming Adobe / Adobe ® Photoshop ® folder presets 'styles' folder on the PC / Windows if you have a non privileged account though it does mean you have to select your current version of Photoshop and add the ASL files in that. On the Mac, if you have a non privileged account then you can add them quickly to the library section for your user account and into the 'application support:adobe:Photoshop 17:presets:styles' and again this will depend on the version that you are using. If you are using a privileged account then you can add them into the applications folder (mac) or program files (pc) and the 'adobe photoshop CC XXXX' Version dependent) presets 'styles' folder. Once they are in those folders you can then quickly access them by name via the presets panel for the styles
Another option to installing them is to just add them to a 'styles' folder and then right selecting the ASL files and selecting the open with Photoshop etc command. Or another option is to use the presets panel itself and use the replace or load command
Multiple options for the style
The layer effects now includes multiple shadows as well as multiple glows and gradients and more. You can still use the old ASL files and also use them as a springboard for even more amazing effects. The ASL format is now different and any effects saved with be saved in the newer format. Sadly, the patterns etc have no multiple settings as bevels / textures which slightly baffles as it would be a really nice addition to the tool. Perhaps one day, 3D effects / reflections etc will be also added to the layer effects (such as in other applications such as Affinity Photo). You add the style to the CC libraries via the new command and you can then access the layer effects via the CC library instead of displaying the presets panel (this is useful in that the effects are then saved to the cloud and can be accessed via the others in your team without sharing the ASL file)
How to set the Photoshop styles as default settings for PS layer effects
If there is a particular effect setup that you like for say the drop shadow, you can always click the 'make default' and that will mean the next time you create a shadow then that set of distance, spread, size settings will be used.
How to add feathering / blur to the Photoshop styles
With CS6 / CC - if you select the layer, you can now go to the properties dialog and change the feather / density (blur of the edges) for the path - this also can be used in combo with the layer effects - so an image can have a tile effect, stroke and now it can also be blurred (in some ways, it would have been a nice addition to the layer effects dialog but then, I guess, the ASL files would have had to be changed to save the blurring effect and that would have resulted in modifications to the format). The blurring can be used to create some truly unusual layer effects with any layer or perhaps text. You can also use density / feather feature in the properties to create some really extreme color effects across an entire image
How can I modify the Photgoshop styles via the layer effects panel
The Photoshop styles / effects are not fixed in stone. You can modify the effects by selecting the shape (with the effect such as shadow / bevel etc) and going to the layer menu and the effects dialog to change the shadow / stroke etc You can also go to the layer's panel and double click the 'shadow' 'bevel' etc to display the related dialog and change the shadow / bevel etc that way They also can be modified by applying smart filters (turning the shape into a smart object) - the layer effects are still accessible and can be modified as before by double clicking the smart object icon (and editing the PSB document associated with that layer)
How can I use the Photoshop with smart objects
You can use the layer effects and Photoshop smart objects to create a near infinite combination of layer effects to any layer / text. Select a path (text say) and then go to the layer menu and apply a shadow etc and then go to the layer menu and smart object option and you can then turn that into a new layer type. The smart object can then in turn have a new layer effect set (shadow, bevel) applied to it and this can be repeated and repeated - at all times, the layer and the layer effects as well as any actual filter effects applied, can be altered during the creative process. Double click on the smart object entry on the layer menu for that particular layer. You can also just flatten the result to remove all the smart objects / smart filters.
How to use the Photoshop styles with layers
Use the effects with custom shapes / layers in Photoshop and Photoshop Elements. The effects from graphicxtras.com are all stored in 6 format and can be used in all versions from that ( 6 still works fine on Windows 7.. They can be applied to layers (such as basic layers as well as text layers and custom shapes). There has been no real change to the format of the ASL file since the early days of the creative suite. Elements uses them but PSE has limited options to editing the effects and some of the features / sub effects are not even accessible.You can use them with background layers as well, just click the little lock in the layer panel and then add all kinds of colorful ASL effects to that. Great for an instant abstract background as well as perhaps more subtle sunrises etc
Use the layer effects in combo with brushes to create more ornate brush effects via a new layer. Create a new layer and select a brush and set the color of the brush via the toolbox. You can pre-select the layer effect or apply the layer effect post brush strokes. You can use with any of the brush tools. You can also apply any of the layer effects such as drop shadows erc, any of the effects from the packs from graphicxtras can also be applied to create super colorful brush strokes in seconds. You can, of course, create multiple layers with multiple brush strokes and apply multiple different layer effects and shadows to those brushes - so you can create a multiple shadow brush stroke image over multiple layers, these can then be grouped and turned into a smart object which in turn can also have additional layer effects applied. Brushes and layer effects can be used to create wonderful images in an isolated area instead of just applying to an entire design or layer. You can also just select the eraser tool and erase the applied layer effect - so shadow and gels and bevels can be just as quickly removed.
How to use create wonderful frames and edge designs with the Photoshop styles
Use the effects to add awesome edges to images. A quick way to do this would be to select a region, inverse that and then copy the selection and paste. The new layer based on the selection can then have a pre-defined ASL applied or use that as an initial point and then modify it via the layer effects menu. The edge can then be flattened with the other layers. Millions of different edge effects can be applied in seconds via the layer effect panel. The edges does not need to be a rectangular either, it can also be a rough / distressed artwork and much more - the key thing is the inner part to allow for the image beneath to be seen. You can also use masks to create a quick edge. Open a document with a picture and then create a new layer and fill with black - apply a layer effect to that layer and then select the quick mask option on the toolbox. Then apply a brush stroke to fill the region you want for the visible part of the modified image - then exit the quick mask mode Via the PS toolbox) and then select invert and cut the selection
How to create web buttons with the Photoshop styles in one or two clicks
Use the effects to create web control buttons for web pages. There are also many additional web control available on the web. Recently a new version of Alien Skin's Candy filter set Version 6. has been released and it includes many new possible web effects (though these are not layer effects). Many of the effects included in the various packs include bevel settings. If there is no particular bevel setting for a particular layer effects, you can always add one by going to the layer menu to display the layer effects dialog. The bevel can then be set to an inner bevel, emboss, stroke emboss etc. Shading can also be changed, gloss, shadow as well
How to use the Photoshop styles with text and type
The presets can be used with text to create awesome text effects. Use layer scaling to tweak settings as well as go to the layer menu and the layer style dialog and change the various bevel, settings as required. As the text can be 5pt or 50pt is virtually impossible to match the style exactly to the text. Personally I prefer to change the text into a custom layer and then apply the layer effects but you then lose the option to be able to change the text if you suddenly notice there is a spelling mistake or the client wants a change to the project.
How to scale the Photoshop styles via the layer menu in Photoshop
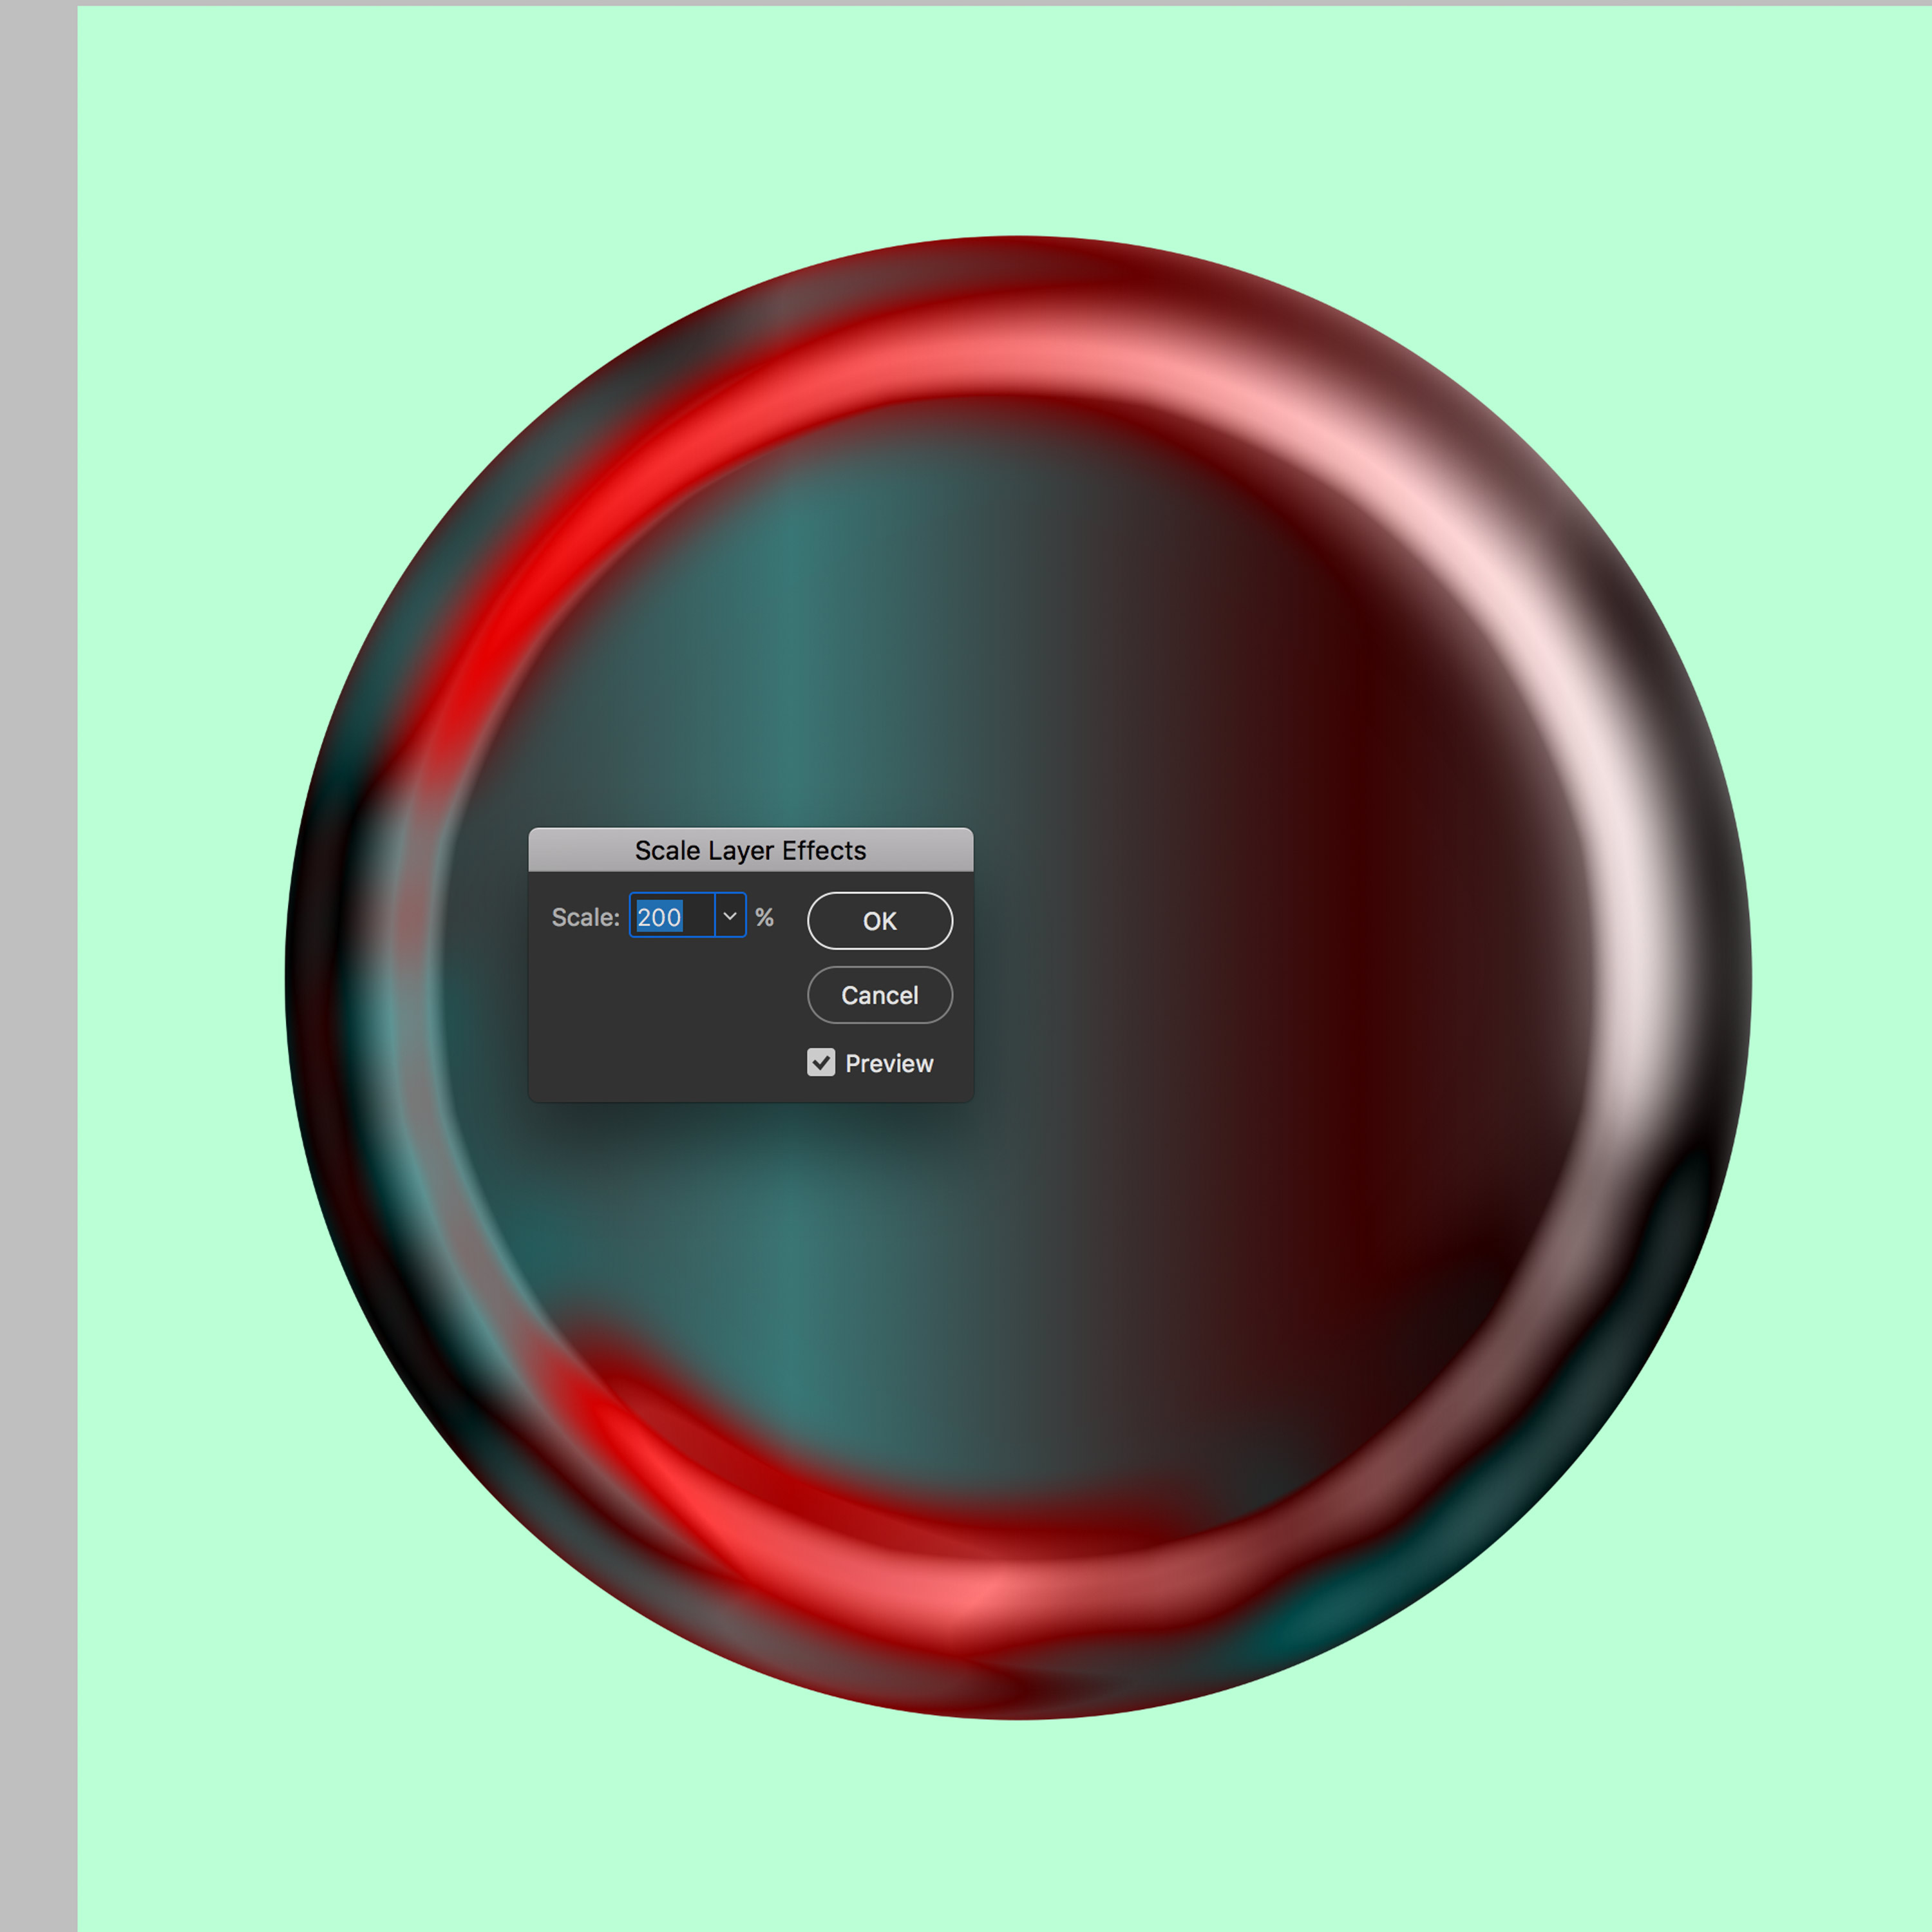
Use the layer scaling dialog to tweak the layer effect without going to the layers dialog. You can find the layer scaling command in the layer menu. The layer scaling command can radically change the effect applied especially if using a satin or bevel effect. Some of the effects are only subtly changed by the layer scaling command such as stroke or drop shadow. Using the layer scaling you can virtually create nearly infinite layer effects from a basic set of ASL effects - an effect that looks rubbish might suddenly turn into magic by the slightest change to the scaling setting.
-
Select layer
-
Apply layer effect to the artwork
-
Go to the layer menu
-
Layer style menu
-
Select layer scaling (bottom of the menu)
-
Change slider setting as required from 100% to 200% or 50% etc
-
OK
How to use the Photoshop styles with layer comps
Layer Comps are superb - they are a great way of organizing your work (ok, I am certain they could be done better and I would love to see more options added such as perhaps live effects) - the key thing here is that you can use them with layer effects. Create a layer and then apply a layer effect and then go to the layer comp panel in PS and create a new layer comp (saving the appearance, visibility and position). The current position of the drop shadow and the bevel etc are all saved. Now go to the layer comp panel and you can select the comps and then the layer effect will change as set at the time of the comp creation (you can also update the comp so it is not cast in stone
How to warp the Photoshop styles
Use the layer effects and warping transformations for amazing visual effects. The standard warping via the edit menu transform warp can be used with the layer effect by applying a shadow or bevel to a path and then converting the text or artwork into a smart object, the image can be warped in 100s of ways using the edit menu puppet warp command. The puppet warp effect seems to pull the color / layer effect away from the layer and distorts the effects in many weird and wonderful ways.
How to add perspective effects to the Photoshop styles
Use the layer effects via the pasteboard or VP dialog for weird and wonderful perspective effects. To do this, apply a layer effect to a layer and then go to the filter menu and select the vanishing point option. You can set up all kinds of unusual VP for the design - use to create truly wonderful perspective effects (works great with layer effects applied to text).
How to combine with blur effects etc
CS6 comes with a selection of wonderful new blur features - the blurs can be used in combination with the layer effects - apply field blur, iris blur, tilt shift, bokeh live effects and more to the effects to create smeared and weird color effects with all the effects in the ASL files from graphicxtras. A dialog will appear and say that the layer needs to be rasterized. Once that is done you can manipulate the blur settings in many different ways by moving the control pins - use the control point or the slider settings. You can apply multiple pins to the layer effect text (or layer) as well as multiple filters
How to use them with effects
You can apply standard plugin effects to the layer effects. Create a new layer and then apply a layer effect (gel, metallic,) and then flatten the art and apply a filter such as blurs, gallery effects / filter gallery. You can also apply a layer effect to text and then by converting the layer into a smart object via the layer menu convert command - you can apply live effects / smart filters such as blurs and pinch effects to the layer effects. As the object is a smart object, the filters and the object and the layer effects can be changed at any point. Just go to the layer panel and double click the smart object and change the layer effect. Sadly, the layer comp doesn't seem to take into account smart objects.
Recommendations
"From my perspective, using tools from Abneil for Adobe ® leads me to places and creations I would never have arrived at without them. The path itself is exciting and allows my artist's soul to play freely and happily." from Carol Goodell Bingham Farms, Michigan, USA Member: MacGroup Detroit/NAPP