Photoshop random color square grid Pattern tutorial
graphicxtras > Adobe Photoshop tutorials > Photoshop patterns tutorials
** Youtube video tutorial on how to create a random color square grid pattern in Photoshop - create amazing wonderful colorful grids using the guide layout feature **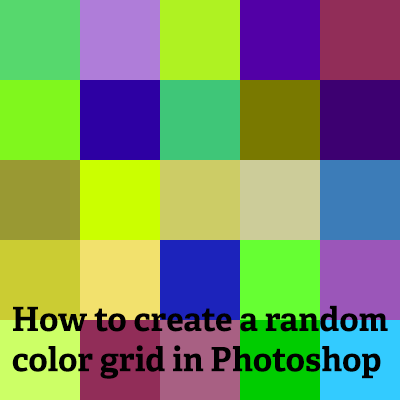
-
View menu
-
New guide layout and set to 5 x 5 etc
-
View menu and snap ON and snap to guides
-
Rectangle tool
-
Draw square in cells of the guide layout
-
Change color via properties to a random color
-
Repeat for each cell in the square grid
How to create a square grid filled with random colors in Photoshop. Create a guide for the squares via the view menu and new guide layout and set a cell size for the random color filled squares. Select the rectangle tool and draw a cell using the snap to option for the guides. Change the color of the squares for the random color filled square grid. Repeat for all the cells.
You can also fill the square cells of the random color filled grid with images. You can also use rectangles instead of squares and fill rows and columns of the color grid. The random color filled Photoshop square grid can be re-colored by using adjustment layers and effects to change the color. You can also define the random color filled square grid as a Photoshop pattern via the define pattern command.
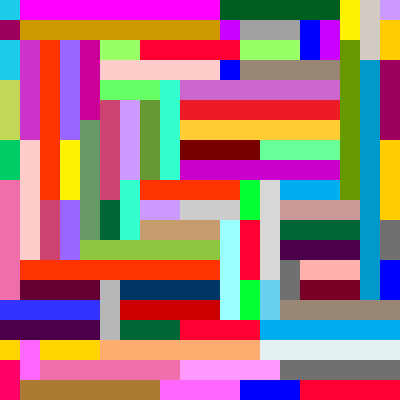
This tutorial shows you how to create a very colorful random color filled square grid in Photoshop along with a number of variants.
You can set the size to any size you wish such as 4 x 4 and 16 x 16
A square grid in this tutorial. One made up of multiple square grids. You can make all kinds of random color grids, of course, such as rectangle or perhaps thin slivers of fills - the approach is much the same. Likewise, the random color grid can be 4 x 4, 200 x 20 or 10 x 30 etc. The basic approach is the same.
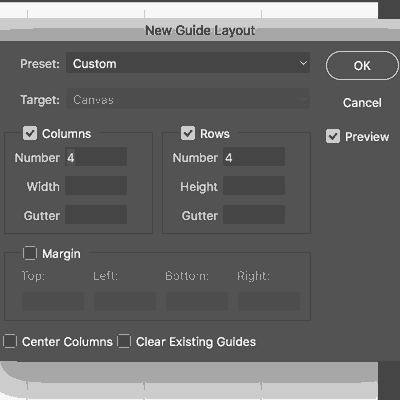
The key thing is guides and setting the snap to ON
-
Go to the view menu in Photoshop
-
New guide layout.
-
Create a basic columns 4 x rows 4 (or 5 x 5 etc) with no gutter etc and you will end up with a nice 4 x 4 set of lines which can be filled.
-
View menu
-
Set "snap" to ON
-
Snap to only "guides"
Draw the squares using the generated layout - super fast and easy
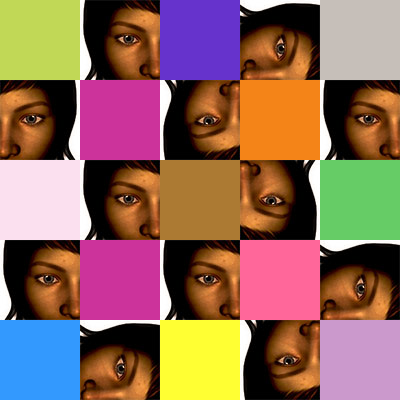
Use squares but it could as easily be rectangles. Also, you don't have to fill each and every square. You can also fill the square and then add an additional stamp (image) or another path etc.
-
Select the rectangle tool in the Photoshop toolbar
-
set to shape layer option
-
Go to the settings along the top option bar and set to square (instead of unconstrained)
-
View menu
-
New guide layout 6 x 6
-
view menu snap ON and snap to guides
-
Draw square
-
Set the color for the square via the properties
-
Repeat this with different colors
Change the artwork at any point, all kinds of unique designs are possible
-
Go to the view menu
-
New guide layout
-
Set columns to 20 and rows to 20
-
View and snap ON
-
View and snap to guides ON
-
Go to the rectangle tool
-
Shape layer option
-
Create a rectangle and stretch a number of cells down (keep it only one cell wide or one cell deep)
-
Go to the properties panel (window / properties) and change color
-
Create another rectangle
-
Change color via properties
-
Repeat and fill the design
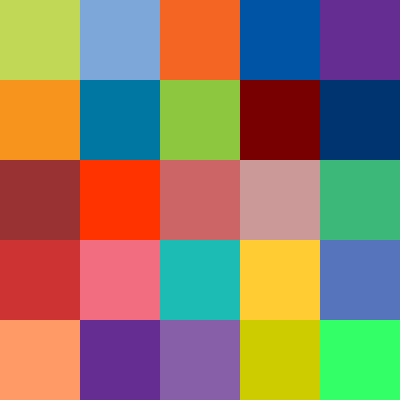
The design can be added to and changed indefinitely. The key thing is to test out the pattern (if you want it as a repeating pattern) and also just to check for any colors that just don't see right (such as the long blue line that stands out in my image)
Use swatches to fill the colors of the artwork - very simple and quick
You can set the color to any color - best select via the swatches (but it is your choice). If you want the colors to be different in each square of the Photoshop pattern then make certain you set different colors to the one above, left, right etc
Also remember to do the same for the cells to the left of the left and to the right of right etc which should avoid matching the left to right and right to the left and top to bottom etc
-
Rectangle tool
-
Set to shape layer option
-
Set color to blue via properties
-
Apply another square
-
Set color to green via properties etc
-
Repeat
-
Check that no blues are connected to other blues etc
Now save the artwork for use as a seamless tile for all your projects
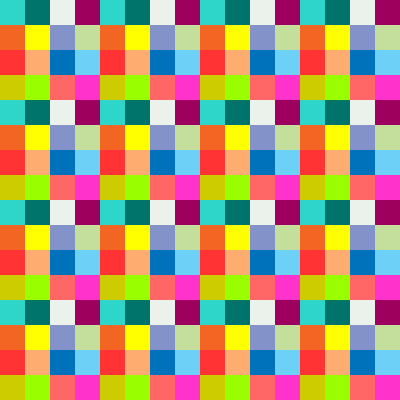
Go to the edit menu and define pattern command in Photoshop to create the pattern preset and use it in future work.
Add the fill via the edit menu command or the layer menu new fill content or via the layer styles etc
Edit menu in Photoshop and Define pattern. Goto the Layer meu and New fill layer and Pattern and click OK. Set pattern to new random color grid and Set scale and OK
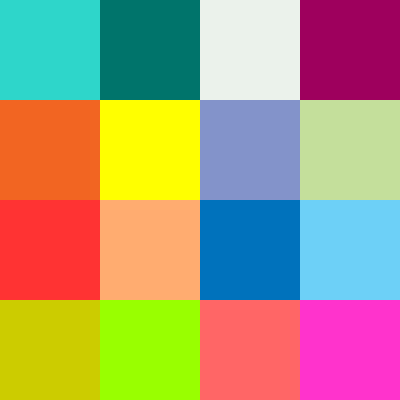
You can create all kinds of variant tile artworks and colors to play with
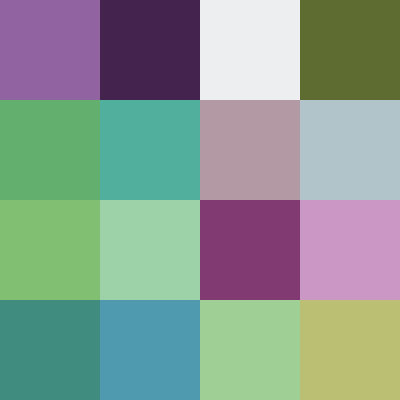
You can re-color the random color grid in Photoshop by using adjustments such as color filter / hue and saturation etc and the results will still be pattern (sometimes perhaps better than the original).
You can also use the Adobe color themes to help set up a nice color scheme for your grid. You can also add additional paths on top of the artwork.
The one on the right is the same as the random color grid above but via the hue and saturation adjustment and saturation reduced.
You can duplicate the artwork and then scale the grid by 50% and then use blending modes via the layer panel to combine them to create ever more interesting tiles for use in PS. You can also use the results of any of the experiments as a possible brush via the edit menu define brush command (though the result will be grayscale).
Or save the result to a PSD file and then use the artwork as a source for displacement maps
Or you can just warp the resulting fill and random color grid layer
-
Create random color grid
-
Layer menu in Photoshop
-
New adjustment layer
-
Hue & Saturation
-
OK
-
Change adjustment via properties for layer
Use the artwork in other applications as well such as Affinity Designer
I have been mentioning Photoshop patterns but the same artworks can be used in Affinity Designer etc just by saving the item as a PNG and loading that via the various pattern / bitmap features in those apps.