Photoshop Random Fill script patterns Tutorial
graphicxtras > Adobe Photoshop tutorials > Photoshop patterns tutorials
A quick guide to creating random fills using the random fill script in Photoshop fill command tutorial. Use any of your patterns with this powerful script that can be used to control the density, sizes, color randomization etc to create truly awesome random filled designs in Photoshop
** Youtube video tutorial on how to use the random fill pattern script feature in Photoshop to create all kinds of amazing artwork inc. noise designs and more **1. Random Fill Set-up
Firstly, you need a pattern. That is key, set up a pattern. You can also set up multiple patterns as use those as sources for the Photoshop random fill. Create a new document with a transparent background or use layers and remove the background layer before defining the pattern. You can use a non transparent background as a source but the result will be a square design, using transparency means the pattern can be any shape and the result will not end up in squares.
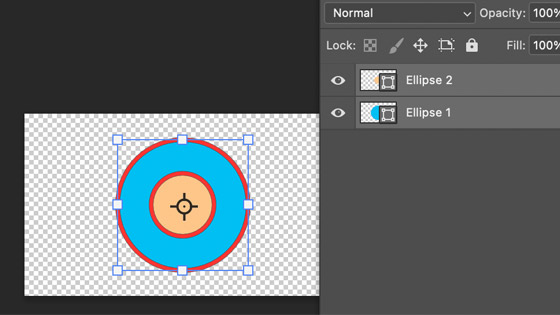
Another issue is the size. I generally go for a fairly small background compared to the end result document, so if 1000 x 1000 end result, I work with a 200 x 200 size of pattern and so on
The pattern can be made up of anything such as shapes, images, brushes etc
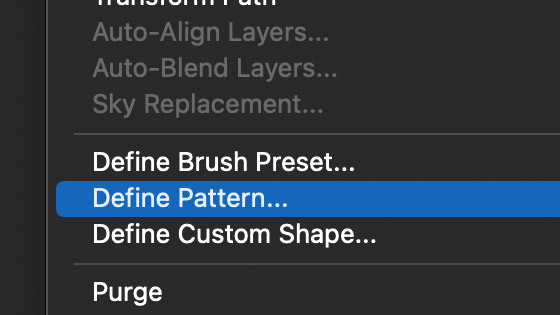
2. Define pattern
Once you have created your pattern then you can define it and save it to the presets in Photoshop via the edit menu and define pattern, give it a name and press OK and then you will see you design in the patterns panel found in the window menu
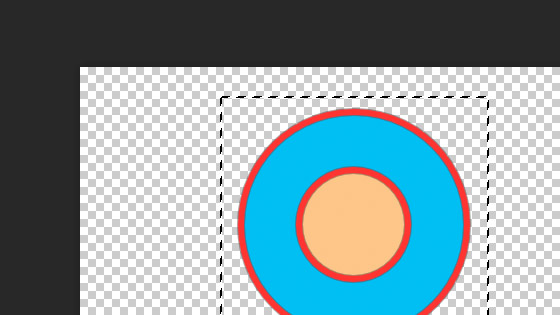
You can use th entire document as a random fill pattern but you can also use the rectangular marquee tool to select part of the design or trim the size of the fill
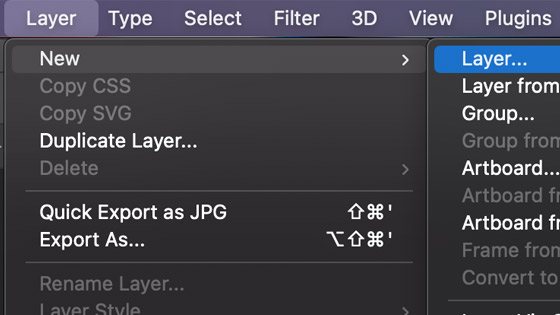
3. Create a new layer for the random fill pattern
Generally I always create a new layer to use with my pattern design via the layer menu. Why? Because you can always apply the edit menu fill command multiple times and multiple layers can then be combined and deleted if they are not exactly what you want.
3. Random fill command
You can find the command in the edit menu and fill and once you are in the fill dialog you can select the pattern contents option and then click the script box and select the script "random fill". You can then select the pattern that you have just defined.
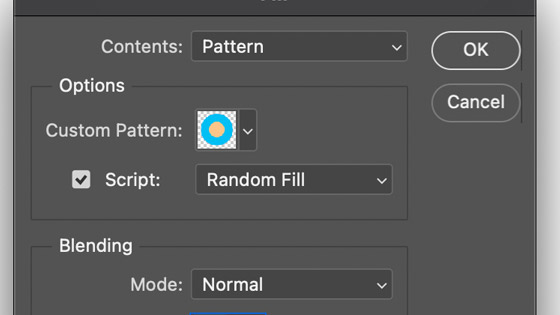
Click OK and a new panel with a preview will appear
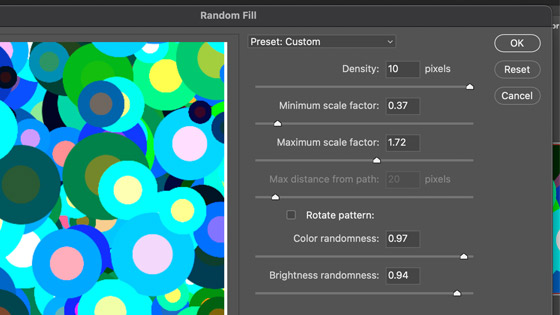
Set the density to the max (unless you want it to be fairly sparse fill) and then set the scale (small to big patterns such as 0.1 or 1.6 range etc). There is a path option, more about that later. You can also rotate the patterns but if the design is dot or a circle that makes no difference but if it is a rectangular shape then the random fill rotation has a big effect. Set the color randomness / brightness. If you want it to be the original color, leave those on 0 but if you want full color randomization then set them to 1. The color random works best when the original pattern colors are gray scale but if not, they will end up more using the colors of the original such as a blue pattern will end up with a fairly random blue fill.
Press OK

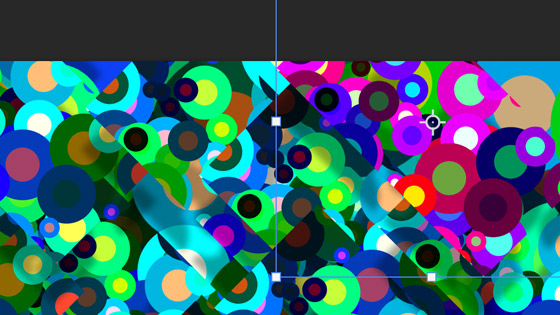
4. Random fill in Photoshop on layers
Using the create new layers and applying the random fill to a layer, you can then combine the layers as well as resize and rotate the layers. For that you may wish to reduce the density and so not all the space is filled by the pattern. You can also use layers and the blending modes and opacity as well as the size of the layer. If you have layers, you can also use transform menu and warp etc as well as convert the layers into smart objects for effects etc via the layer menu.

Or duplicate the layers and re-size or add adjustments such as hue / saturation to each of the random fill layers and more
Another thing with the layers, it is also easy to delete them from the layers panel if you are unhappy with the result.
Millions of combinations of random fill layers can be blended and combined
5. Use selections to control range of random fill pattern
You can apply the random fill to the entire art board / image but you can also apply it to a selection
Create a selection using the elliptical marquee tool or rectangular marquee tool or use some of the other selection features via the select menu etc.
Run the random fill pattern command and add it to that selection.

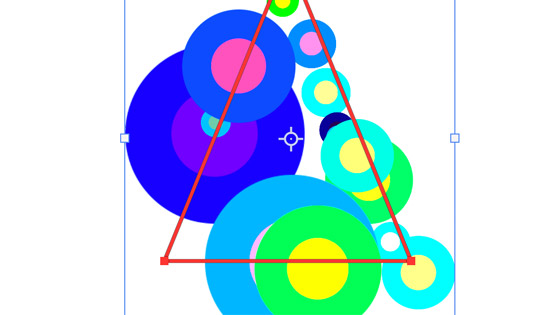
6. Random Fill and Paths
The random fill patterns can also use a work path which is super useful for creating frames, brush strokes and more. You can create a path with the pen tool or perhaps use a shape such as a triangle via the triangle tool or a custom shape
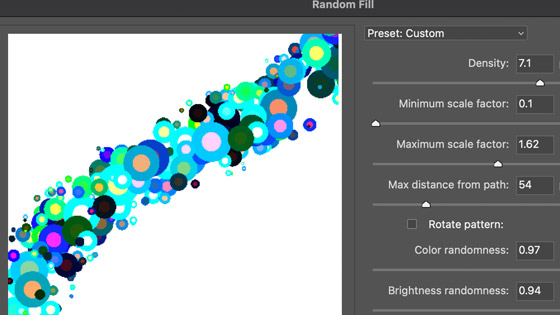
Create a path and you can then set a max distance from path (default is 0) and when you go into the preview, you will see it displayed across the preview instead of filling the entire preview.
You can apply the fill multiple times to the selected path
You can also move the path's points by using the direct selection tool

Fill applied to the current path position

You can use all kinds of path shapes such as spirals, arc, scribbles etc and they can all be filled with the random color / size designs
You can also use type as a path as well via the type menu and create work path command and use that with random fills
