Photoshop arrow shapes tutorial
graphicxtras > Adobe Photoshop tutorials > Photoshop shapes tutorials
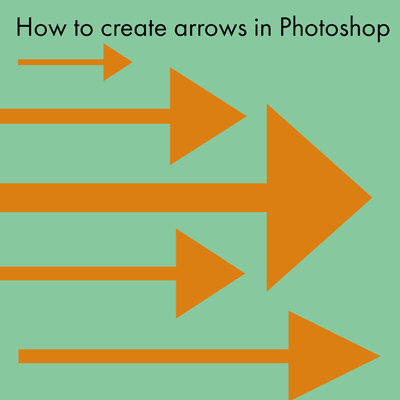
A quick guide to creating a basic arrow shape in Photoshop.
An arrow can be created in many ways but this tutorial shows you how to create a basic arrow which can be extended then to other types of arrow designs in Photoshop. The key thing for the arrow creation is to use the smart guides and some very basic building blocks such as the polygon shapes to create the Photoshop arrow. You can then add Photoshop arrow feathers to the shape as well. You can then take the Photoshop arrow design and use it to create arrow brushes as well as arrow patterns and also arrow images. The tutorial shows all the steps for creating a wonderful arrow design for use in Photoshop
-
Set the smart guides on via the view menu
-
set color for the arrow
-
draw long rectangle shape using rectangle tool
-
go to the polygon tool and select three sides option
-
draw triangle shape at the end of the line
-
combine them for your arrow
Photoshop arrow basics - the start point for 100s of different arrows

There are infinite arrow designs possible and infinite ways of creating them, this tutorial will show a very basic arrow but clearly you could create all kinds of arrows, double arrows, multiple arrowheads and arrow feathers.
This design is a vector arrow but the arrow can be distorted, combined, transformed, parts removed etc and also used as an arrow brush, arrow pattern design and more
The key thing for the tutorial is to have the view menu and show and smart guides ON
-
Go to the rectangle tool
-
Set to shape option and set color to black
-
Draw a thin long rectangle in the middle of the document
-
Go to the polygon tool
-
Set the sides to three (turn off star option etc)
-
Draw a triangle and make certain that the sharp end is pointing towards the far right of the document
-
Use the smart guides to align the rectangle and triangle align vertically
-
Re-size the triangle / thin as required for the arrow shape
-
Select both shapes and layer menu and combine shapes and unite command
Photoshop arrow feathers and how to quickly add them to the arrow
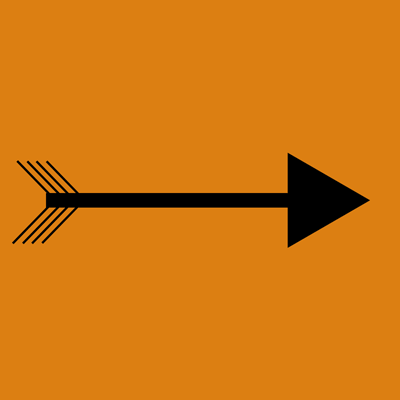
With the above arrow, you could just finish and that is that for the basic arrow but you can always add some feathers which are just very thin rectangles position at the other end of the arrow at 45 degrees.
-
Go to the rectangle tool in the toolbar
-
Create a thin rectangle
-
Rotate 45 degrees
-
You can use the alt / opt to duplicate a thin rectangle and place them at the end of the Photoshop arrow and perhaps duplicate three or four times and place on top side of the arrow at the far end of the end (relative to the arrowhead)
-
You can select all those thin rectangles via the layers panel and use the alt / option to duplicate the arrow feathers and transform / move them to the bottom of the arrow
-
Use the edit menu and transform command and flip horizontal command (mirroring the top feathers).
-
You can then select the entire shape via the layers panel
-
Go to the layer menu and combine shapes and unite and that is your basic vector arrow with feathers
Again, the smart guides should prove useful for the alignment of the feathers as you move them as the smart guides will show the vertical and horizontal alignment of the lines as well as the groupings of the lines in the layers.
You may wish to lock the main arrow Photoshop shape to make it easier to add the feathers and that can be done by selecting the main arrow shape and then going to the layer menu and selecting the lock layers command and selecting all.
Of course, all kinds of feathers could be added to the Photoshop arrow such as wavy ones, curved ones, actual feathers and so on. The above ones are the most basic feathers to be added but many of the arrows I have created generally don't have them especially as I combine the Photoshop arrows in many different ways such as frames and circular designs or perhaps as a maze etc
Using the arrow as custom shapes brushes and patterns in Photoshop
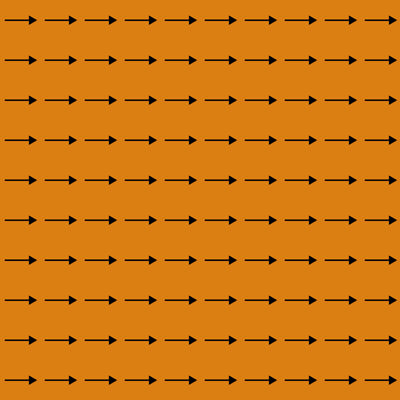
Ok, Now you have an arrow (and this is only one of many), you can also use the arrow as an arrow custom shape, arrow brush, arrow pattern etc. To create a custom shape
-
select all the shape using the direct selection tool
-
edit menu and define custom shape
To create the artwork as an arrow brush or arrow pattern, simply flatten the artwork and then
-
edit menu
-
define brush or define pattern command
If you want to use the arrow with transparency with the pattern, I would suggest that you delete the background layer before you use the define pattern command otherwise you will end up with the current image or solid color as the background to your pattern and the tile will then not be as effective.
You can also save the arrow shape as a PSD file via the file save command in Photoshop and then use the artwork as an arrow displacement map. You can also apply styles to the arrow or perhaps actions such as creating a rusty look to the arrow or perhaps adding a metallic finish to the arrow.
Other effects can be added to blur or smudge or add additional color or discolorisation to the artwork. Or perhaps just adding a golden glow or gradient overlay and stroke around the Photoshop arrow
Combining the arrow Photoshop shapes in 1000s of different ways
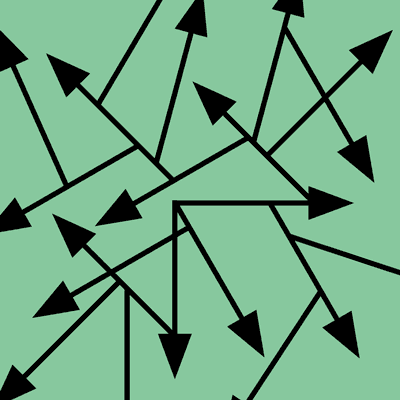
If you have defined the arrow shape as a custom shape then you can then combine them and transform them in countless ways to create all kinds of arrow artworks.
-
Select the custom shape tool
-
Select the created shape
-
Use shape option and set color and set the show transform controls to ON
-
Add shape
-
Duplicate using alt / option key
-
Use transform controls to rotate and position the duplicated arrow such as adding the arrow to the previous shaft etc (as in the image to the left)
-
Repeat creating new Photoshop arrows and add more and transform and rotate and shift the arrows throughout the image. You can then add effects and plugin effects etc to the end result to create all kinds of abstract artwork. You can also select all the arrow shapes and then use the edit menu define custom shape to save that as a new shape for future use (or save it to the CC libraries)