Photoshop Diamond Shapes creation Tutorial
graphicxtras > Adobe Photoshop tutorials > Photoshop shapes tutorials
How to create diamond shape Photoshop designs, a variety of diamond shapes (using pen tool as well as a regular shape) as well as how to use them as diamond brushes, rounded designs, diamond themed patterns and much more. How to add them to your library, how to combine with styles and more, how to create a hollow diamond and more.
** Youtube video tutorial on how to create diamond shape designs in Photoshop **1. Basic diamond shape creation
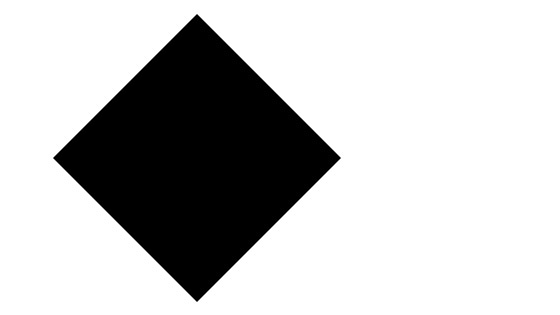
Quickest way is to use a square. Simply rotate a square for the most basic diamond shapes in Photoshop. Go to the rectangle tool and use the shape layer option top left, draw the square and then transform it using the bounding box of the square by 45 degrees.
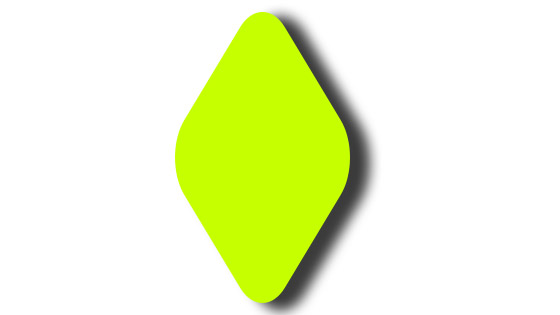
OK, as a diamond shape it is a little dull, you can fill it with something and perhaps also give it a stroke. Select the rectangle tool again and then go to the fill and stroke at the top of the application and set to green or blue or perhaps a gradient and also add a stroke of 4px etc
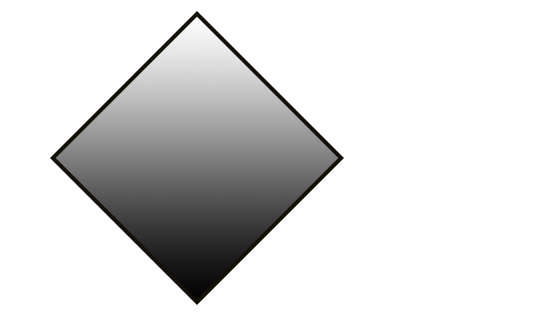
A little bit more exciting as a diamond shape You can also apply styles, add designs on top of the shape, perhaps apply an effect to give it an extra sparkle. You can also distort the diamond shape, perhaps squeeze it horizontally

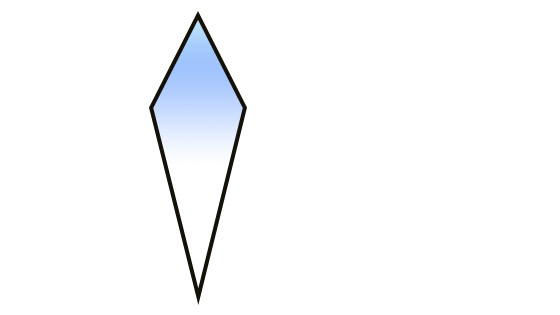
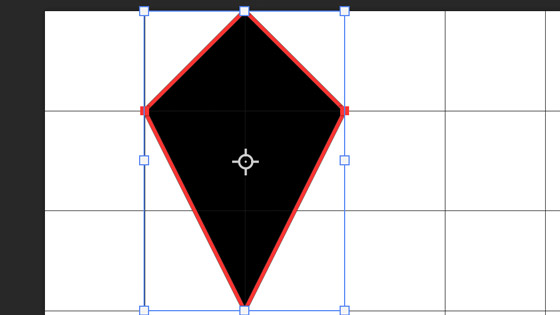
Or perhaps extend the bottom of the diamond so it is not proportional. Select the direct selection tool and then select just the bottom point of the diamond design. Drag the point down and then hold down the shift key to keep the line straight. You can also tweak the colors, the diamond does not need to be a gray gradient, it can be filled with any number of colors.
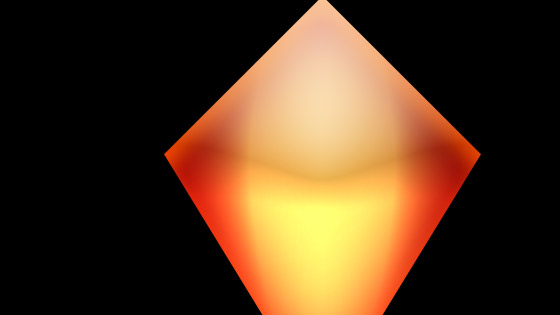
If you want to add effects etc as well as perhaps other designs on the artwork, probably a good idea to convert it to a smart object via the layer menu and smart objects and convert command and then go to the filter menu and add effects such as the render ones, lens flare and lighting.

2. Create diamond shapes using pen tool
You can also use the pen tool to create a diamond shape. Personally I always find it easier to use the grid when I am creating anything that I want to be fairly exact so go to the view menu and show grid and then work on the diamond shape. Goto the pen tool and set the option to shape layer and then click on the cross section of the cells and place the first at the top, place the side point a little down and a little way across and then go a little further down with the next point and keep it in-line with the top point vertically and then go to the equidistant point for the side point and then click the first point again to close the shape.
Once you have your diamond shape created either via the rectangle or the pen tool you can then continue to manipulate it in the same way.
3. Hollow Diamond Design
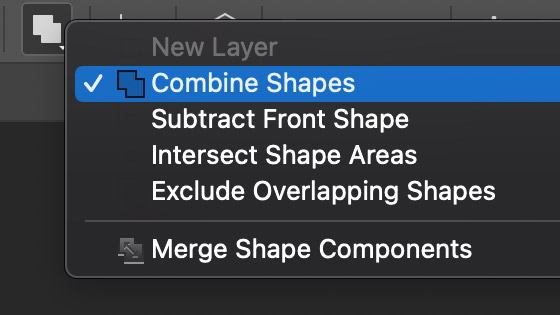
Select the rectangle tool and then create a new shape layer on the art board and then rotate the diamond using the bounding box. Duplicate the current design by holding down the alt / option key and dragging and reduce the size of the new diamond again by using the bounding box. Select both of the layers in the layers panel and then go to the layer menu and combine and then subtract front shape. Squeeze horizontally the current shape.
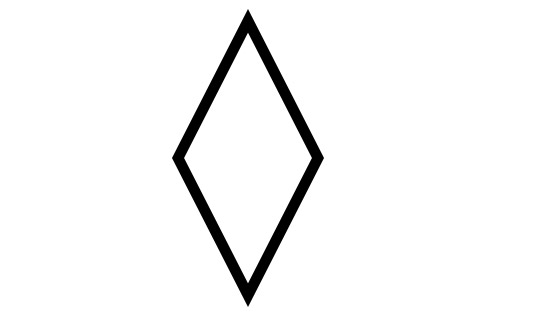
Select all the points using the direct selection tool and go to the top of the application (middle) and the path operations and use the merge shape components
Once you have done this, you can now go to the edit menu and define custom shape and create the diamond custom shape (hollow version). Obviously you can vary the size of the second path the vary the size of the hollow diamond.
To use the custom shape, select in the shapes panel and use with the custom shapes tool and draw the shape as a shape layer. You can repeat this is in different colors and sizes as well as add styles etc to the diamond shapes.
4. Add styles to the Diamond shapes
If you create the diamond shape as a vector layer (shape layer) then you can add all kinds of Photoshop styles to the design. Display the styles panel via the window menu and simply select the diamond as well as clicking the style. You can modify the end result of the shadows and gradients etc via the layer menu and layer styles.
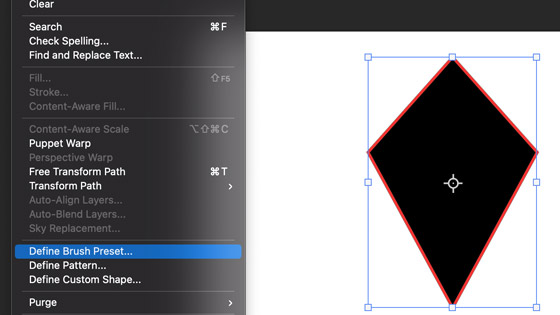
5. Define diamond shapes as a brush
You can also define the diamond as a brush and use as a brush stroke throughout the app. Flatten the diamond via the layer menu (you can create multiple diamonds, there is no reason why the brush needs to be made up of just one element, and effects etc can be added as well). Go to the edit menu and define brush command.
Select a brush tool such as the paint brush tool and apply it. Modify the brush settings (window menu) such as adding color dynamics, spacing etc to your brush stroke
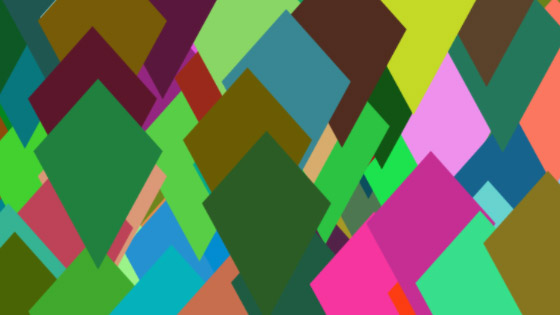
6. Diamond shapes as a pattern tile
The design can also be defined as a pattern. Create a new document with transparency as the background. Create the diamond shape as described or use the custom shape etc and then draw that design as a shape layer, set the color etc and then use the rectangular marquee tool to select around the diamond (or just use the entire document) and then go to the edit menu and define pattern.
You can now use the diamond in pattern overlays in styles as well as a pattern stamp and as a fill with scripts such as random fill as well as a pattern layer. Go to the patterns panel and drag to the document to your art board and then you can double click the entry in the layers panel and modify the angle as well as the scaling etc

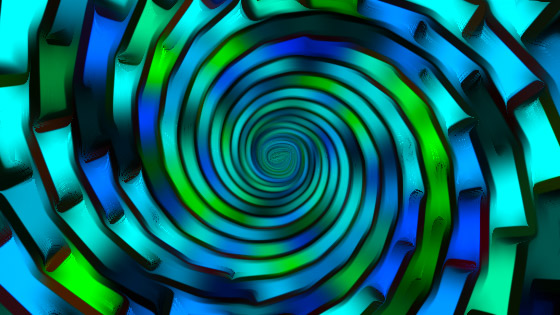
Or use in the random fill or symmetry scripts via the edit menu and fill. Set script to on for the pattern option and set the script to random fill or symmetry etc. Select the diamond shape preset and then click OK and now set the size, density, color randomization and click OK. If symmetry, check out option 7. You can also combine with effects such as oil paint etc
7. Save the diamonds to the CC library in Photoshop
You can also save the design for future use. Select the diamond shape, add styles etc, add effects etc and then go to the window menu and libraries and then drag your design into the libraries panel into a particular library or create one. Your design then can be used in future projects.
8. Rounding of the diamond shape
Create a square via the rectangle tool as a shape layer, rotate via the bounding box and you have your diamond. You can also interactively round the corners of the design via the corner widgets. Squeeze the diamond horizontally though that will mean the corner widgets and interactive elements are removed.