Photoshop Shape Rotation Tutorial
graphicxtras > Adobe Photoshop tutorials > Photoshop shapes tutorials
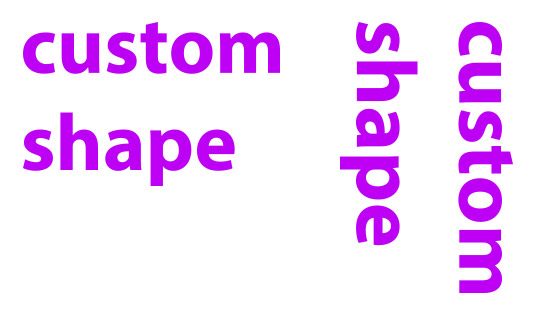
How to rotate custom shapes, how to rotate the vector shape layers in Photoshop - there are a number of ways to rotate the custom shapes, using transform controls, using the transform rotate command and also rotating them in 3D - this tutorial on the custom shapes shows you how to rotate shapes
** Youtube video tutorial on how to rotate shapes in Photoshop **1. Vector custom shape in Photoshop
Tutorial assumes you have a vector custom shape to rotate. To add a custom shape, go to the Photoshop tools bar and select the custom shape tool or the ellipse or rectangle or polygon tool and add a custom shape using the shape option set in the top left of the application
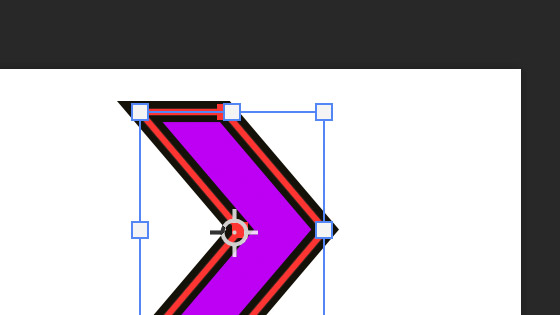
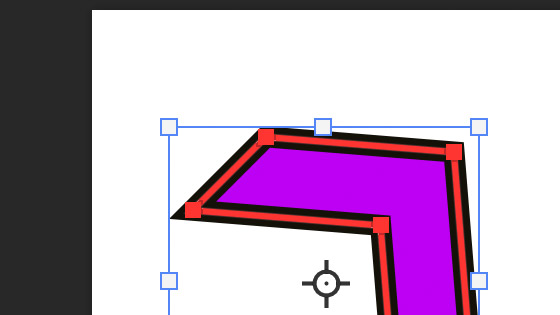
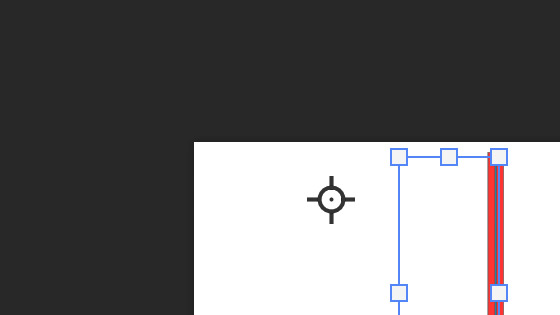
2. Transform controls to rotate shapes
Make certain the transform controls are on - you can see them above, they are those squares at the corner. The transform controls option is along the top bar
With that set to ON or checked, go to the vector shape and hover just slightly away from the square corners
and the cursor will change to a curved arrow and you can then rotate the design. Hold down the shift key to constrain to 30 / 45 / etc degrees and release and press return and the shape has been rotated
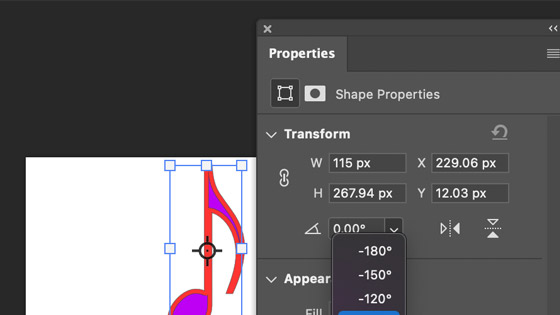
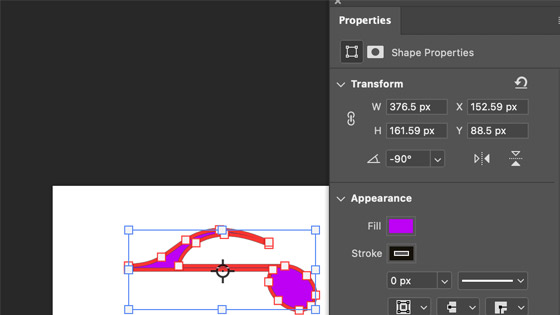
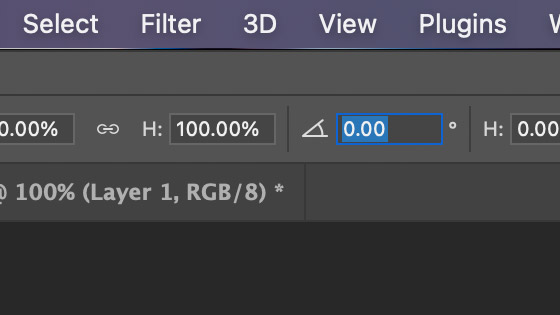
3. Rotate shape using properties panel
Select the shape and then go to the window menu and properties and then go to the angle field in the transform section and enter 45 degrees or 90 etc
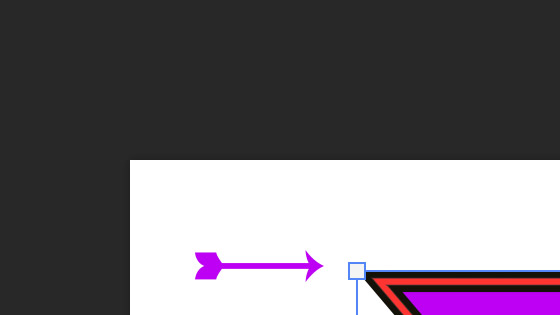
4. Edit menu and transform path to rotate the shape
You can also rotate it using the edit menu and transform command : scale, rotate etc
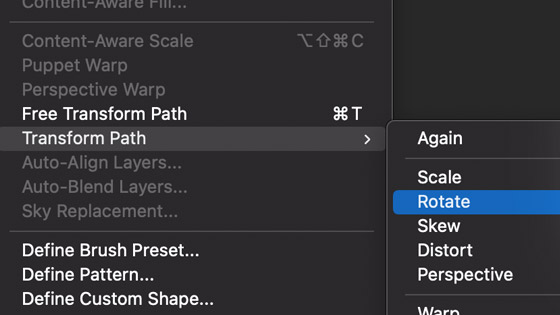
Go to the top of the application and enter the angle
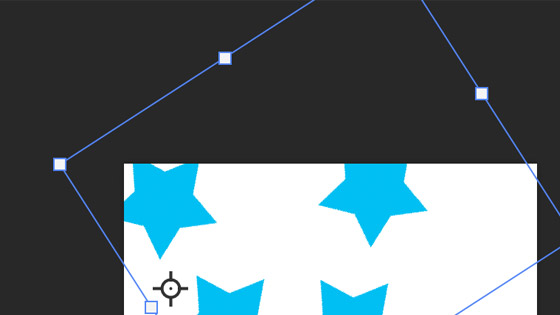
5. Moving the center point for the shape
Above, all the transformations have been rotating about the center of the shape. You can also move the center point to a different location, perhaps at the top of the bounding box but you can also move it outside of that and perhaps have the design rotate about the center of the document say. During the rotate operation, drag the center point and move to a new location.
Sadly the center point / rotate point is not remembered so next time you come to rotate, you have to do it again. I generally always rotate using a grid or use smart guides and I know the position to place the center point again and again.
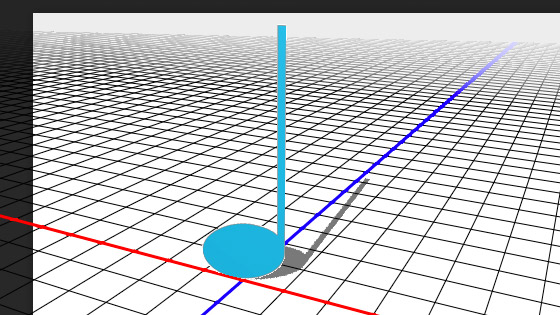
6. 3D Rotate for the shapes
There is no real '3D shape' rotate but you can fake it with the use of the smart objects and 3D. Convert the custom shape vector layer to a smart object via the layer menu and smart objects and convert and once you have that go to the 3D menu and new mesh from layer and depth map to plane
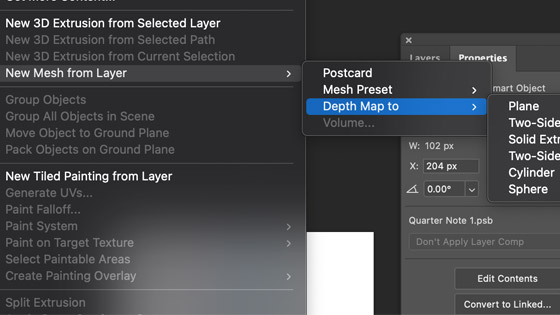
You are now into 3D space and you can rotate your design and scale etc in that 3D space and you can rasterize the layer or just flatten the layer via the flatten image command in the layer menu or just leave it as a 3D object
7. Rotate multiple shapes
Create multiple vector shapes, select them all in the layers panel or use the move tool to select them all.
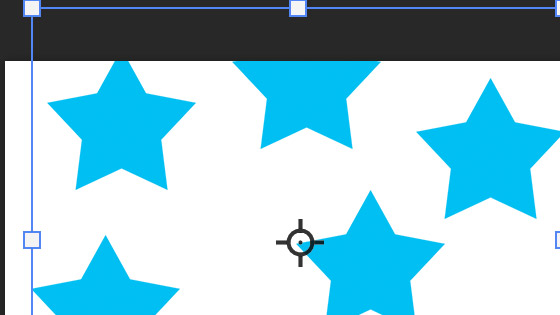
Position the center point to set a rotation point for the stars or other designs. Rotate using the bounding box etc