Photoshop frame tool tutorial
graphicxtras > Adobe Photoshop tutorials > Photoshop tools tutorials
How to add a frame in Photoshop and use with images, type etc. How to manipulate the frame. How to use different frames and more. How to use the different frame tool options such as frame content such as library material, placed files and Adobe Stock, how to use as smart objects and combine with styles etc. How to select the frame content and frame and apply transformations to the frames in Photoshop.
** Youtube video tutorial on how to use the frame tool in Photoshop **1. Frame tool is located where in Photoshop
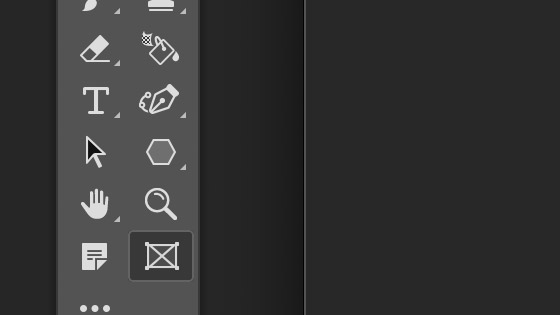
You can find the frame tool in the Photoshop tools box. The exact location in the tools box will depend on any customization of the tools so your frame tool maybe in the extras or some other location on the box
2. Frame tool options
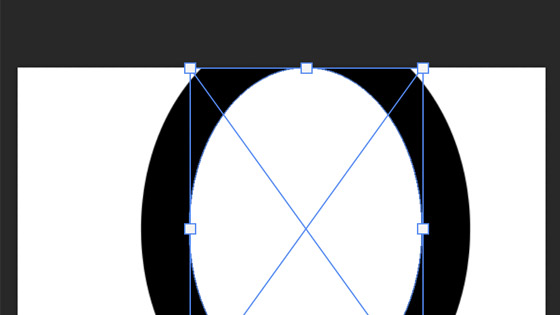
You can create two types of frame, rectangle and elliptical
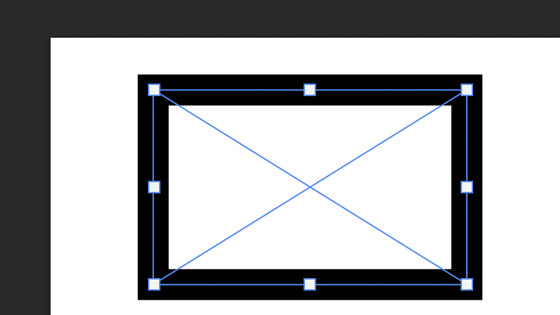
Rectangular frame
Elliptical frame
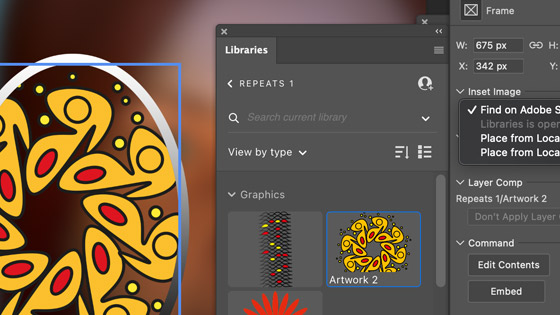
You can also go to the properties panel (window menu) with the frame tool selected and change a variety of settings such as
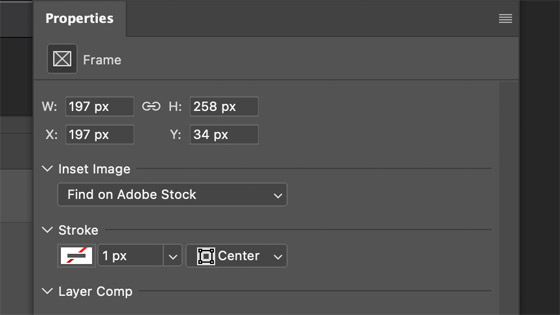
You can set the width, height as well as origin via properties as well as what to insert into it such as find on Adobe stock but also what is in the library as well as place from a file. Weirdly, there is no clipboard option or from layer etc which is an oversight surely. There are also options from layer comps etc. Most of the time I get my material for the frame from my library and simply drag the design from the library into the frame but I guess if you have a large number of Adobe stock that maybe better
You can also set a width for the frame generated. With the frame selected and the frame tool active you can go to the properties (window menu) and then set the width / stroke (outside or inside or center). You can set a gradient frame as well as a pattern one but most of the stroke functionality is not there so you can't create a dashed frame.
3. Quick frame in Photoshop
The Photoshop frame tool is slightly odd in that if you have a rectangular frame and an image, the frame is created with nothing in it. Create an elliptical frame and you have a layer and the image is framed within that. If the image is locked, it just creates an elliptical frame with nothing in it.
4. Adding images etc to the frame
You can add an image to the frame in four ways by placement, libraries and stock. Generally I use my libraries and simply select an image and then drag into the Photoshop frame - a little + will appear.
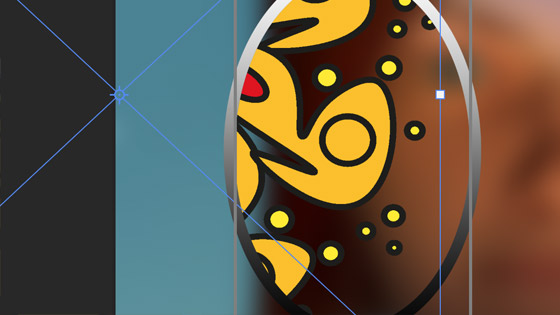
5. Placement of the frame and size etc
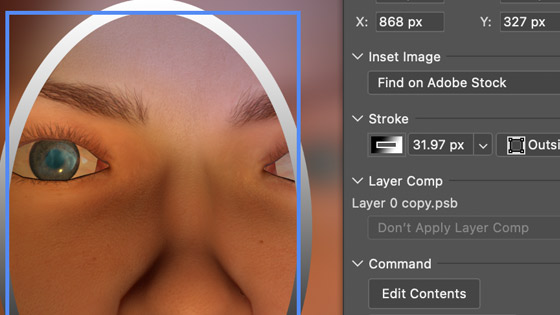
Once you have your image in the frame (whatever the source) then you can also move the frame, you can move the contents, you can change the contents, you can re-size the frame as well as the contents etc
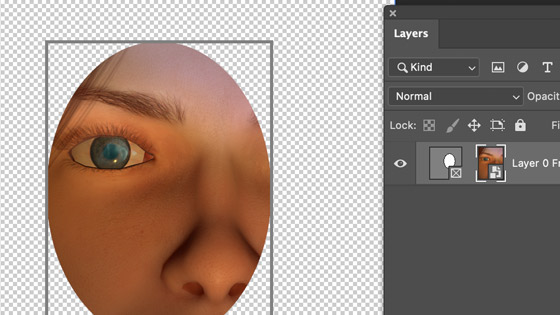
Go to the layers panel and you will see the frame entry and at the side, the content. Select the thumbnail and work with that, if it is the frame then select that one and if it is the content then select that. You can then re-size that item and move etc
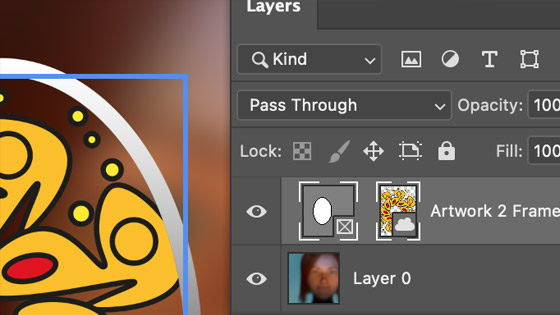
Say you want to re-size the content, select that in the layers and then re-size etc
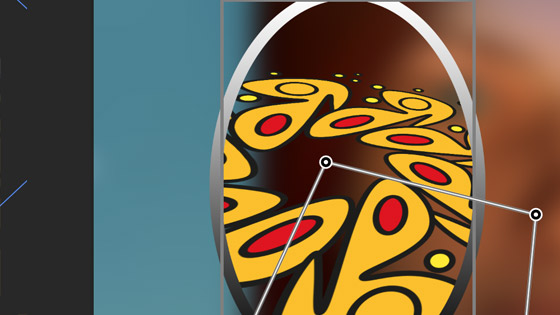
You can also apply effects and other transforms such as perspective warp to the content, sadly not to the frame.
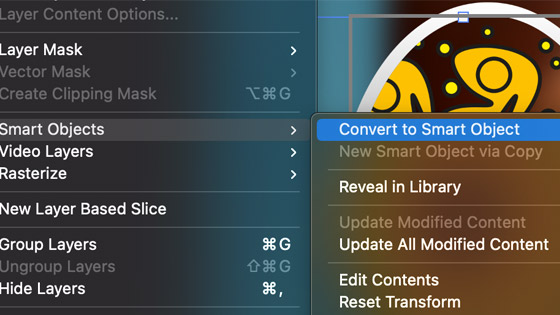
6. Frames converted to smart objects and adding styles
You can also use the frame tool design as smart object. Layer menu and smart objects and convert to smart object. Note there seems to be an issue if you have a stroke added to your frame using outside stroke it cuts it off, so perhaps use an inside stroke to avoid this. Convert to a smart object, select both entries, the frame and content.
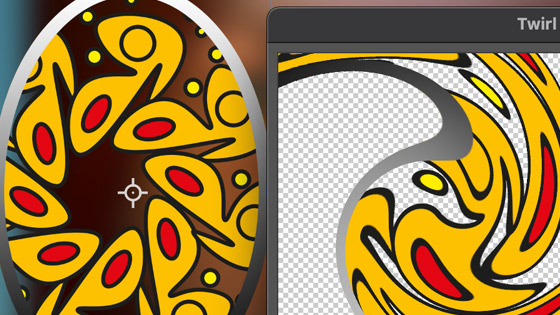
Such as the twirl filter