Photoshop Pen Tool Tutorial
graphicxtras > Adobe Photoshop tutorials > Photoshop tools tutorials
How to use the powerful pen tool in Photoshop, add points and edit points to create all kinds of amazing designs in Photoshop. How to create a closed path with the pen tool as well as an open path, how to constrain the pen tool and more. Also a discussion of the powerful curvature pen tool and others
** Youtube video tutorial on how to use the amazing pen tool in Photoshop to create all kinds of vector artwork **1. Where is the pen tool in Photoshop
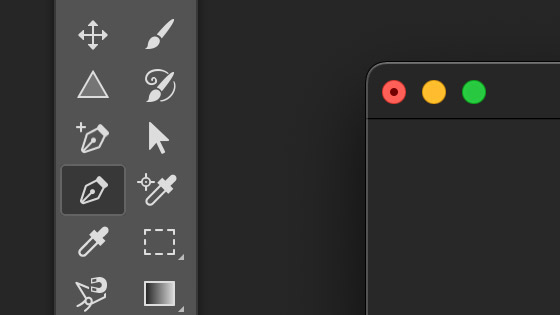
The pen tool can be found in the Photoshop toolbar however the position will depend on the customization of Photoshop's tools so you may find it in a different location such as in the extras. You can move the pen tool to a different location in the tools via the customization feature found in the edit menu and toolbar
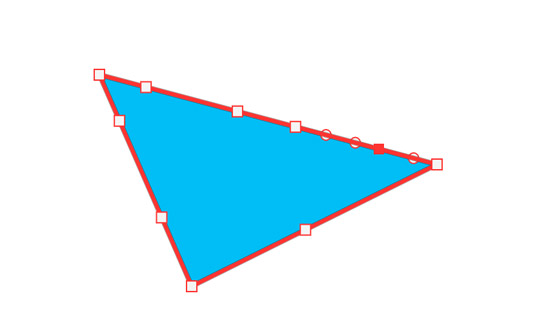
2. Add points to your art board via the pen tool
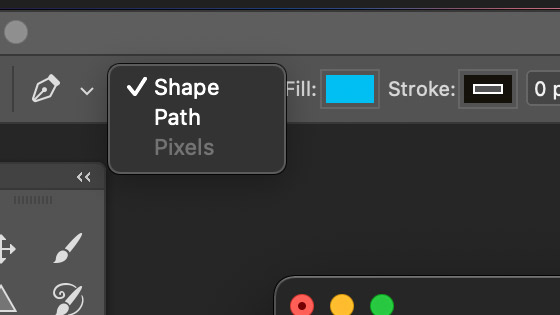
Select the pen tool and then go to the top of the application and set to shape or path. If you want to create a visual design then the shape option is best, the path feature is useful for many other features such as flames, scripts, strokes etc
Add your first point to the art board. Click elsewhere to add another and you will notice a line between them (this is the line for the pen tool and not the stroke). If you have a fill color set, you will also see the fill after adding a few points
Add as many points that you want
3. Closed or open path
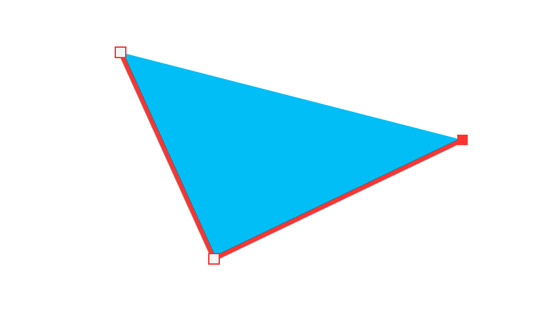
You can leave the design as an open path, such as above where the third point has not joined to the first point.
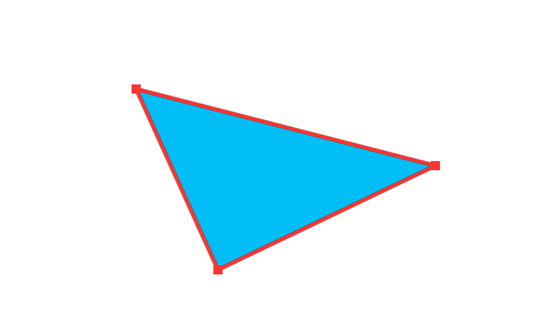
If you want to close it, continue with the adding the points and hover over the first point and click that and then the path will be closed. Depends on what you want from your design
4. Add additional points via the pen tool
Hover over the lines of the generated path / shape and you will see the cursor change to a '+' and you can click the line and add a new point in between the existing ones. If you hover over an existing point you will see a '-' and you can delete that point using the pen tool
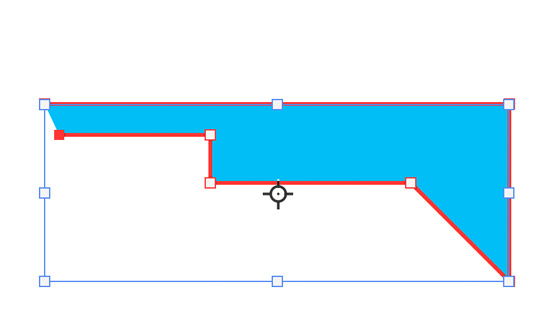
5. Hold down shift key to create straight lines / constrain to 90 or 45 degrees etc with the pen tool
Hold down the shift key as you use the pen tool to make a straight line or constrain to 45 degrees or 90 degrees etc
6. Hold down the alt / option to change the pen tool to manipulate direction points
You can hover over an existing point an hold down the alt / option key and then the cursor will change to a triangle and you can then manipulate the point / direction points (the pen tool has a lot of additional functionality).
7. Curvature pen tool
Another powerful pen tool being the curvature tool, recently introduced via Illustrator, this allows for a much great curve control and ability
8. Freeform pen tool
A useful tool creating all kinds of unusual paths instead of just straight lines and curves
9. Magnetic pen tool
An interesting variant tool of the pen tool