Affinity Photo Displace filter Tutorial
graphicxtras > Affinity Photo tutorials > Affinity Photo Filters tutorials
** Youtube video tutorial on how to use the displace filter in Affinity Photo with displacement maps PNG format for all kinds of distortions effects **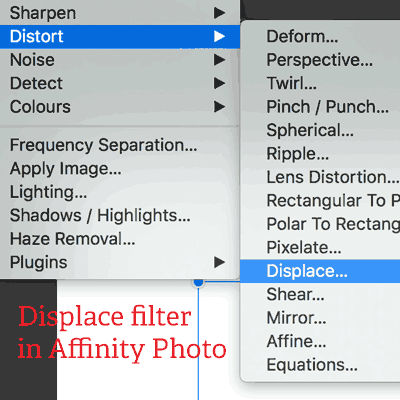
Displace filter for Affinity Photo tutorial. The displace filter in Affinity Photo is a powerful tool to displace pixels.
It can be used to create displacements of pixels with photos and images and layers and more. The displace filter uses the strength of the setting as well as different displacement map files for the displace filter effect.
The displace files can be PNG etc format files (not PSD).
The displace filter can be used once or multiple times in Affinity Photo to create all kinds of displacements of images and type. The displace filter can be found in the distort menu of the filters menu in Affinity Photo. You can use different displacement maps.
The displacement map files can be created in Affinity Photo by saving any image or perhaps seamless tiles as a PNG file. The result of a displace filter can also be used as a displace filter source. There is also a live filter layer effect for the displace filter and that can be found in the layer menu. The live filter layer displace can be applied to a single layer as well as all layers below. You can also change the settings of live displace in Affinity Photo. As the live layer is a layer, it also comes with a blending mode and opacity for the effect. This tutorial shows you how to use the displace filter and how to use the live filter layer displace in Affinity Photo.
-
filter menu
-
distort category
-
displace
-
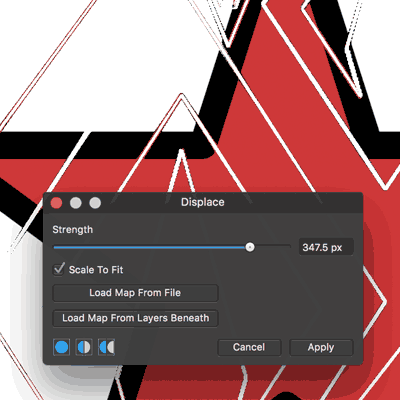
select strength
-
scale to fit (on / off)
-
Load map from file (or the load map from layers beneath) PNG format map file
-
Apply
Displace - standard filter
The displace filter for Affinity Photo can be found in the distort section of the filter menu. The displace filter is fairly different from the other distort filters in that it requires an additional input and not just the image or resources
The displace filter displaces images based on another image (grayscale) and can be used to create wonderful glass like distortions. As the displace filter uses any number of different source images as the map, all kinds of displacements and distortions can be created. The displace filter can be applied once or multiple times
-
filters
-
distort
-
displace
-
select strength
-
scale to fit (on or off)
-
Load map from file (or load map from layers beneath)
The displace filter uses a displacement map (unfortunately not PSD files but you can always just convert the PSD to PNG and then use those)
Live filter layer displace
The displace live layer filter can also be used on all the layers below or on one layer.
-
select a layer
-
layer menu and live filter layer
-
displace
-
set map etc as before
-
set blending mode and opacity (the one big difference)
The live filter layer can be moved to above all the layers or above some layers. It can be used with one layer. When you apply this to a layer, you will see the pixel layer along with the attached displacement map in Affinity Photo and effect. Click on the displace filter icon in the layers panel to change the settings.