Affinity Photo Pinch punch filter Tutorial
graphicxtras > Affinity Photo tutorials > Affinity Photo Filters tutorials
** Youtube video tutorial on the distortion effects of the pinch punch filter in Affinity Photo **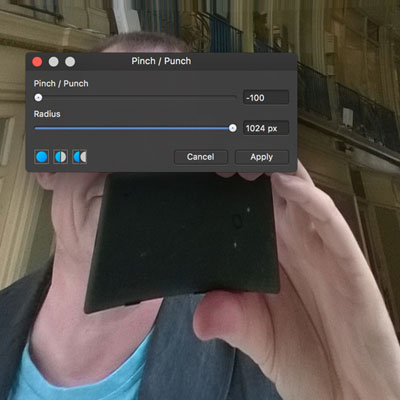
-
Filters menu
-
Distort
-
Pinch punch filter menu command
-
Set original point using cursor
-
Set pinch punch
-
Set radius
-
Apply
The pinch punch filter for Affinity Photo can be found in the distort category of the filters menu. The filter is a wonderful distort tool that can be used once or multiple times to great effects. The pinch punch can be used with images as well as resources / presets such as patterns and brushes and fonts / eps designs
The Affinity Photo Pinch Punch can be used with selections and will distort only the area in the selection. You can add all kinds of selections and use the pinch punch filter on those.
You can also use the pinch punch filter on layers, so you can duplicate the current layer and re-size and then add the pinch punch effect to create all kinds of weird distortions. You can also apply it to pattern layers as well as rasterized pattern layers and also shapes created via the shapes tools as well as with artistic and frame text.
You can fade the pinch punch filter via the layer meny and fade command which means you can combine a blending mode and opacity to change the end result of your filter.
The filter also comes with a live filter layer effect which works the same but works with the added feature of being a non destructive effect and can be removed but it can also be quickly added to any layer and the effect can be altered at any point by double clicking the pinch punch entry in the layer's panel