Affinity Photo Shear filter tutorial
graphicxtras > Affinity Photo tutorials > Affinity Photo Filters tutorials
** Youtube video tutorial on how to distort images with the shear filter in Affinity Photo **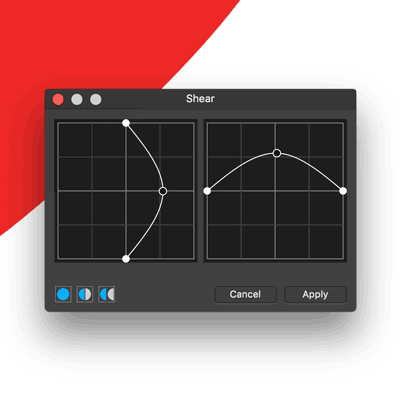
-
Filters
-
Distort
-
Shear filter menu command
-
Drag the curve for vertical displacement
-
Drag the curve for horizontal
-
Apply
The shear filter for Affinity Photo can be found in the distort sub category of the filter menu of the application.
It comes with a few options such as horizontal and vertical shear. You can also apply it once or multiple times.
The Affinity Photo shear filter can be used with selections so the effect is applied within the bounds of the selection, you can then add multiple selections and repeat with different shears
You can also use the shear filter over different channels via the channels panel such as select the red channel and apply a shear there and select the green channel and apply the shear there, different or the same
You can use different shears on different layers. You can record the steps and combine the shear with other filters and use in macros panel
You can use the shear to modify a pattern layer or the active part of the pattern layer
The shear filter can be faded via the edit menu and fade command and you can blend in a difference or lighten etc as well as change the opacity of the effect
The shear filter is a destructive effect, sadly there is no live filter layer counterpart