Affinity Photo unsharp mask filter tutorial
graphicxtras > Affinity Photo tutorials > Affinity Photo Filters tutorials
The unsharp mask filter in Affinity Photo can be found in the sharpen category in the Affinity Photo's filters menu. The tool create super sharp and intense images in seconds as well as subtle changes to any image in Affinity Photo. It is a destructive filter effect
** Youtube video tutorial on using the unsharp mask filter in Affinity Photo **1. Where is the unsharp Mask in Affinity Photo
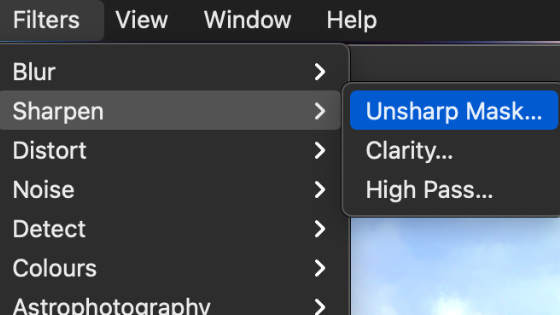
You can find it in the sharpen menu of the filters
Filters menu in Affinity Photo and then Sharpen menu and "Unsharp Mask filter" and then Set radius and Set factor and Set threshold and then Apply
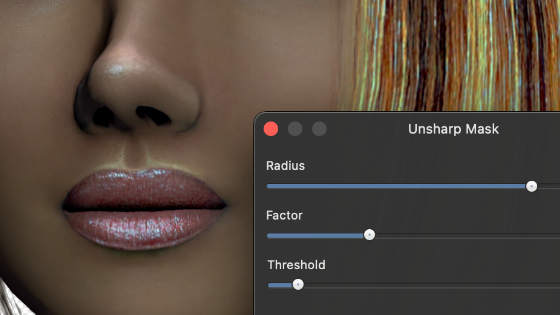
2. Settings for the unsharp mask filter
Radius + Factor + Threshold
You can set the radius and factor to max and little will happen unless the threshold is set to a fairly low value though this depends on the image. As you reduce the threshold you will notice more and more of the unsharp mask creep in.
Reduce the threshold to 0 and set the others high and all the light areas will be greatly sharped though this result is not always too pleasing unless that is the result you want. Certainly does not work well with the strands of the hair in the image
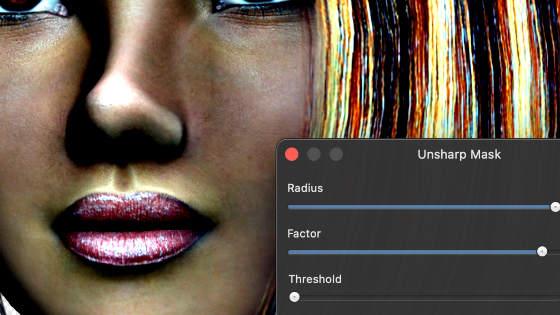
You can set it too high and artifacts will appear across the image especially if it is not the best image in the first place such as one of my renderings from a 3D app.
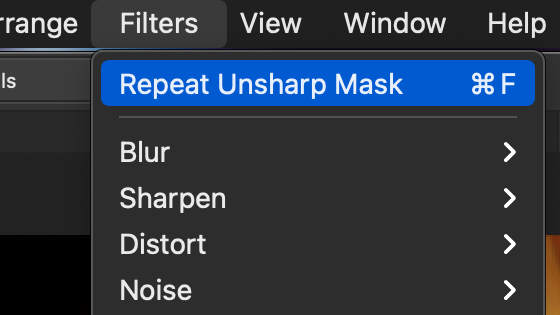
3. Re-apply the unsharp mask filter
You can apply the first once, you can apply it multiple times with the same settings via the repeat command at the top of the application
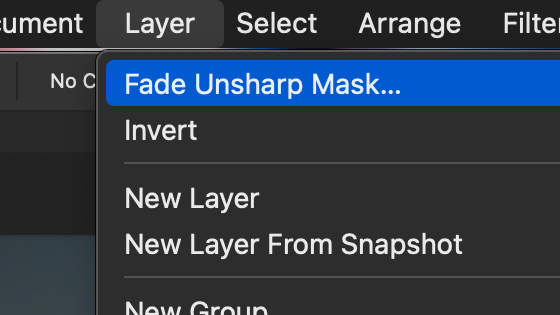
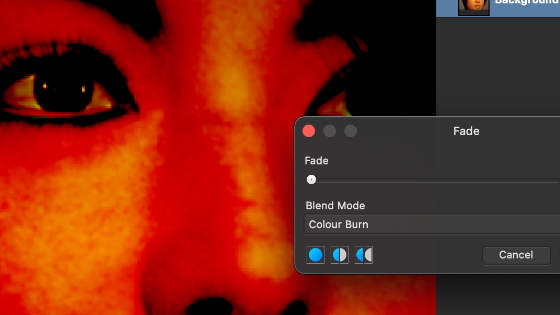
4. Fade the unsharp mask filter
You can fade it and blend it with a different blending mode using the layer menu and fade command
Set the blending mode to color burn etc
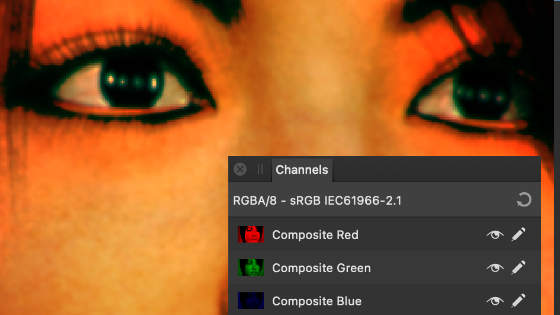
5. Channels and the unsharp mask filter in Affinity Photo
You can also apply the unsharp mask filter to all the color channels but using the channels panel you can apply it only to the red, so you can create an interesting sharpen effect with the red channel and perhaps a different one for the green and blue. View menu and studio and channels and select the composite red channel and then apply the unsharp mask filter to that
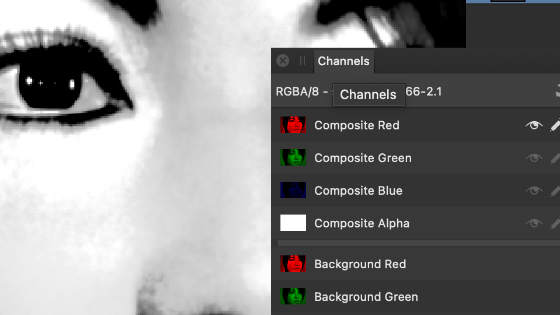
Click the circular arrow button at the top right of the panel to return to RGB
You will now see the sharpen effect only applied to the red