Affinity Photo Zoom blur filter tutorial
graphicxtras > Affinity Photo tutorials > Affinity Photo Filters tutorials
** Youtube video tutorial on the zoom blur in Affinity Photo for all kinds of amazing blurring effects **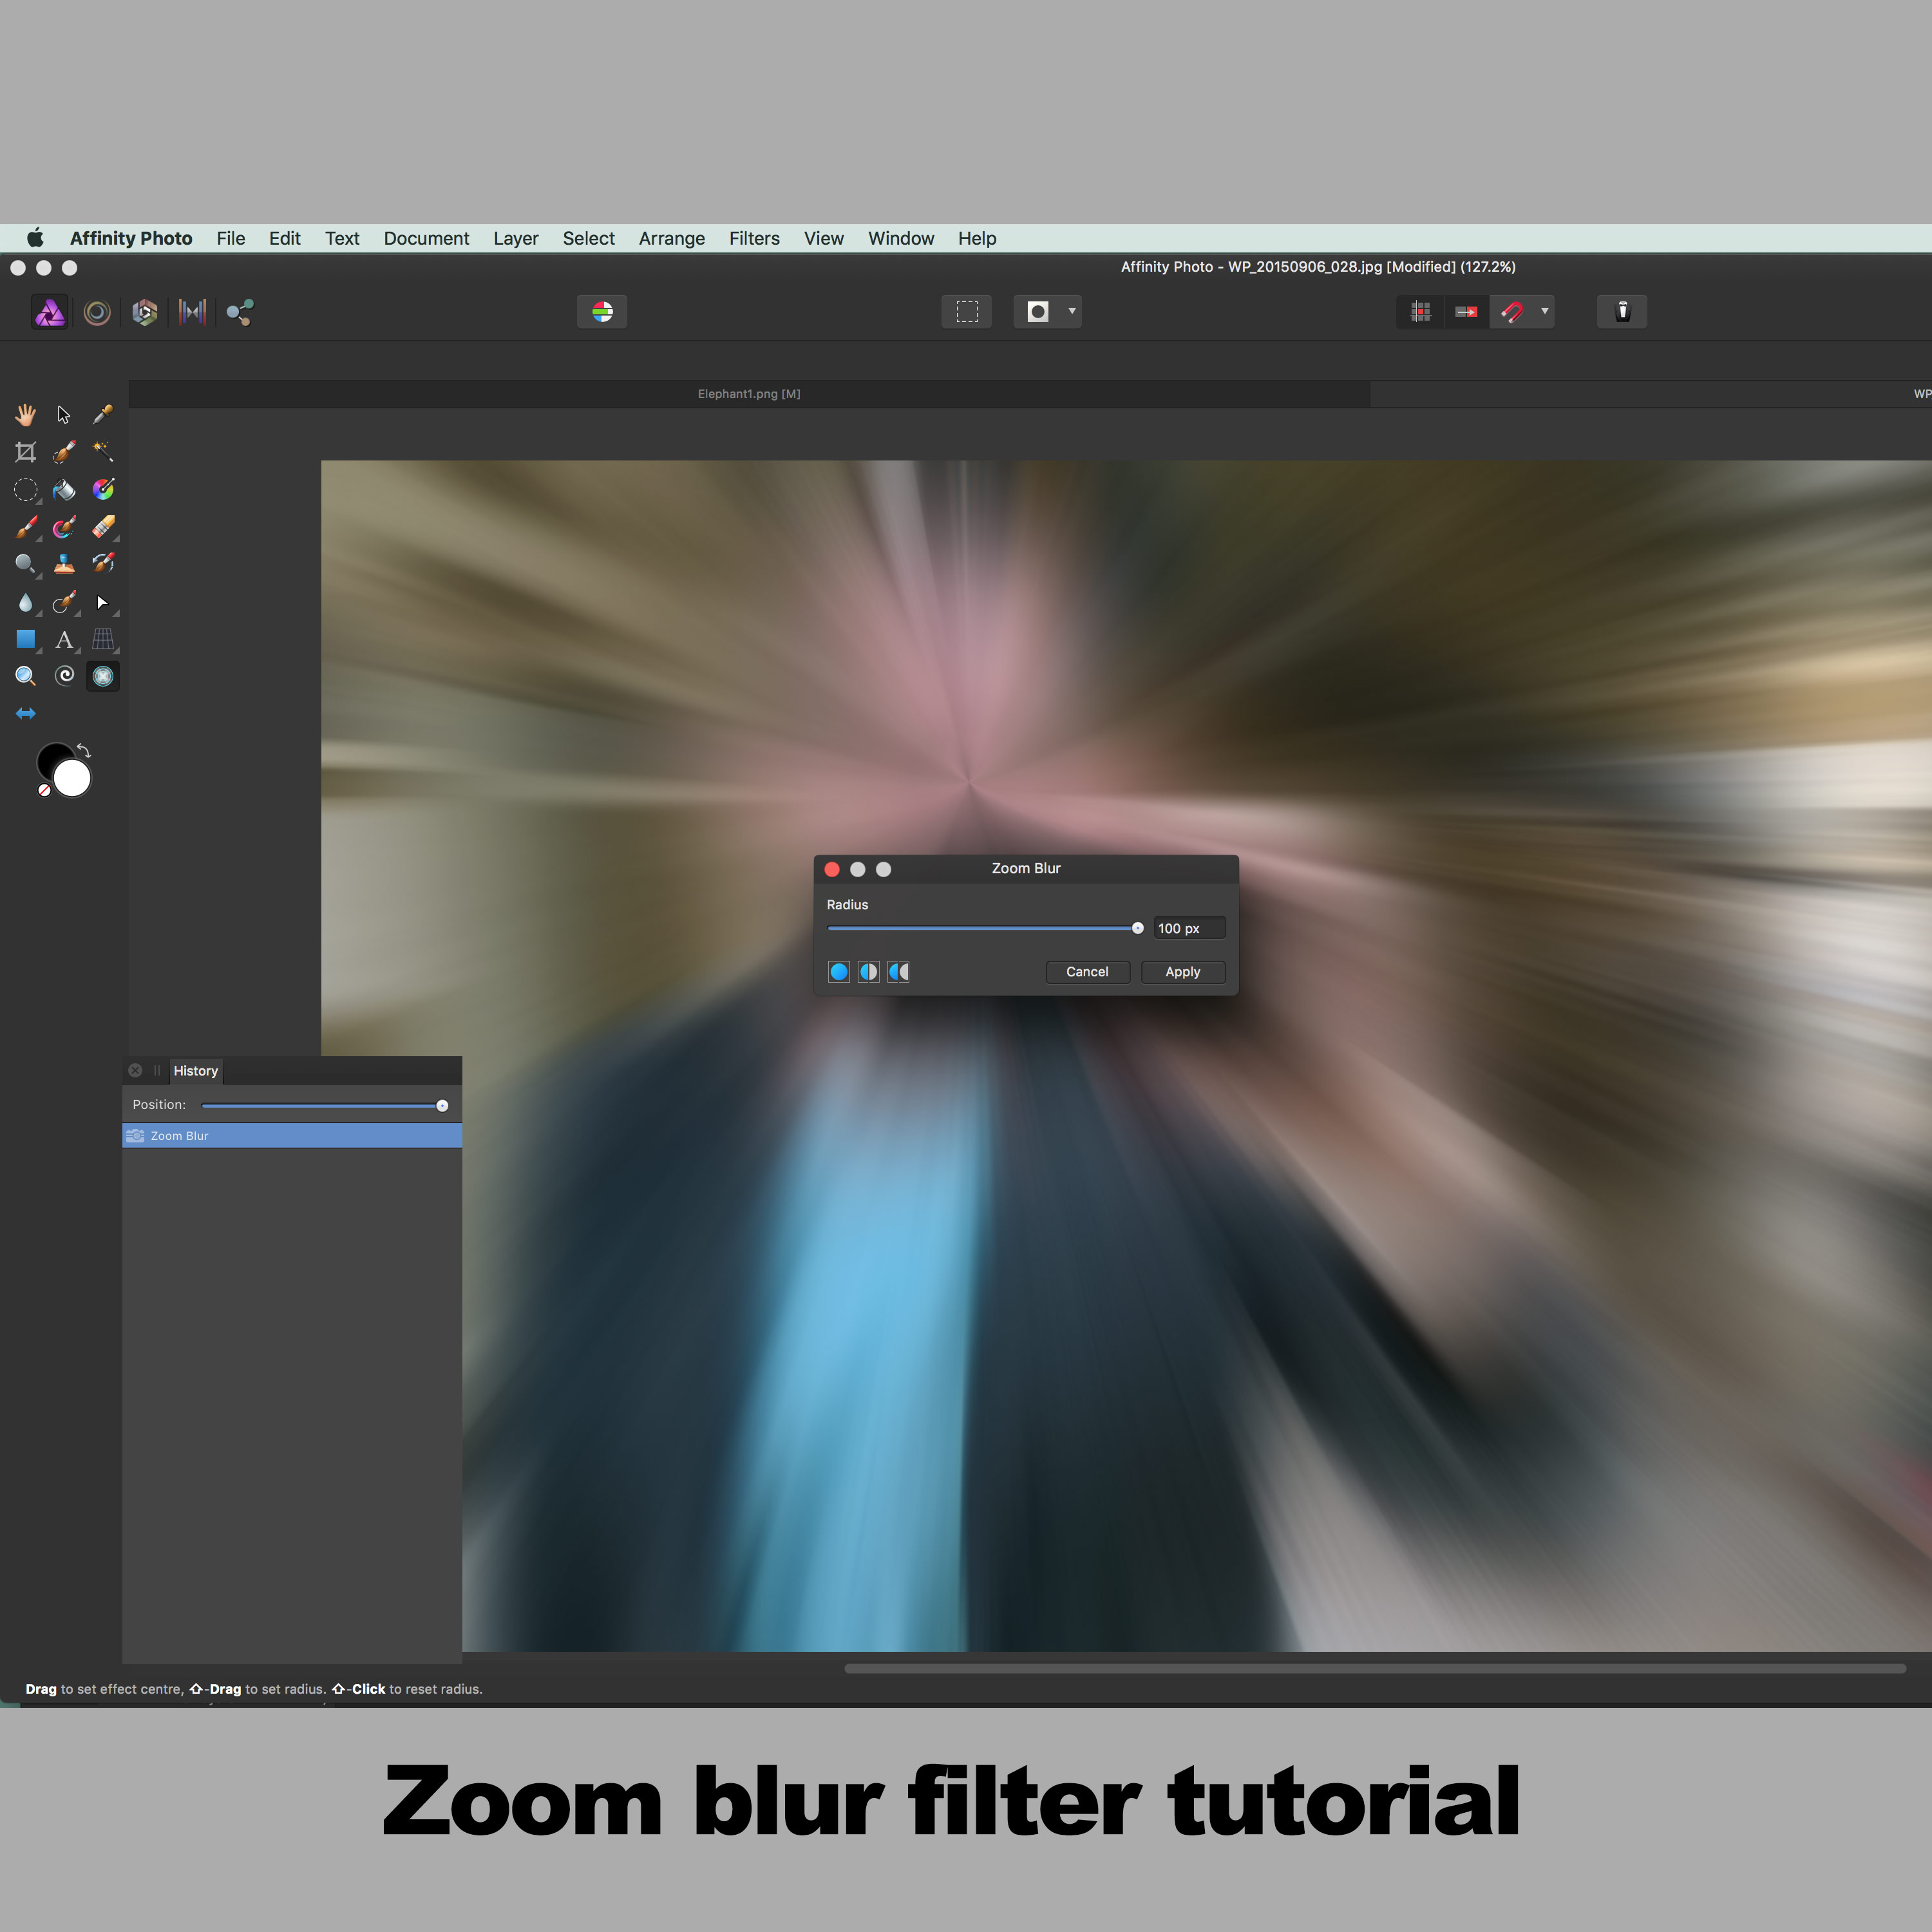
The zoom blur filter can be found in Affinity Photo's blur category (filter menu). The zoom blur has a small number of options such as setting the center of the zoom Very useful) especially considering how responsive Affinity Photo is (it is a super fast application)
-
Filters menu
-
Blur
-
Zoom blur
-
Set focus or origin point
-
Set radius
-
Apply
Zoom blur filter can be applied multiple times
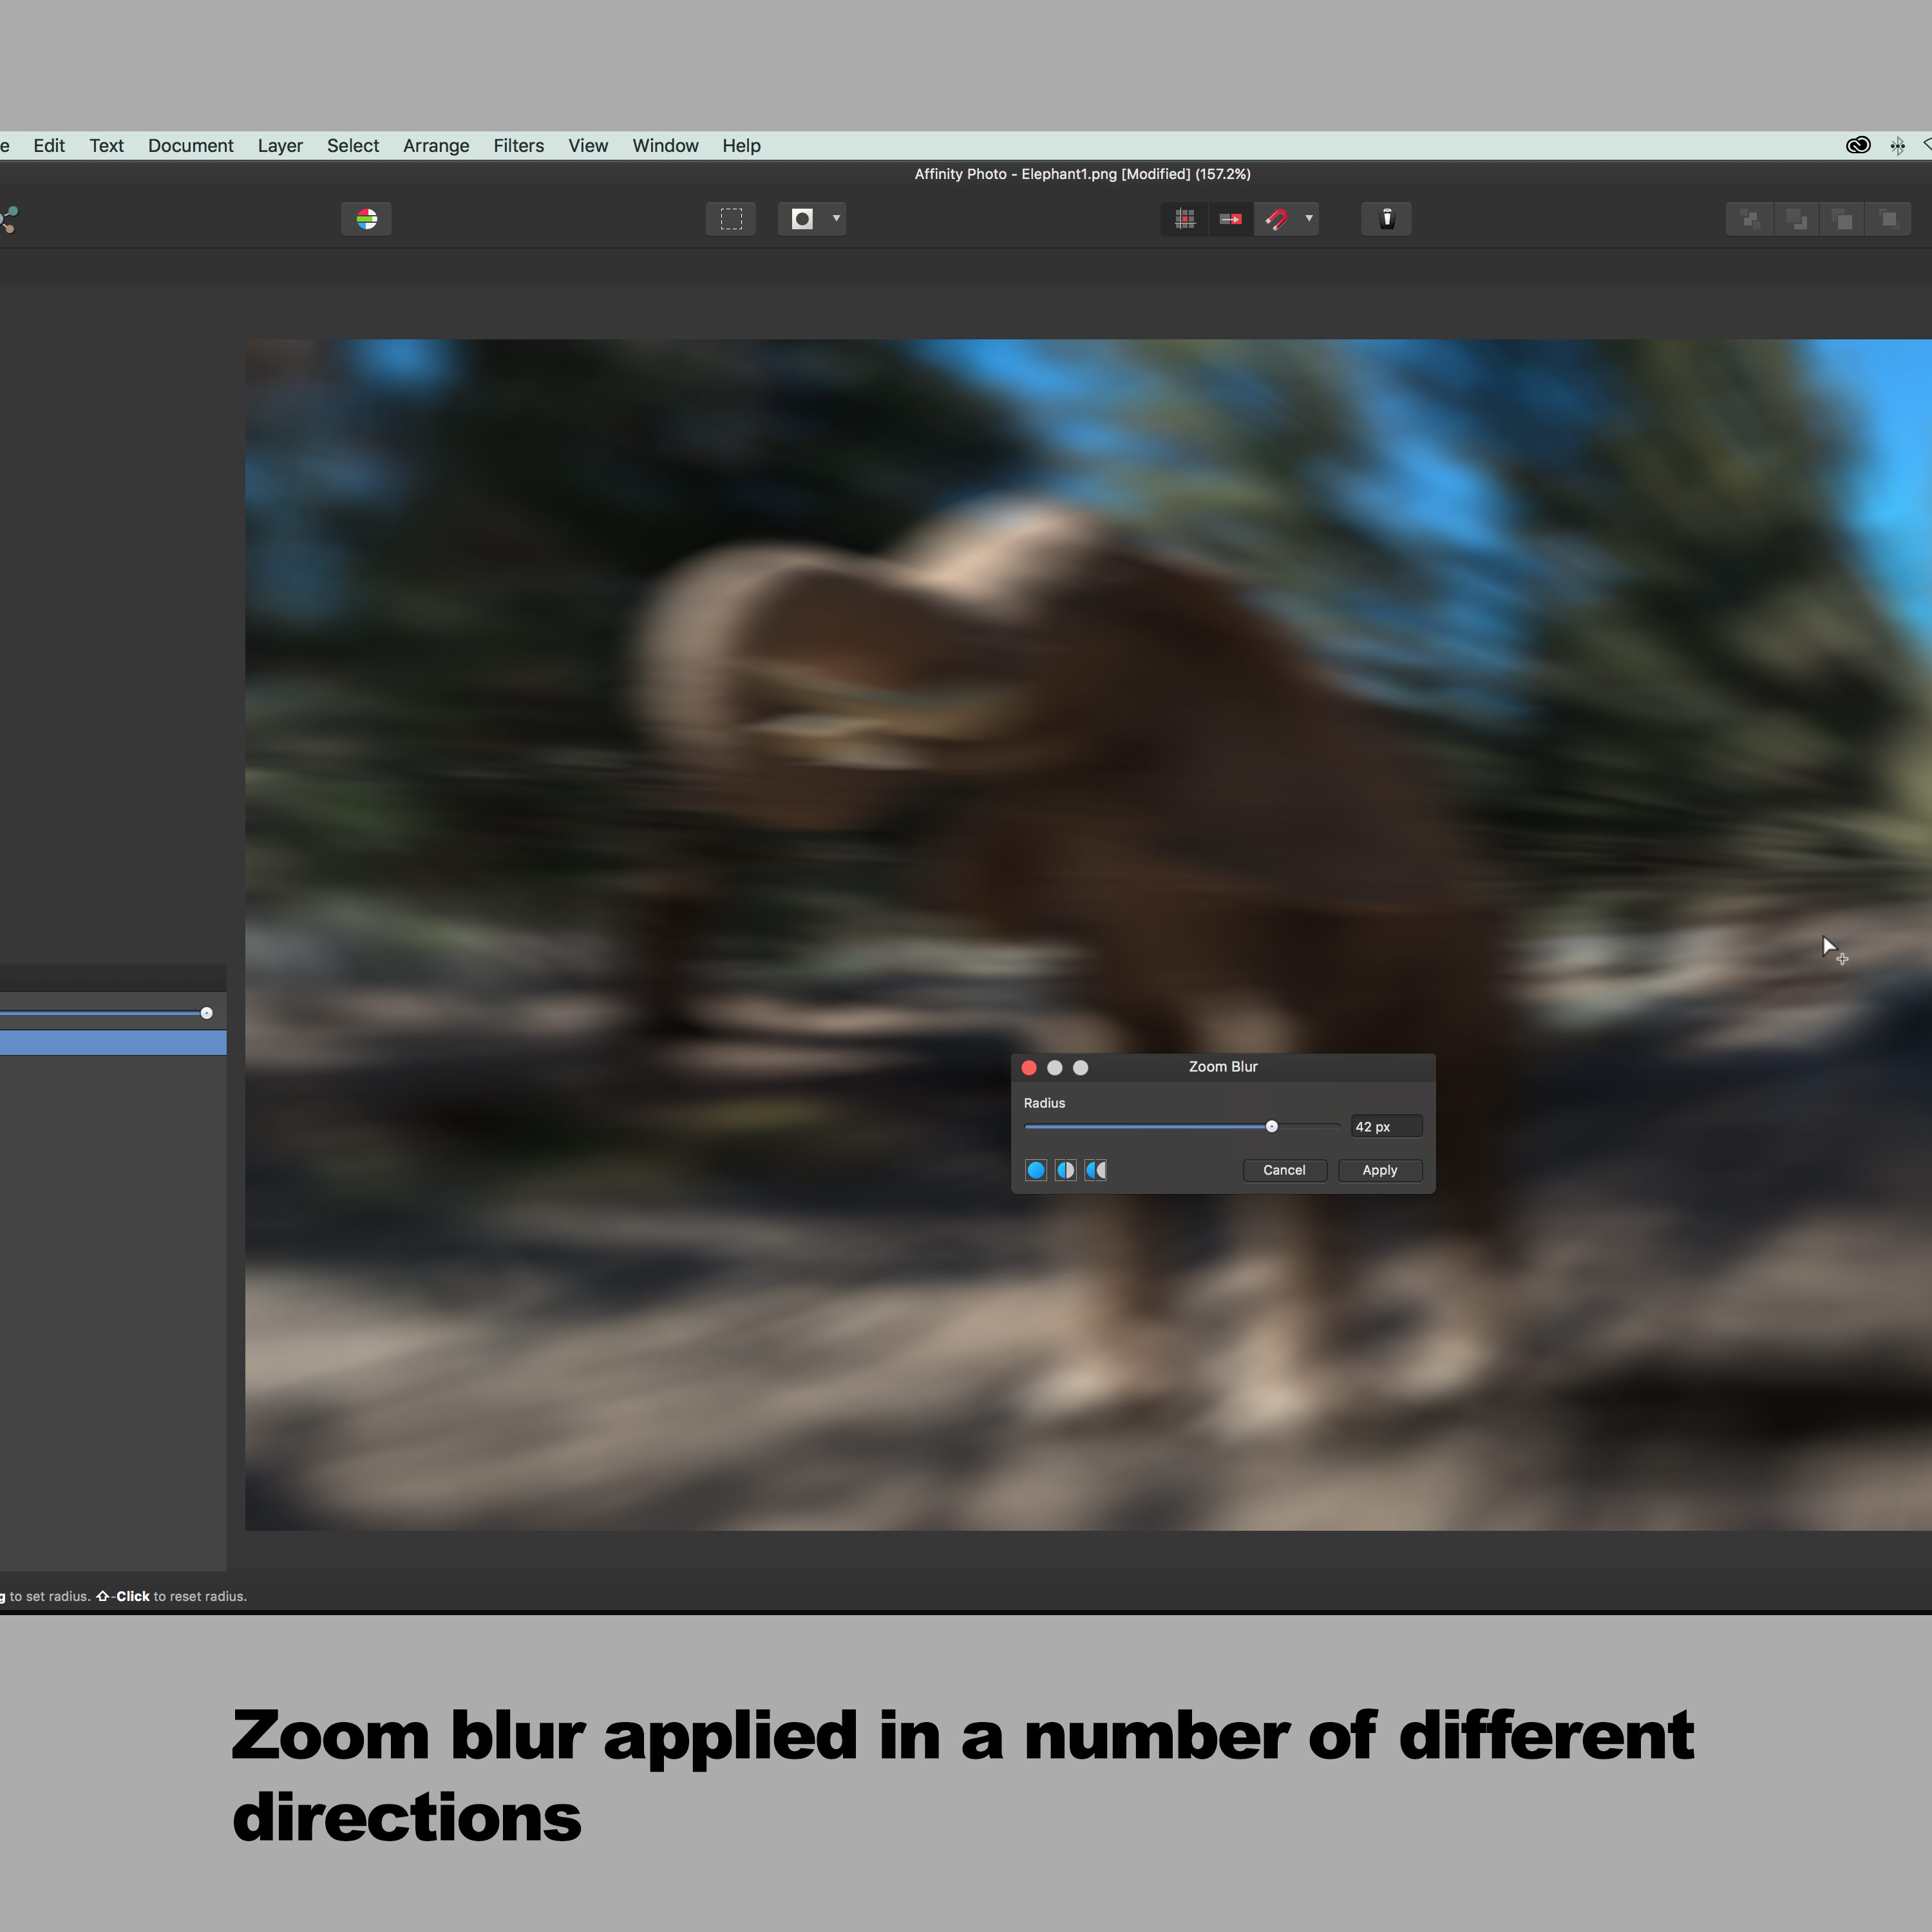
You don't have to apply the zoom blur filter only once (of course, you can just apply it only one). It can be applied in the center of the image (that is the default) and it can also be applied in any other position in the image. It can also be applied outside of the image. You can apply the zoom blur in Affinity Photo with different settings with different center positions
-
Filters menu
-
Blur category
-
Zoom blur
-
Set focus of origin or center point (off the image on the left)
-
Set radius to a low value
-
Apply
-
Filters / Blur / Zoom blur
-
Choose a different focus point (off the image on the right)
-
Set radius perhaps a little higher
All kinds of combinations of radius and origin point can be added and you can always combine the zoom blur with other effects in Affinity Photo
Zoom blur is a destructive filter effect so use on a duplicated layer
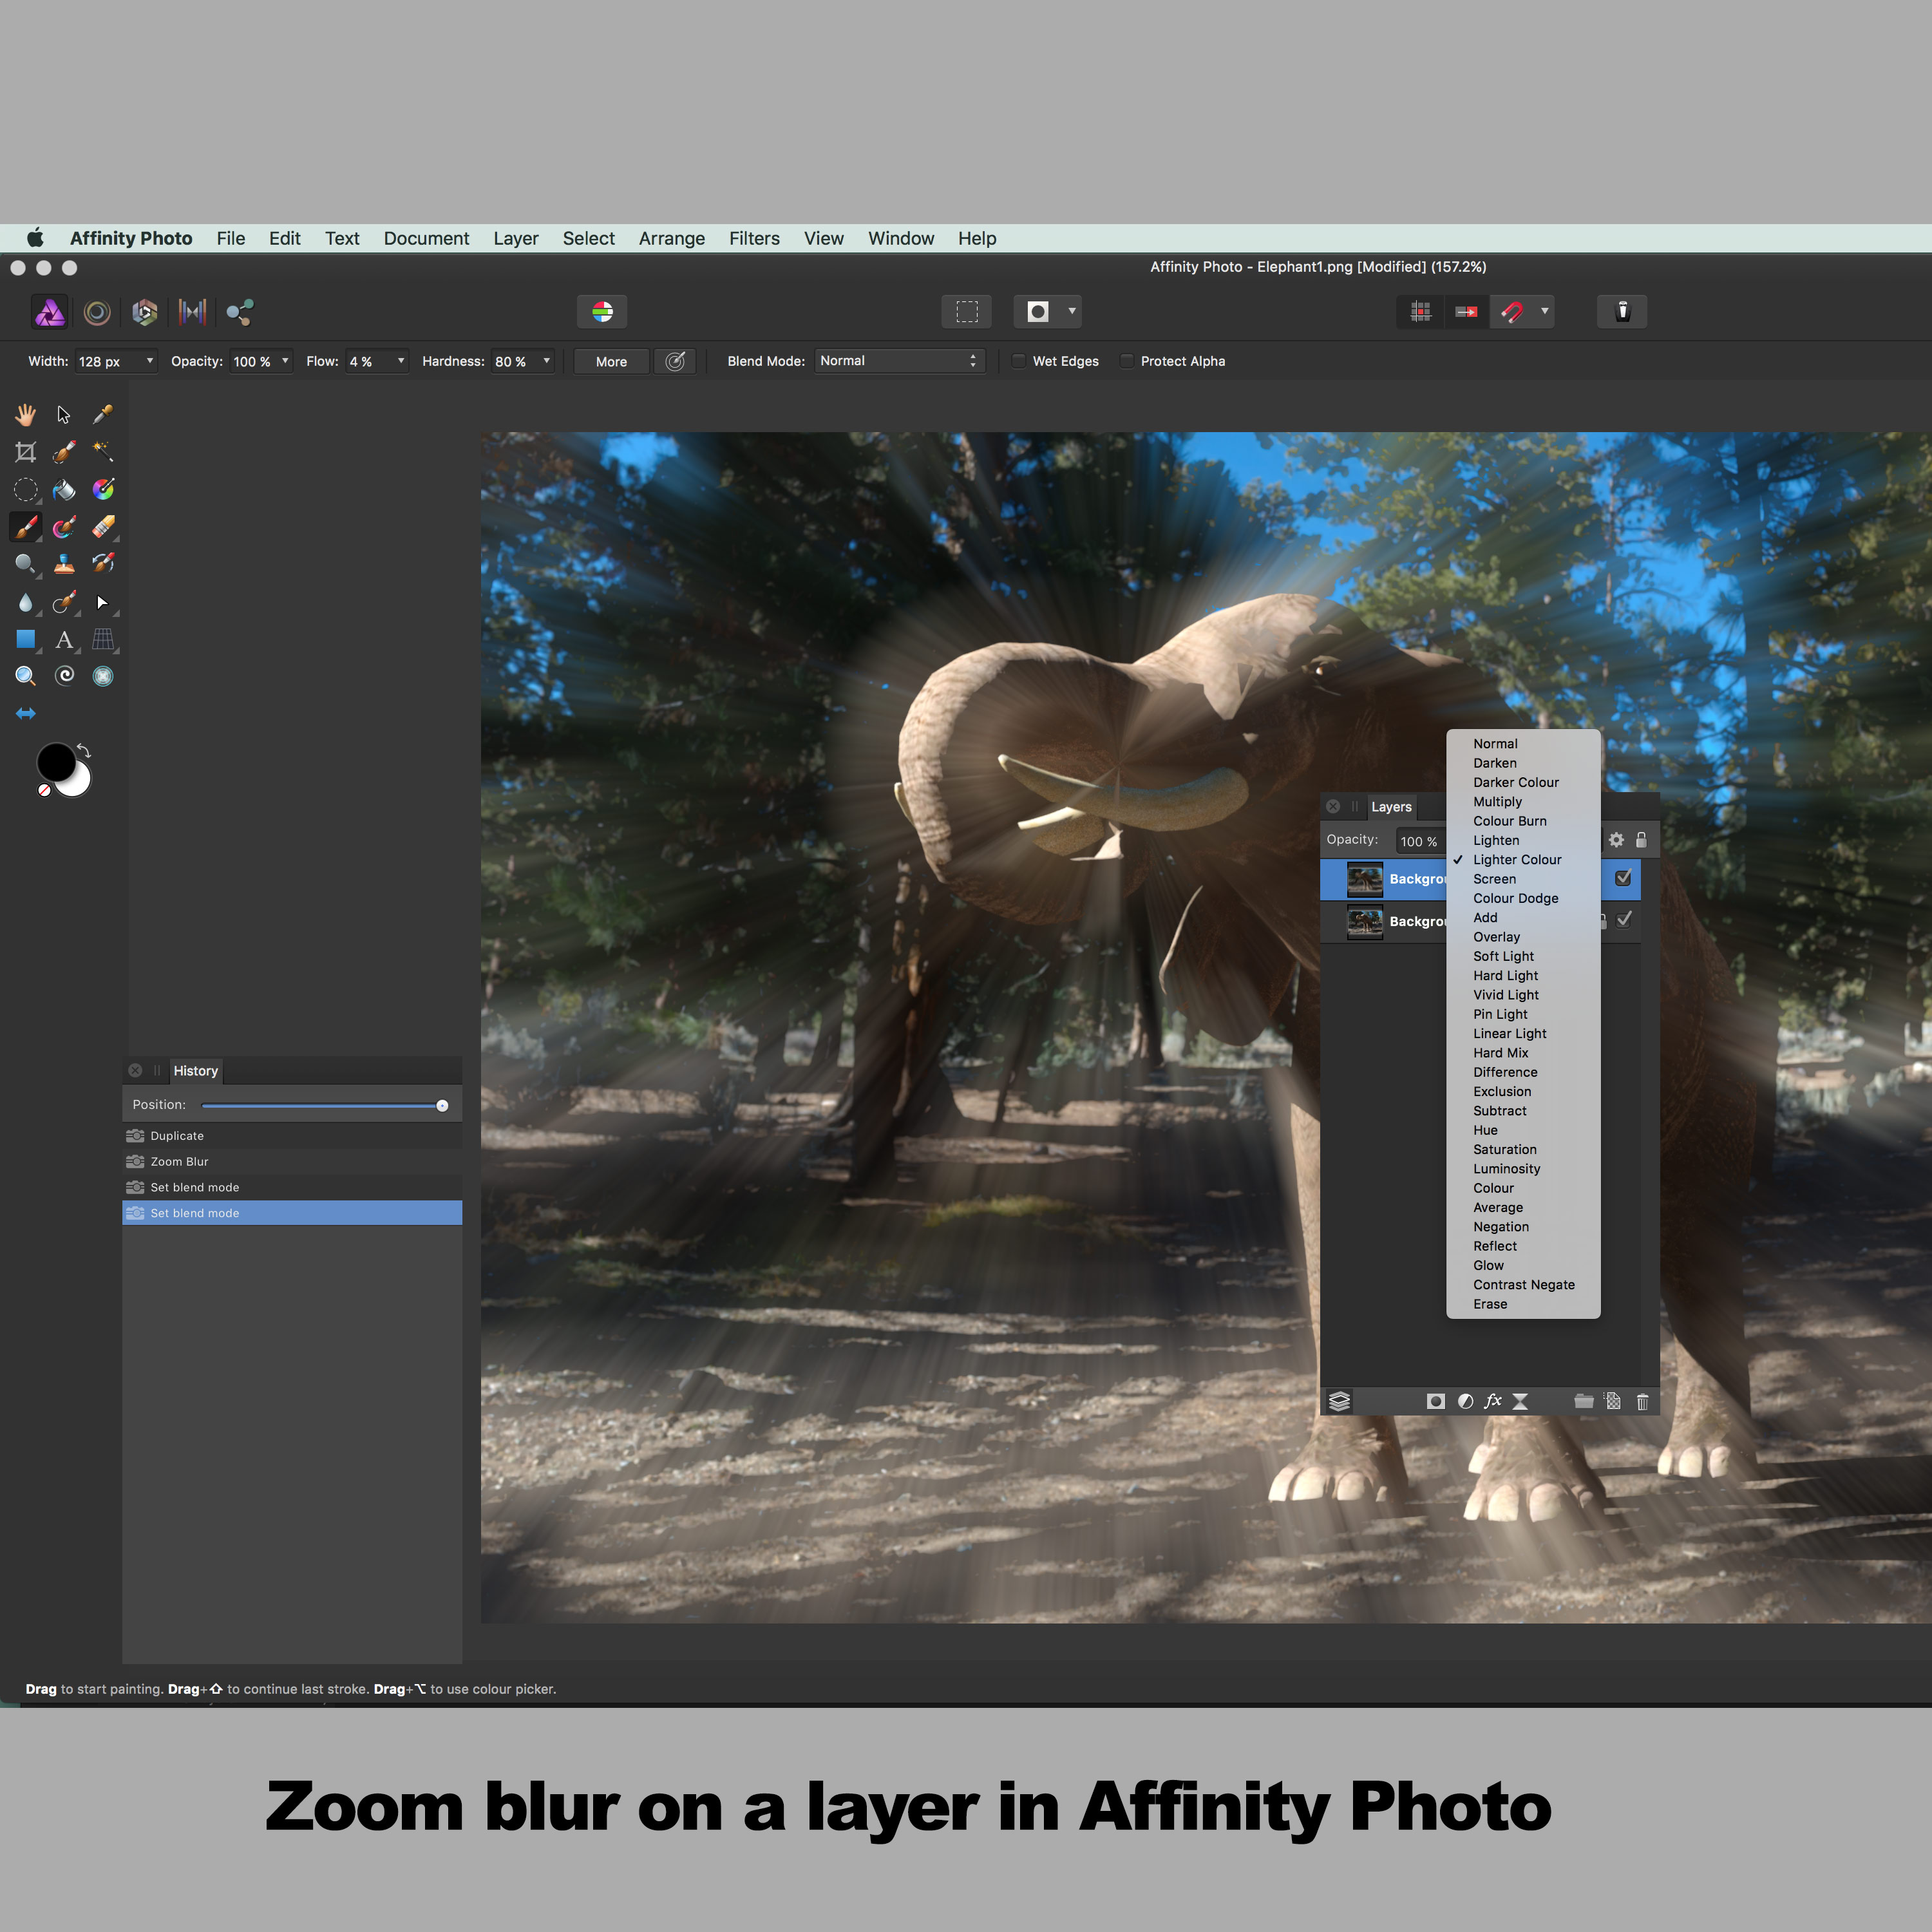
The zoom blur in Affinity Photo is a destructive effect, the only way back from it is the history panel or restoring the original image. A quick solution is to duplicate the original image and then apply the zoom blur. Another advantage of this is that you can then use layer masks as well as layer effects and blending modes and opacity etc to blend with the original image
-
layer menu
-
duplicate
-
filters
-
blur
-
zoom blur
-
set focus center and radius
-
go to the layers panel
-
change blending mode
-
change opacity as required
If you wish to now remove the zoom blur layer then you can simply click the remove layer button at the bottom of the layers panel
You can also set the blending mode for the layer first and then use the zoom blur in Affinity Photo
Zoom blur and masks and layers in Affinity Photo to highlight areas for zoom etc
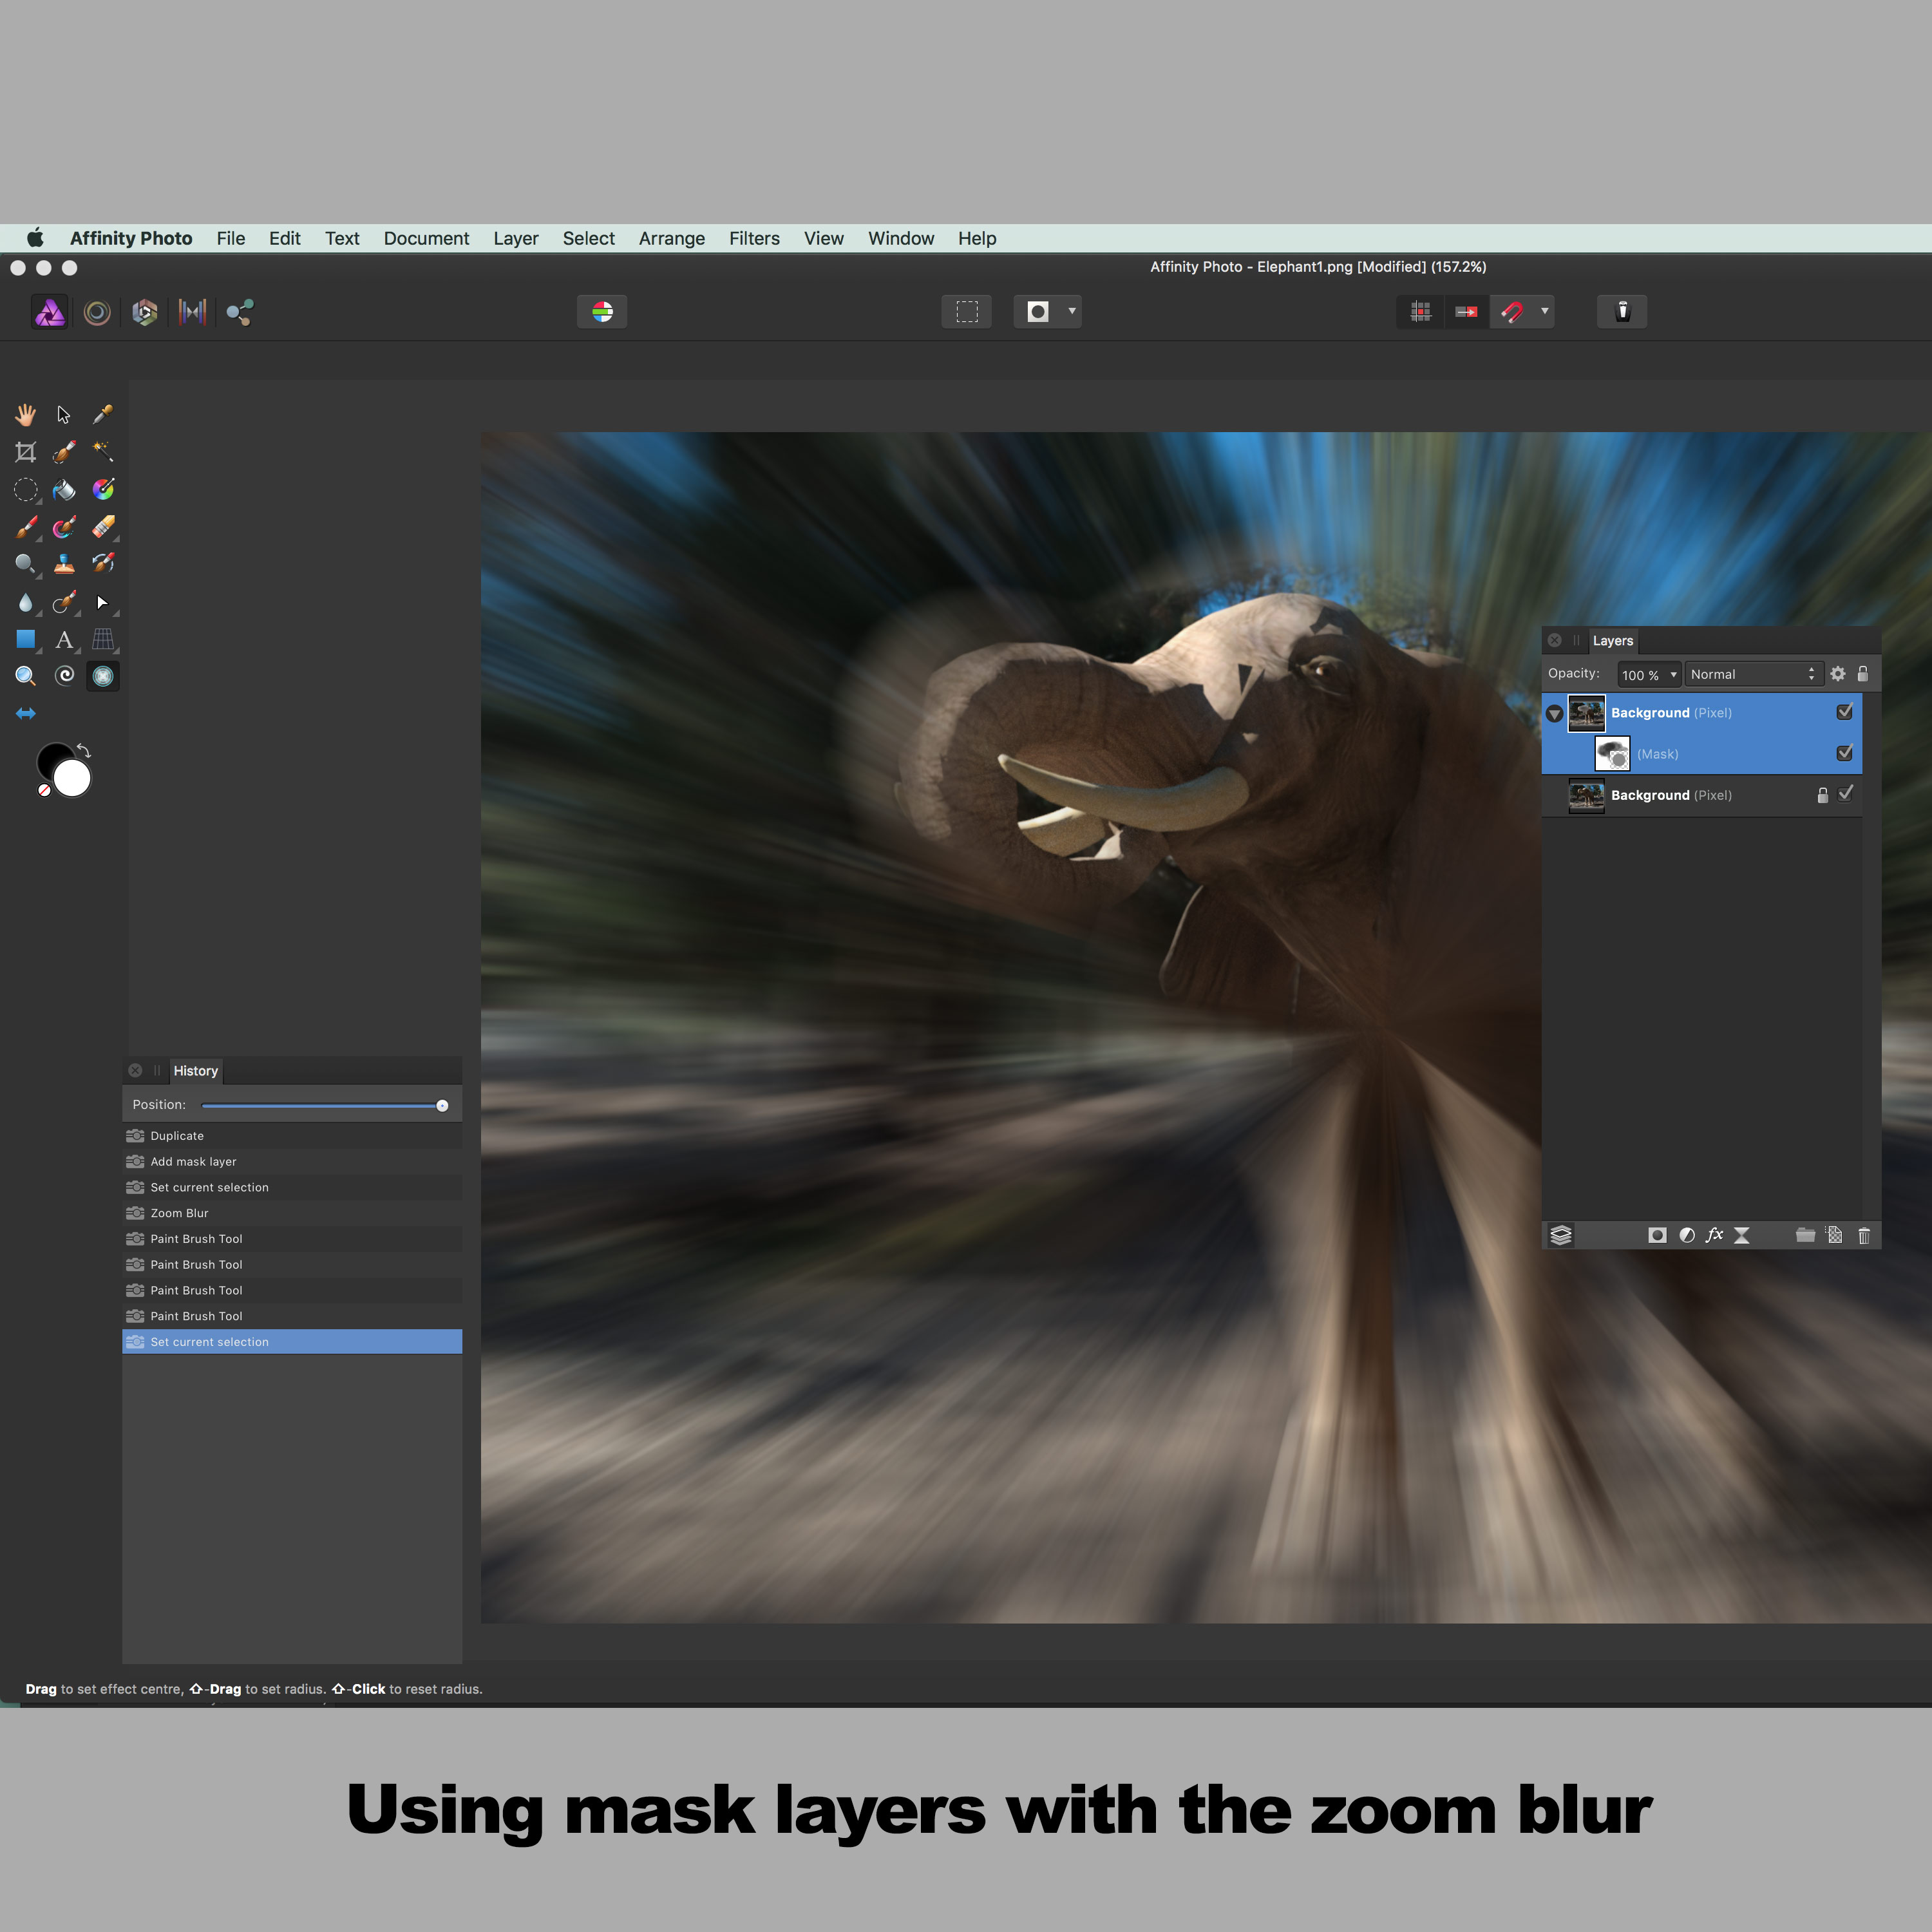
If you are using the zoom blur on a layer, the layer can be masked to remove some of the zoom blur. Paint on the mask using black or gray etc
-
layer menu
-
duplicate
-
select duplicate layer
-
layer menu
-
new mask layer
-
click on the mask thumbnail
-
select paint brush tool
-
set to black
-
paint over the area in the layer you want to mask
-
Select the duplicate layer in the layers panel
-
filter / blur / zoom blur
-
apply
Any number of combinations of layer masks and layers and blending modes and zoom blurs can be applied
Zoom blur filter video
You can use the zoom blur with images, you can use it with layers, you can use it with selections as well as use it with channels, you can use it with shape layers and also you can use it with text. See the video at the top of the page to see a load of possible basic ways of using the zoom blur filter, I am certain you will find even more creative ways of using this powerful tool.