Affinity Photo Channels / Filters Tutorial
graphicxtras > Affinity Photo tutorials > Affinity Photo How To tutorials
** Youtube video tutorial on how to use color channels (red, green etc) with filter effects in Affinity Photo for all kinds of superb color effects **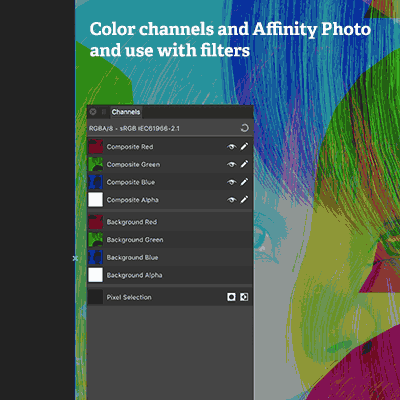
How to use effects and filters in Affinity Photo with color channels. You can use the color channels in Affinity Photo to create all kinds of stunning colorful effects.
You can use the red channel and green channel and blue channel separately in Affinity Photo. To use, go to the view menu and studio and channels and then select a channel.
Go to the filter menu and apply effects such as mirror and equations to the Affinity Photo channel. You can then change channels. You can also go back to standard RGB channels in Affinity Photo.
This tutorial shows you the features of the color channels panel in Affinity Photo. It shows you how to use the channels separately and how to return to RGB / LAB etc. It also shows how to use the channels with the Affinity Photo filters. The channels can be used to create truly amazing color effects in seconds.
-
View menu in Affinity Photo
-
Studio
-
Channels
-
Select composite red etc
-
select composite green etc
Setup for channels in Affinity Photo via view menu and studio commands
Open a document in Affinity Photo and then go to the channel panel View menu and studio and channels if it is not available).
Once you have the color channel panel displayed, you will notice a number of panel entries such
composite red
composite green
composite blue
composite alpha and a number of others depending on the document and other channels you have created either based on those channels etc. This also depends on the color / image model for the document so the list will be different if you are using CMYK or LAB
You can right click context menu on any of the panels in the channels, to display commands such as
-
load to pixel selection
-
subtract from pixel selection
-
create spare channel etc
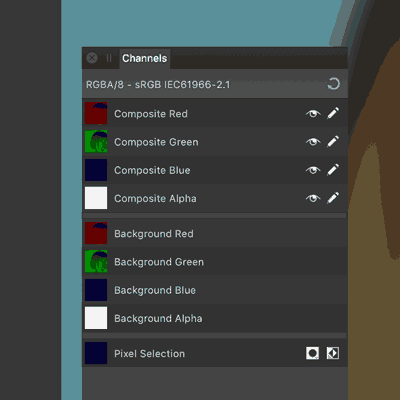
Selecting individual channels such as the red channel in the channel panel of Affinity Photo
To select a channel in Affinity Photo
-
just select the red etc channel and then you will see the pixels in the red channel only in the document (you will notice all the other channels are disabled / hidden etc)
-
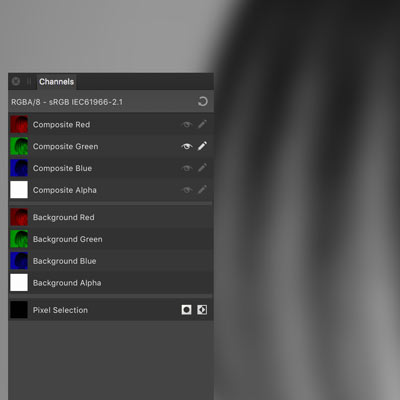
Select the composite green etc (or cyan etc)
-
Select the blue channel
If you wish to reset all the channels back to RGB etc
To reset back to all the channels, click the little circular reset at the top of the panel to bring them all back on-line.
-
click the circular reset button at the top of the channels panel
As soon as you click that, you will see all the artwork go back to the standard RGB. You can then repeat the process of selecting individual channels and applying filters etc
Using filters with the individual channels in Affinity Photo

You can use the filters in the red channel as well as the green etc independently.
I have yet to use a filter that doesn't allow for this but they may exist for other modes as sometimes certain filters just can't be used with a single channel (certainly the case in some applications).
-
Go to the channel panel
-
Select red channel
-
So now, go to the filters menu and distort and equations (you could equally use blur or radial blur or some other filter) and then you will see the equations filter editor panel. Using the default coordinate system and set extend mode to wrap and the x= to x+500 etc (half of the current size of the document, I don't know if there is an equations constant for the document width) and then you will see the image shift in the red channel only half way and wrap half way. Click apply.
-
Now select the composite green in the channel panel
-
go to the filters menu and distort and equations and instead of using x+500 etc, set the y= value and set to y+500 etc (depending on the height of the document and half of that). Again, select wrap and then click apply
-
Go to the composite blue
-
filters and distort and equations and now click the polar option and wrap and set the r= to r+200
-
Now you have edited all the channels independently, click the little circular icon at the top of the channels panel or go through all the channels and click the visible and editable icons and you should see an unusually colorful shifted design (but still recognizable as the image)
-
You can also then apply filters to the entire image instead of the individual channels.
-
You can then go back to the individual channels and use different filters such as gaussian blur etc
Channels and filters and use with layers in Affinity Photo
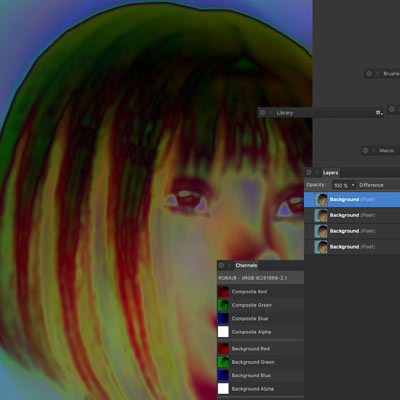
You can also use color channels panel and layers in Affinity Photo to create some interesting effects, combining those layers with blending modes.
-
Select an image
-
Go to the layers panel
-
Layer menu and duplicate
-
Layers menu and duplicate. You should now have three layers all with the same image
-
Un-check (hide) the first two top layers via the layer panel
-
Go to the visible layer
-
Go to the channel panel and select the red channel
-
Apply an effect such as radial blur
-
Go to the channels panel and select the green channel
-
Now check the middle layer in the layer panel and use that layer
-
Apply effect with different settings
-
Go to the channels panel and blue
-
Select and check (make visible) the top layer
-
Apply effect
-
Go to channel and click the reset at the top of the panel to display RGB
-
Go to each of the layers in the layer panel and set the blending modes accordingly such as difference or overlay
You should then see the effects applied to the red and green and blue channels and also the result of the blending modes applied to the layers