Corel Painter 3D Surface Texture tutorial
graphicxtras > Corel tutorials > Corel Painter tutorials > Corel Painter Grain Pattern tutorials
** Youtube video tutorial on how to create amazing 3D surface texture effects in Painter by using the grains in Corel Painter as well as the powerful custom tiles filter **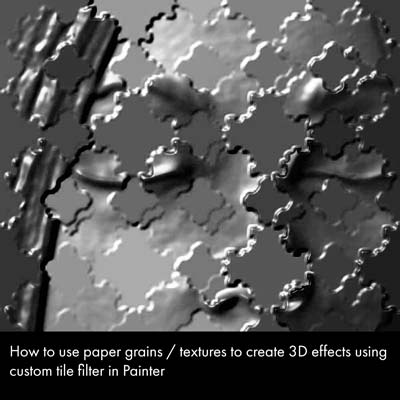
How to create 3D Paint textures effects / surfaces in Corel Painter using grains and custom tiles filter.
The key thing with this tutorial is the custom tiles filter. The custom tiles uses a variety of methods to create a tile, one of those being paper / grains. You can use the standard grains but you can also create your own Painter paper textures.
This tutorial uses self created grains.
Create a grain / paper texture in Painter
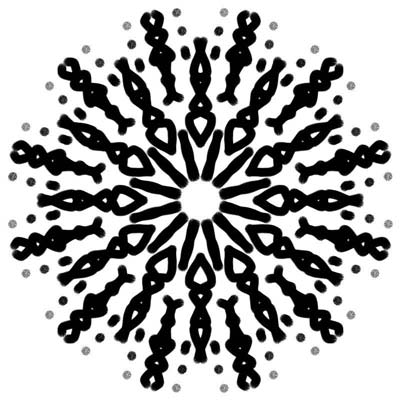
You can create a Painter grain in many different ways but I have always found the easiest way is to use the Painter paint tools and the Kaleidoscope tool.
-
First create a Kaleidoscope / symmetry by clicking the Kaleidoscope tool in the Painter toolbox
-
Set the segment number. I often go for about 12 to create more interesting and complex symmetrical designs.
-
Using some of the brushes with the Kaleidoscope on can result in fairly sluggish painting (this depends on the machine).
-
Anyway, apply the brush strokes to create a seamless tile (so avoid the edges)
Adding the resource to the Painter paper texture library.

-
Now use the select menu command
-
Select all.
-
Now go to the window menu and paper panels and select the paper etc panels.
-
Now go the right side of the Painter paper panel
-
select the capture paper option and capture the current design
You might also like to save as a PNG image and then set the custom icon for it (though I cannot work out why it can't just save the default custom icon as the same as the paper grain - very strange). OK, now you have the paper texture / grain, select the paper grain in the Painter's paper library (it should be selected but if it is not, select it).
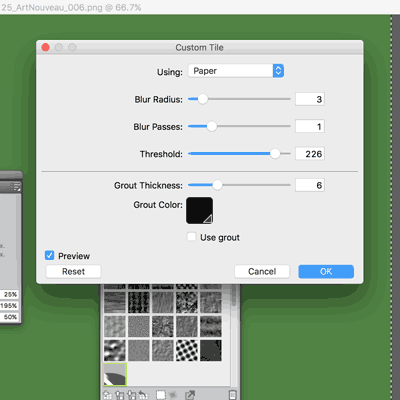
Custom tile filter in Corel Painter for 3D surface / effects
-
You can find the custom tile filter in the effects and esoterica filter menu of Painter.
-
Set the 'use grout' to OFF. Set the thickness to the maximum.
-
set to paper
-
Threshold to fairly high such as 230.
-
Also, repeat applications of the custom tile filter with a varying size of paper tile can be effective.
This does require some experimentation and varying of the size of the paper tile via the paper panel (small seems to work best). Depends on the image size, sometimes the end result is a total blur but fairly small tiles should be effective.
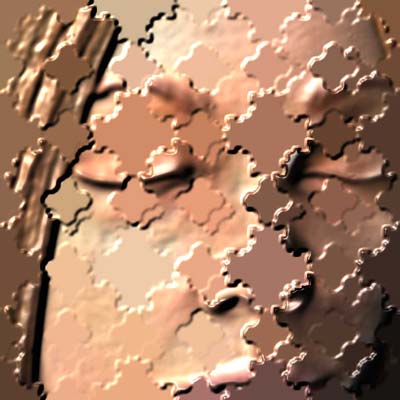
Apply surface texture in Painter for 3D surface / effects
Now the custom tiles have been applied
-
you can then add the 3D paint effect via the apply surface texture filter (found in the effects menu found in the surface control menu.
-
Use the image luminence option and vary the light direction.
The left image shows the end result of the paper textures / custom tile and apply surface texture. You can, at this point, repeat the process with another grain and a different set of surface texture settings. Also, you can apply the custom tile and apply surface texture using different tiles such as lines and warped shapes