Illustrator brushes Tint / Color tutorial
graphicxtras > Adobe Illustrator tutorials > Illustrator brushes tutorials
** Youtube video tutorial on how to use the tint / color features of the Illustrator brushes **
1. Tinting Illustrator brushes
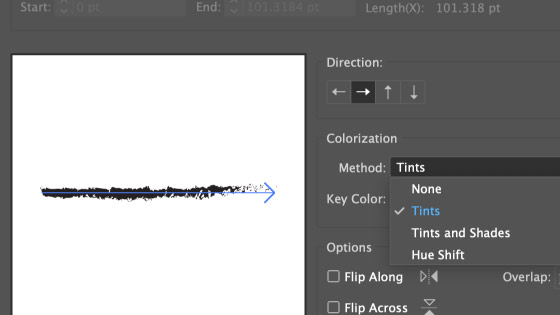
Go to the brushes panel to find the color / tint options in Adobe Illustrator and double click the required brush and goto the brushes colorization and select the required color / tint / hue etc method and click OK
2. Using the Illustrator brush options
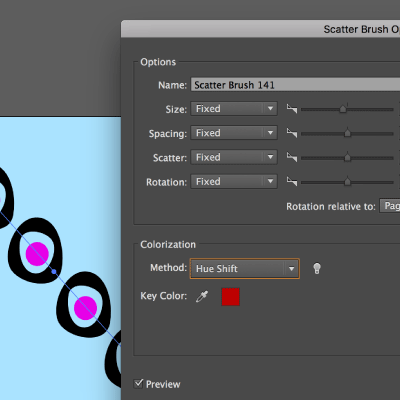
You have four options for the colorization method : none, tints, tints and shade, hue shift. The example above shows the hue shift and that is the one that uses the key color. The key color is slightly odd as I notice from time to time that it does not appear to work (in my version of Illustrator) and only seems to start working when you use it in the none option and select the color with the eyedropper. It may work fine for you and select in all methods.
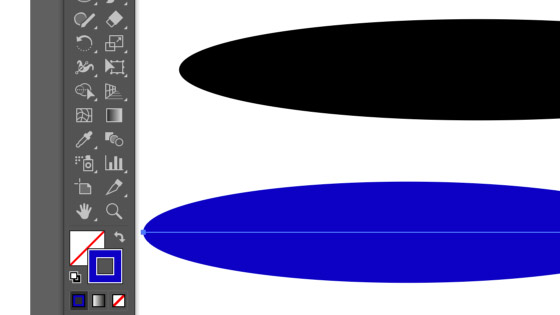
3. Colorization for the brush and none method

If you select the none method for the color of the brush in Adobe Illustrator then the colors set at creation are used so if you have a black and red brush stroke (as used in this example) that is what will be applied
The brush stroke is made of a black outer ring and red inner. You can see the key color is set to the red and that is the one changed in the hue shift. It is a bit like the dynamic symbols (new feature in Adobe Illustrator where the color can be changed (but this does not use the direct selection feature)
4. Colorization for the Illustrator brush and tints

In this, just set that method when you edit the brush stroke. If you want the brush stroke to be displayed in pink then go the stroke color in the toolbar and change that to pink and the red will be tinted pink and the black likewise
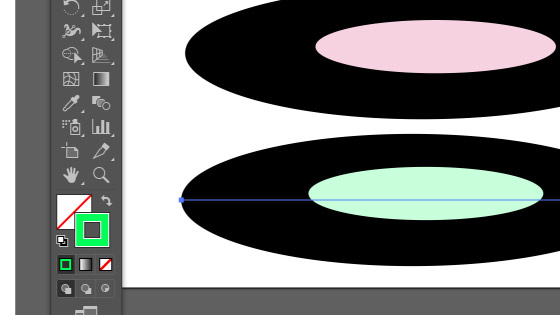
You can also change the stroke to green and the stroke will then be converted into greens
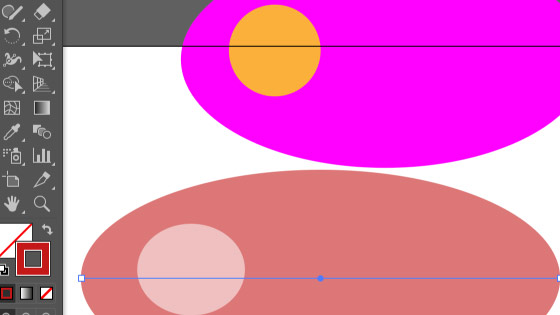
5. Colorization method and tints / shades

If you change the method to "tints and shades", the blacks are unchanged. The red will change to a shade of dark pink if pink is used (a tint applied to the gray scale brush stroke).
The brush strokes with this color method works best when the colors are nice bright colors and then you can see some difference between the colors making up the Illustrator brush
6. Colorization method and hue shift

Double click the brush in the brushes panel and go to the eyedropper and click on the preview - select the color you want as your key color otherwise it just defaults to a color it decides (normally it seems to be black) and set colorization to hue shift. Click OK and accept any changes
Now when you change the stroke, the key color in the original brush stroke will be changed to the stroke color. If there are 10 colors in the brush stroke then only that one color changes (not sure why they didn't add multiple key colors or color 1 and color 2 etc). It would be useful if the key color was a drop down with the colors in the path. So if you set the stroke to blue, the key color will change to blue
7. Change the Brush source and have multiple tinted designs
The most obvious method is to re-color the Illustrator brush stroke at source. Drag the brush stroke from the brushes panel and ungroup the brush and then remove the bounding box for the brush stroke and then change the color of the individual parts of the brush stroke.
Not particularly ideal but you can set up multiple brush strokes say a brush in red and a brush in green and a brush in blue and then select those brushes as and when you need that particular color. The image on the right uses that approach.