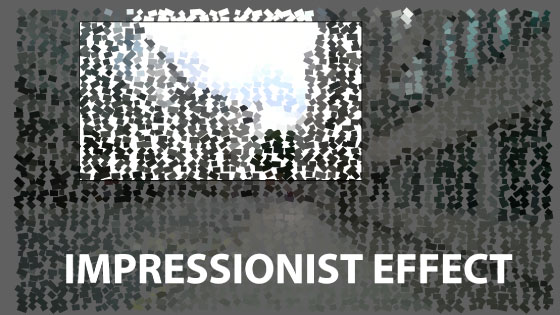
Illustrator Impressionist Effect Tutorial
graphicxtras > Adobe Illustrator tutorials > Illustrator effects tutorials
1. Basic impressionist setup
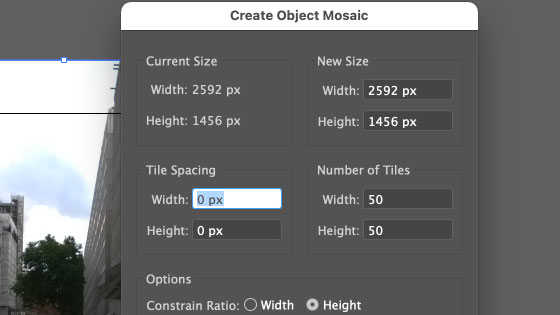
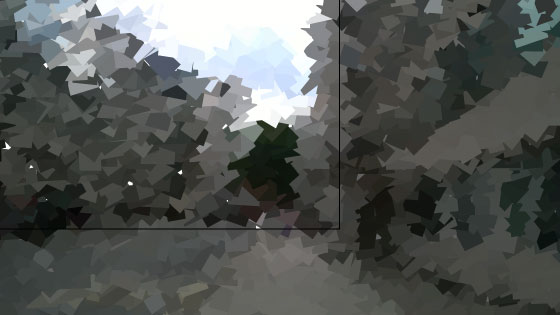
Select an image, any image, or place an image and then go to the object menu and object mosaic command in Illustrator.

Set the number of tiles to 50 and 50 or 30 and 30 or 70 and 40, basically whatever you want but the more tiles the better though if you push the effect to 100 x 100 etc you may see your machine take a while. You can set some tile spacing but keep it zero if you wish and go with color, you can always convert the vector impressionist painting to black and white later if you wish. You can delete the raster or not, up to you but if you keep it, it will also be transformed and you can always just delete it later or re-position it if you wish. Click OK
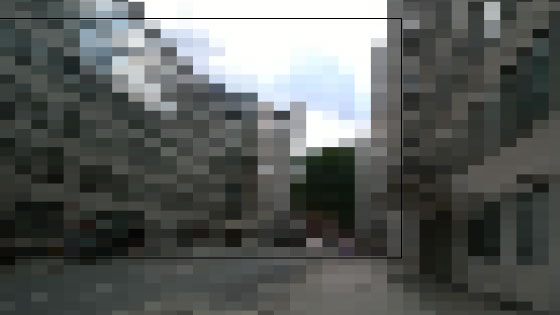
2. Vector design and ungroup them
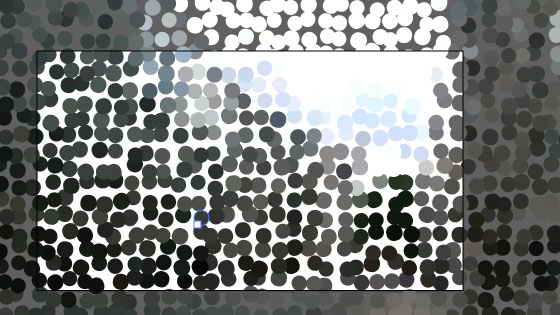
Your raster image is now made up of rectangular or square blocks of vectors based on the underlying image. It is an average, it doesn't look exactly like the image but if you look at it for long enough and there are enough squares it will sort of look like the original. With the vector paths all selected, the next thing you need to do is ungroup them via the object menu ungroup command
Now, you can select and move any part of the image and so can the transform each command.
3. Transform each to create impressionist effect
With the un-grouped vector paths, select them all and go to the object menu and transform and transform each. The key thing is to put the random to ON.
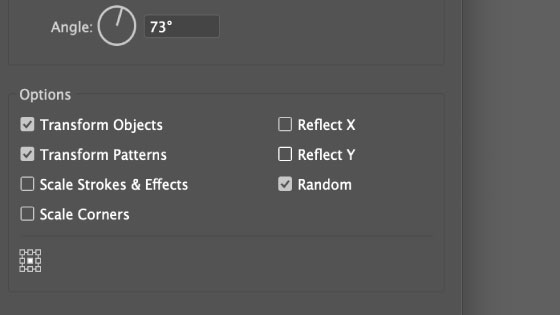
You can now play with the scale, move etc settings. Change the values a little at first and you will see the move shift the paths back and forth, the scale reduce or increase the size of the paths in a random way and then set the angle, push it to a decent value of 100 etc though it can be set to a low value and you can always keep re-applying the transform command

You can set the values as extreme as you wish, perhaps just move only the horizontal or just use the angle or perhaps set the scale to all great than 100% and so on, each set of variables will create a different result. As mentioned, you can re-apply over and over and the impressionist painter effect will change as you do
4. Re-color the impressionist painting
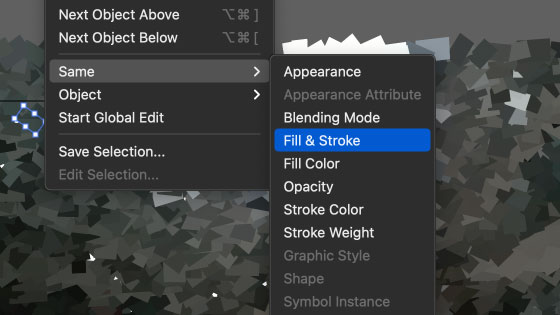
You can select the entire design or perhaps particular filled paths by using the select menu and then same fill and stroke as selected. You can then go to the edit menu and edit colors and recolor artwork or use the adjust color balance etc to re-color your impressionistic painting.
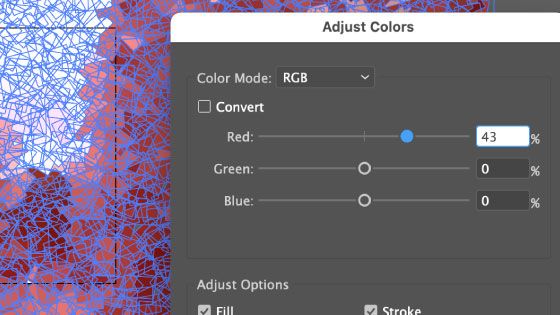
Use adjust color balance to make the impressionist painting effect more red or green etc
5. Using the corner feature on the impressionist painting to make it more Seurat
You can select all the paths or just some of them and select the direct selection tool in the toolbar and then go to the corners setting in the top bar
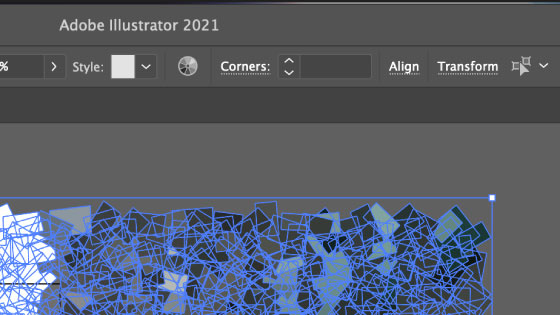
If the rectangles are more like squares this will probably work better and the way to achieve that is to set the tiles width and height to the ratio of the width and height of the image so if you have an image that is 1000 x 600 then set the tiles to 10 / 6 and then you will end up with squares. Anyway, you can use the corner option either way and you can set a value and the maximum value will be decided by Illustrator so if you want full on roundness then set a large value, the app will then just apply it to the maximum it can. You then have a more rounded looking impressionistic painter effect. You can also perhaps reduce the scale settings to below 100%.
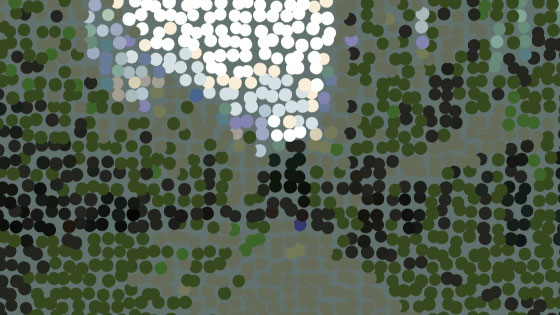
You should now have rounded rectangles or if the tiles were squares, circles. You can then re-apply color etc and thoughtfully there is a recolor artwork library called impressionism. You can also re-apply transform each to the paths or some of them.
Re-colored using edit menu recolor artwork and art library 'impressionism'
6. Add a backdrop to your impressionism image
You don't have to keep a black background to your artwork, you can add the original image behind your design or perhaps add a colorful rectangle behind to add a border or edge etc to the design or a gradient etc. Or perhaps add effects to the impressionist painting such as effect menu and stylize and drop shadow to the all the different paths.

7. Strokes and impressionist painting
This has been using fills, you don't need to use just fills, you can select all the paths and add a stroke to them and then add width profiles as well as brush strokes etc. You can also add in multiple strokes via the appearance panel though all of this may require a lot of computer processing power. As the impressionist effect works with the fill, you could remove the fill and just have the stroke but in that case you will just end up with an image of lots of rectangles with strokes which could be interesting and perhaps combined with the underlying impressionist image or the original source image to give the design the color. This technique could be used to create many interesting and unusual overlapping line designs from any image