Illustrator Object Mosaic Create Tutorial
graphicxtras > Adobe Illustrator tutorials > Illustrator how to tutorials
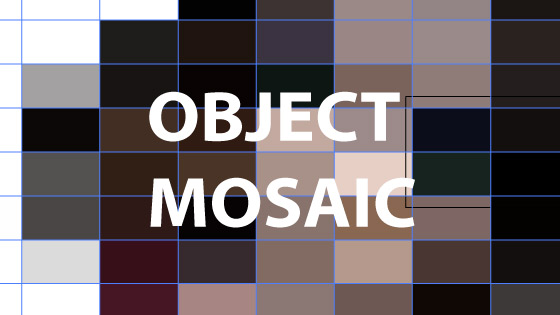
How to use the create object mosaic command in Illustrator to create all kinds of amazing rectangular mosaic designs in vector format. How to re-color, how to break apart, how to add grouting, how to manipulate in Illustrator and a quick way to turn an image into a vector.
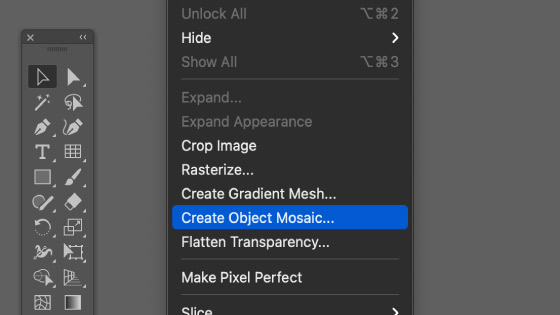
1. Where is the Create Object Mosaic
The command can be found in the object menu. Select a raster image and then Object menu and then create object mosaic. You will then see the panel and the rectangles created by Illustrator.
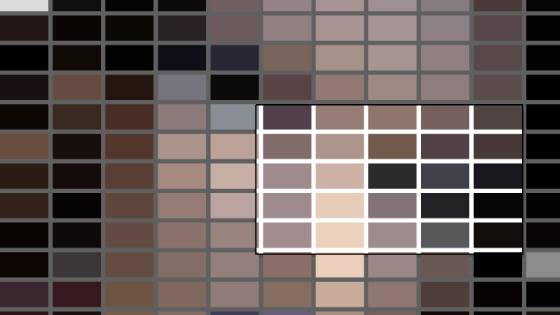
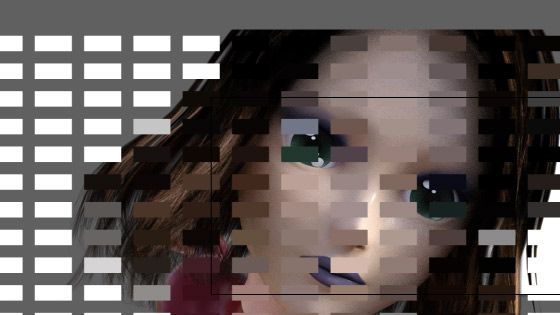
2. Create Object Mosaic basics in Illustrator
It needs to work on a raster image. It works out the color for each generated color block based on the average underlying color. You can create multiple blocks such as 20 x 20 and they are all vectors. You can also have a space / guttering between the blocks. You can also use the object mosaic to resize the image so if you have a 2000 x 2000, you can use the tool to re-size to 4000 x 4000 say
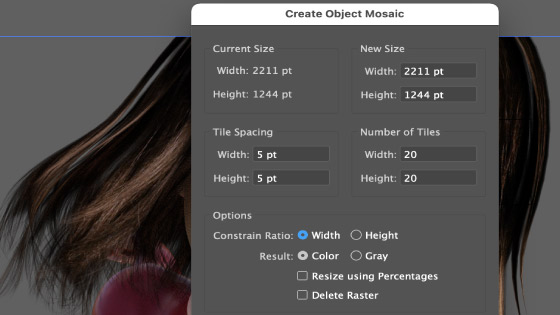
There are restraints, you will find that Illustrator rejects spacing if it is too high. You can set the result to be color or gray, though you can always turn it into a gray scale later if you wish. You can also resize using percentages so instead of 2000, you can enter 200% etc. You can also delete the source image as well but sometimes it is useful not to delete the raster as you can always apply the object mosaic again or perhaps blend the result with the source image.
3. Re-color the object mosaic
Once you have generated the object mosaic via the create command from the image, whether it is 5 x 5 or 30 x 50 etc, it is now a vector path and that path or set of paths can be colored as one or you can individually color the rectangles as well as modify them in other ways. To apply the color to the entire group, select and then go to the edit menu and then adjust color balance and tweak the red etc settings for the object mosaic

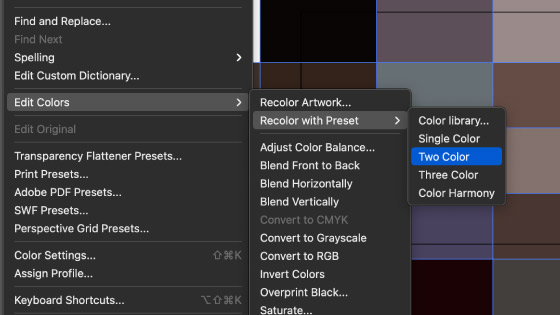
You also use the color libraries via the edit menu and edit color and recolor with preset command and use a vast range of swatch libraries etc to re-color the rectangles.
4. Work with the individual paths
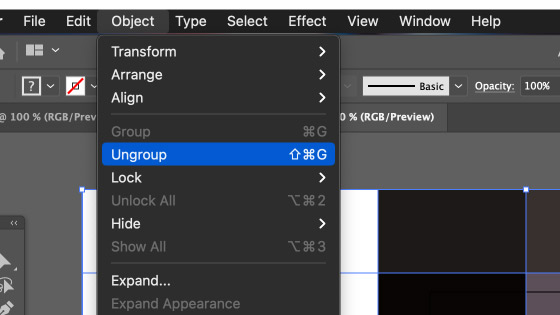
The create object mosaic is made of multiple Illustrator paths. You can break that apart via the object menu and ungroup.
You can now move the individual paths and re-size them as well as rotate them as well as combine them with effects and much more.
Also means the paths can be selected and deleted by pressing the Delete key. You can also apply individual effects to the paths so path 1 could have a blur, another could have a scribble effect applied and so on. You can also use the direct selection tool to select the points of the path and alter the overall shape from being just a rectangle.
5. Blending modes and the object mosaic
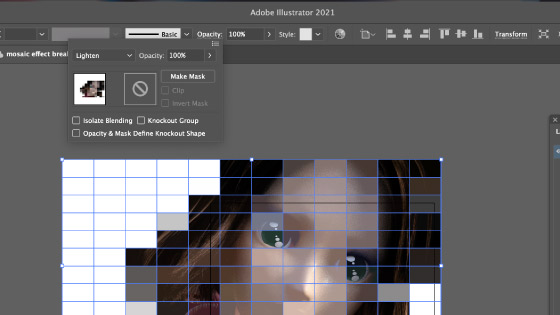
When you use the object mosaic command, you don't need to delete the source design. If you keep the vector as well as the raster, they can be combined again by changing the blending mode of vector. Go to the opacity link and click that and you can change the opacity of the selected vector set as well as changing the blending mode such as lighten etc
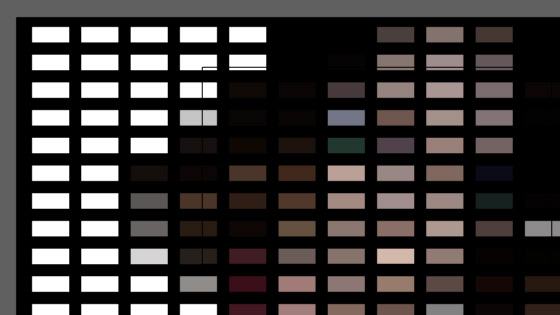
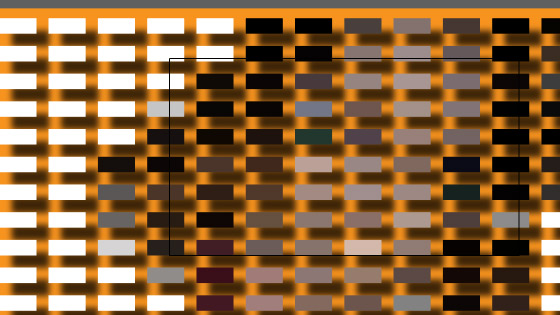
6. Adding color grouting to the mosaic
By default if you set a spacing in the panel, say 8pt, then you will have no path there. You can quickly add some color grouting to the paths by adding a background path with a solid color or perhaps a gradient or pattern. By not deleting the raster, you can create an interesting grouting anyway but it can also be a colorful grouting
Or with black grouting
7. Adding effects to the object mosaic tiles
You can add an extra lift to the tiles by selecting them and going to the effects menu and stylize and drop shadow and use the default or change the offset and blur etc.
You can add other effects such as using the object menu and transform each on all of the blocks in the object mosaic to create an effect more like impressionism which can be manipulated to create all kinds of painter like styles
8. Strokes instead of fills
The stroke does not take the color of the underlying image, that would be great but it doesn't but it doesn't mean you can't add a stroke to the end result object mosaic and also remove all the fills by setting the fill to nil and the stroke to black. You can also set the object mosaic stroke to have a width profile and more to create many interesting variations. You can also create a scratchy effect very quickly using this approach and more