Illustrator Crop image Tutorial
graphicxtras > Adobe Illustrator tutorials > Illustrator how to tutorials
Illustrator crop image button to crop images within the application, how to crop images quickly in Illustrator as well as use the feature to create interested effects, as well as using multiple image crops.
** Youtube video tutorial on how to use the Illustrator crop image feature to crop all kinds of images / photos within Illustrator **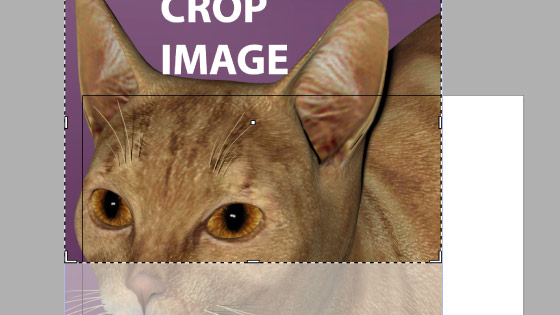
1. Where is the crop image feature in Illustrator
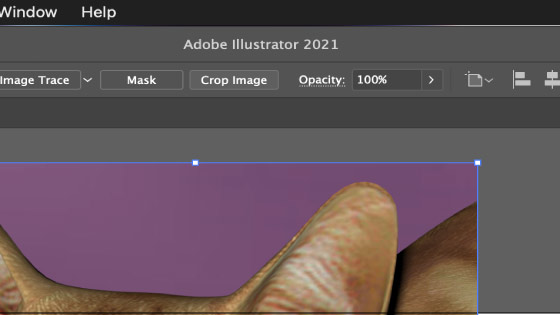
You can find the crop image at the top of the application, it appears when you select an image. You can, of course, crop an image in Photoshop etc but the crop image means you don't have to access another application
2. How to quickly use the crop image in Illustrator
Select an image to crop in Adobe Illustrator and then click the 'crop image' button and set the crop region interactively with the bounding boxes for the crop. Set the PPI and click apply. You can move the crop region around by using the selection tool as well as re-sizing the crop region via the same tool. You can also use the top bar to change the crop region position and size
3. Settings for the crop image
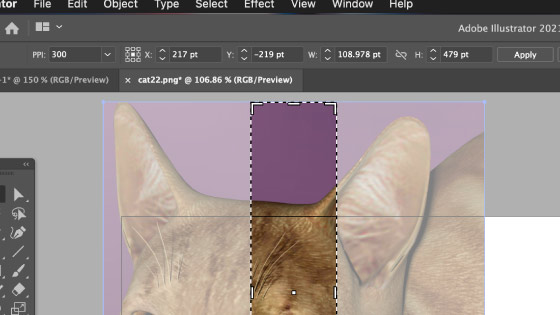
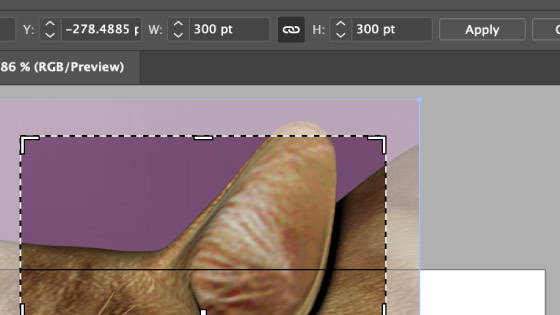
Click the crop image button and change the crop size / origin by changing the crop rectangle (the cropped region can still be seen but with a lower opacity) either interactively or via the top bar. The only setting that needs to be changed along the top bar is PPI setting in the top left and set that to 300 or 72 or 1 etc, it does have an effect on the end result. You can also constrain the height and width of the crop by clicking the link button between those settings in the top bar if you are using those controls or hold down the shift key is you are interactively applying the tool.
4. Multiple crops of the same image / Use to create Disjointed layer effect from any image
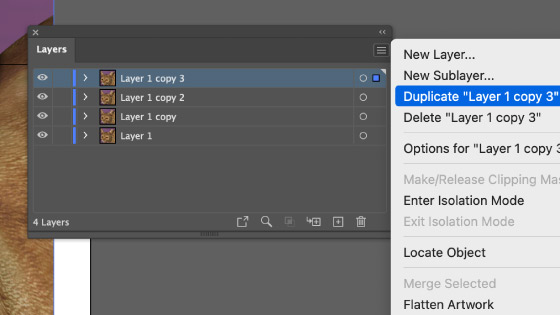
The best panel for this is to use the layers panel which can be found via the window menu and right side menu and duplicate command.
Select the top duplicated layer and then click the crop image button and then position and size the crop and press return.
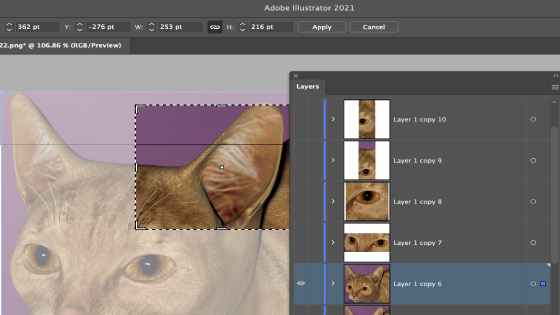
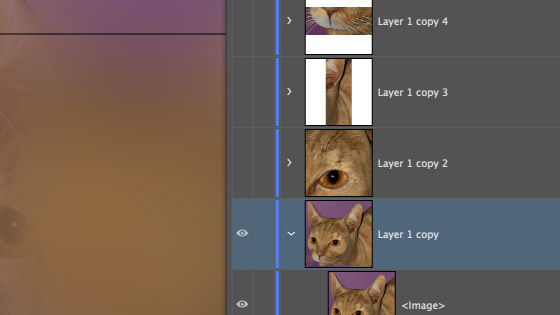
Go to the layers panel and disable that layer as I always find it tricky to use crop when I have active layers. The key thing is that you must select the blue button to make the layer active and then you can crop that. If the layer is not properly selected then the crop region will be limited to the previous crop.

You can also combine this with effects, so select the active layer and apply an effect, this is probably more useful when you have disabled the layers above. The layer has had a gaussian blur live effect added.
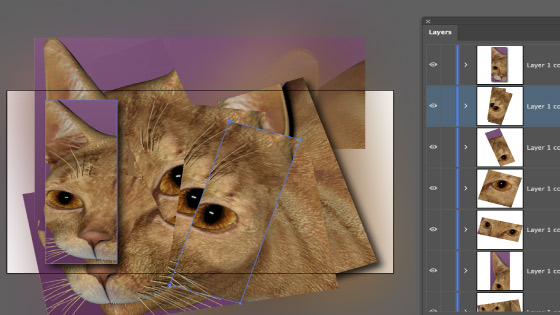
Once you have finished with all the cropping of the images, set them all visible again (if they were hidden) and unless you moved everything the image should look much the same as before but now you can shift the layers or perhaps re-scale or rotate the individual images. You can also duplicate the layers as well as add effects to them such as shadows etc to create your final disjointed image.
Unfortunately, you cannot record the effect as an action, the crop command is not (it seems) recorded when you create an action so any scaling or rotation etc is only applied to the source image.
5. Slices from the crop image
You can also the above technique to create slices in the image. Instead of just randomly selecting parts of the image to crop, you can crop thin rectangles on different layers across the image and then remove the background. You can leave gaps between the cropped rectangles to create a sliced look across the image
5. PPI and crop image
Click the crop image and set rectangle for the crop. You can then set the PPI to 300 etc and click apply. This may or may not be of any use for you depending on the end result of the crop image. You can also set the PPI to a very low value which does creating an interesting mosaic effect.
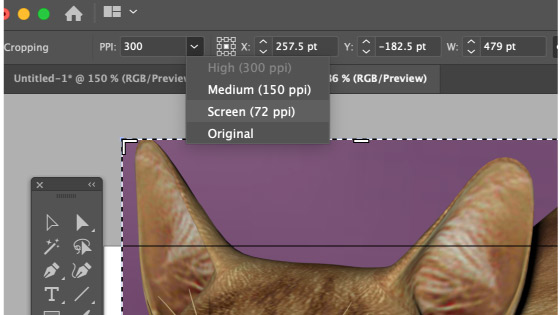
Note, the actual setting is done afterward as there is no preview until you press return, which generally doesn't matter but if you set the PPI to 1 say, the end result is only seen after you click return.