Illustrator mosaic Effect Tutorial
graphicxtras > Adobe Illustrator tutorials > Illustrator effects tutorials
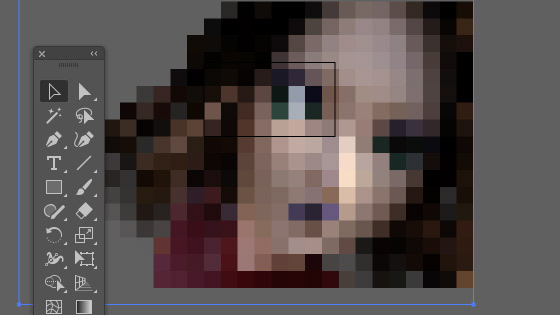
1. Basic mosaic setup in Illustrator
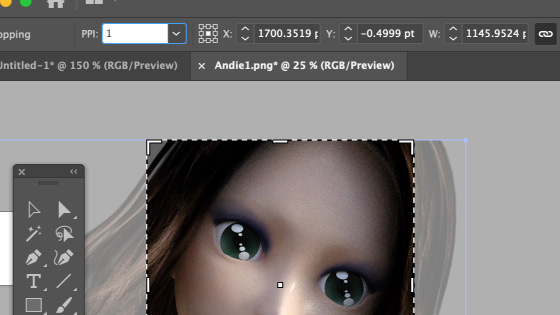
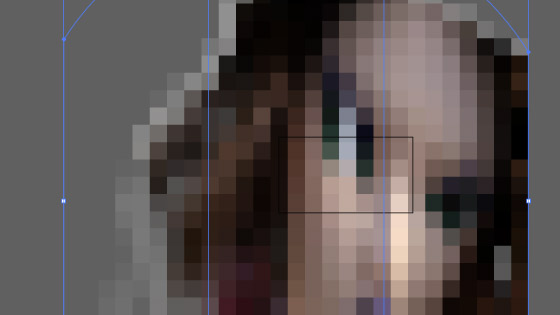
Click the crop image for the mosaic effect in Adobe Illustrator and set the rectangle for the crop as it can be re-sized. You can set the PPI to 300 or 2 or 1 etc, for the mosaic effect, set to 1 and then click apply.
2. PPI for the mosaic effect in Illustrator
The key thing here is the PPI. You can create an interesting mosaic effect by using PPI to 1.
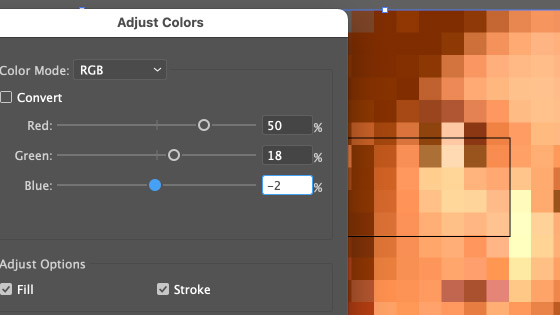
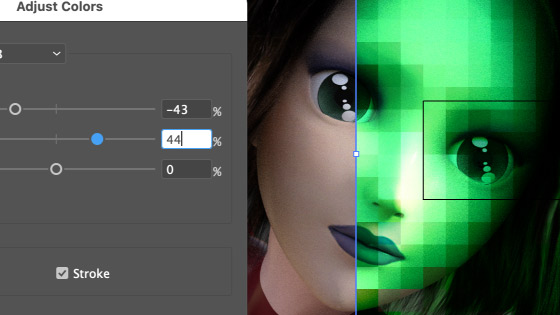
3. Re-color the mosaic design in Illustrator
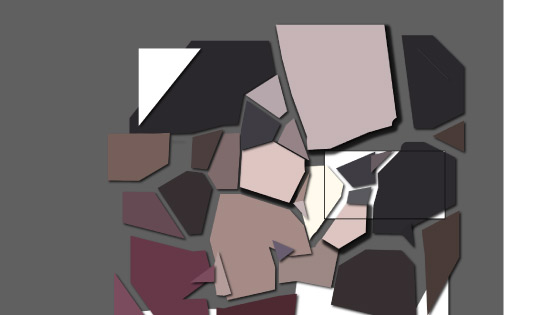
Select the mosaic effect image and go to the edit menu and edit colors and adjust color balance and review ON and set the red and green etc sliders and click OK
4. Warp the mosaic
You can create unusual warping of the mosaic image by going to the object menu and envelope distort and warp and select bulge or one of the other warping presets or use the mesh warp though that works best by selecting points around the edge of the mosaic design.
5. Mosaic part of an image
Sadly there is no mosaic part of an image but you can always duplicate a layer. Select an image and then go to the layers panel and right side menu and duplicate and then apply the crop image to that layer and set the PPI to 1 for that layer and press apply.
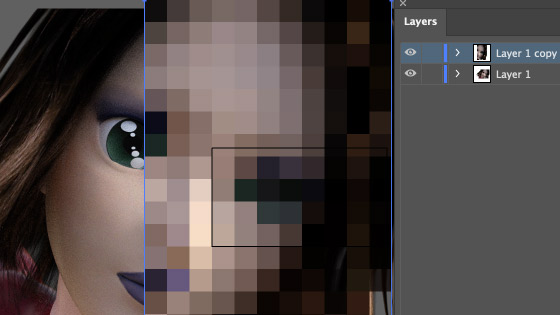
You can also add different colors to the design via the edit menu color settings as well as perhaps warp the design via the object menu and envelope distort as well as use different opacity / blending modes for the top layer such as lighten to change how the mosaic layer interacts with the original unchanged layer.
6. Vector mosaic Paths via Image trace
Tricky but it can be done. I have found it fairly difficult to achieve with tools such as the image trace. Using the image trace probably can result in a good result but I have ended up with many different and unusual shaped squares during my tests on converting using the image trace.
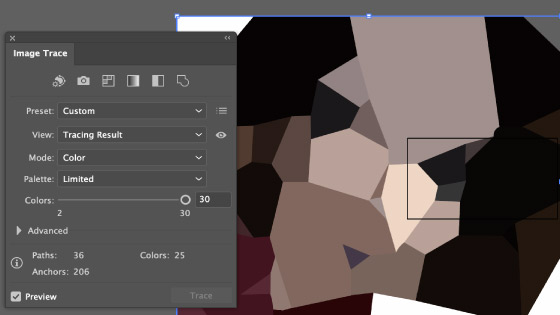
Select the mosaic image and then click image trace which is found in the top bar of Illustrator. Go to to the image trace panel and click ignore white and set noise to minimum and set corners to less and set paths to high and set mode to color and set palette to document library and set colors to all. After that, object menu and expand and object menu and ungroup so all the paths of the design are now separate paths that can be manipulated further such as moving the art as well as adding drop shadows to each of the vector paths or you could manipulate the vector paths of the mosaic with the direct selection tool and perhaps apply effects to the designs such as shadows or perhaps the scribble / sketch effect to turn it into a sketch design
7. Vector mosaic paths via squares / paths
You could, of course, use the eyedropper tool and then create your own squares or any shape selected using the underlying mosaic image. You can also just use squares and create an abstract design loosely based on the colors of the mosaic squares. You could fill them with gradients instead.
8. Object mesh
The above technique is not the object mesh, you can find out more about that via the object mosaic in Illustrator tutorial.