Illustrator Sea waves Creation tutorial
graphicxtras > Adobe Illustrator tutorials > Illustrator how to tutorials
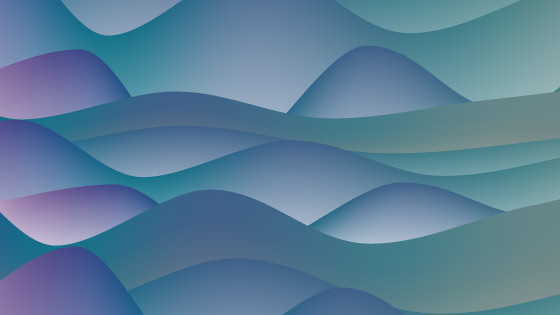
How to create a sea wave design in Adobe Illustrator using the mesh tool tutorial. The sea wave design can be created by using the Illustrator mesh tool from something as simple as a rectangle start point. The tutorial also shows how to use the color guide to re-color all the sea wave meshes to create unusual color landscapes in seconds. Great for all kinds of super sea wave designs.
** Youtube video tutorial on how to create sea wave designs / paths using the mesh features in Illustrator **1. Sea wave start point
The mesh tool effect can be added to any path such as an rectangle. You can then re-color each of the tool points by adding different blues to the top line of the rectangle in Adobe Illustrator.
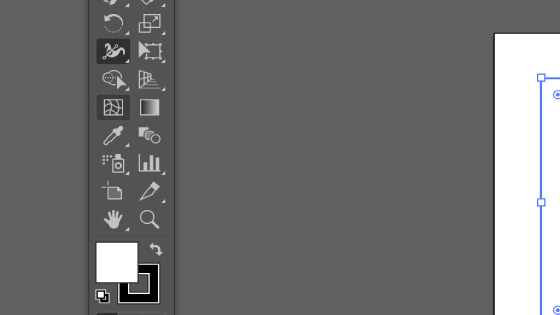
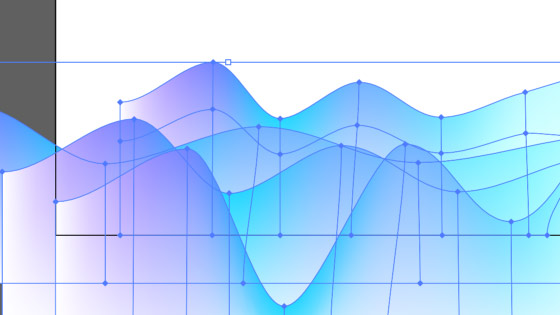
Create a long rectangle. Select the mesh tool in the toolbar of Illustrator.
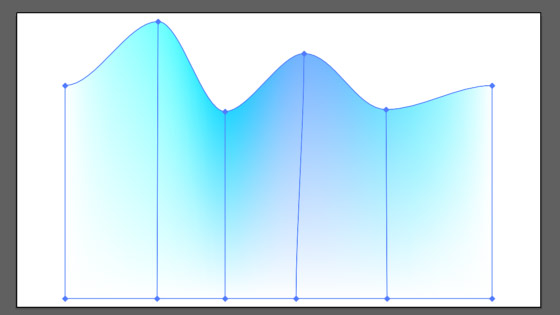
Click somewhere along the top of the rectangle. Set the color to a light blue and then drag the point upwards. Go to another point along the top of the rectangle and click and drag downwards to create a basic wave and then set the color of the point to a slightly different blue. Repeat somewhere else but upwards (perhaps varying the height) and repeat a couple of times to create a wavy top full of light blues
2. First sea wave
Create the first sea wave as above. You can add all kinds of variations to the wave such as changing the colors of the gradient meshes, perhaps darker blues. You can also squeeze the sea wave or stretch the sea wave. You can rotate the artwork and much more. It is a single mesh at this point. A good thing to do is perhaps save it to the CC library (it can always then be re-used at a later point). You can add as many waves as you wish (by adding as many points along the top of the rectangle)
3. Multiple sea waves using multiple designs in Adobe Illustrator
It would be a very depressing sea image if there was only one wave
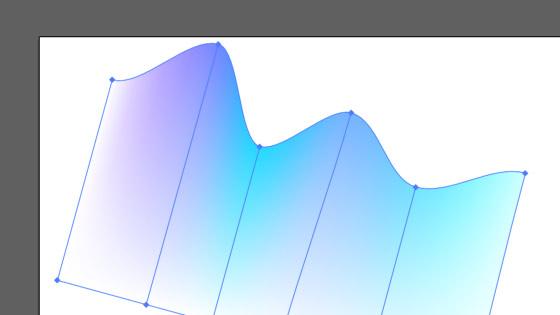
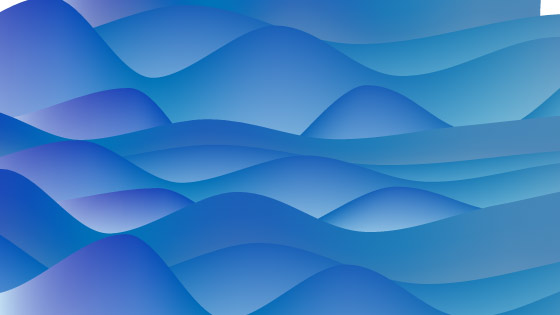
Drag the wave to the 'horizon' (wherever you want that on the art board) and re-size the vertical as required by using the selection tool and the bottom edge. Alt / option and create another wave. Re-size that wave by re-sizing the bottom

Also stretch horizontally as well as shift and move it downwards (towards the 'coast' or camera) then alt / option and repeat the same action of stretching the vertical to control the height of the wave and stretch to control the frequency of the wave as well as just select the mesh points and drag up or down to create a different sea wave
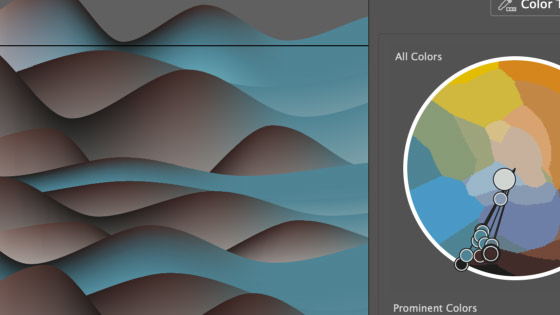
4. Sea waves and variants, re-color, size etc
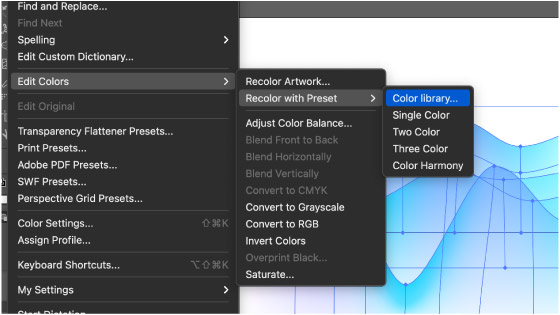
You can also then select the entire selection or individual 'mesh waves' and re-color them using the color guide or use the color adjustments. You can also re-color them by using the mesh tool and selecting the individual nodes and re-coloring them via the color panel
You can also then select the individual waves and re-stretch them to create a variety of unique sea wave combinations in Adobe Illustrator
You can also take the sea waves collection of 'gradient' mesh paths and hold the alt / option key to duplicate them to create a more complex sea wave.
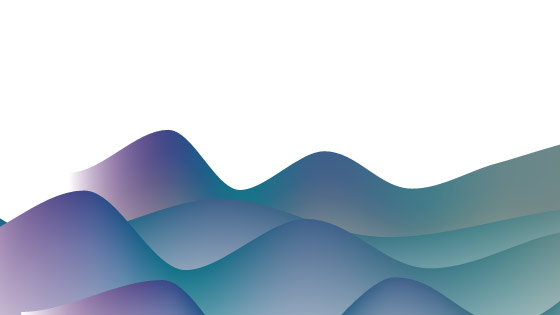
You can also use the color guide panel to create a more unusual and surreal sea wave by changing the color from blues to reds and greens or purples and pinks etc (perhaps useful for hillsides instead)
5. Sea wave and clipping masks
You can use clipping masks and limit the range of the sea wave. Add a rectangle on top of all the sea waves. Select all the sea wave designs and the rectangle and then go to the object menu and clipping masks