Illustrator ellipse tool Tutorial
graphicxtras > Adobe Illustrator tutorials > Illustrator tools tutorials
How to use the live shapes / ellipse tool in Adobe Illustrator tutorial. Illustrator has a new live shape circle / ellipse tool. The live ellipse tool is a powerful interactive tool that can be found in the Illustrator toolbar for pies, circles etc
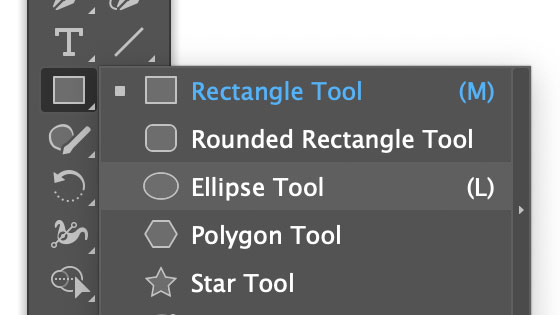
1. Where is the live ellipse tool
The ellipse live tool can be found in the toolbar
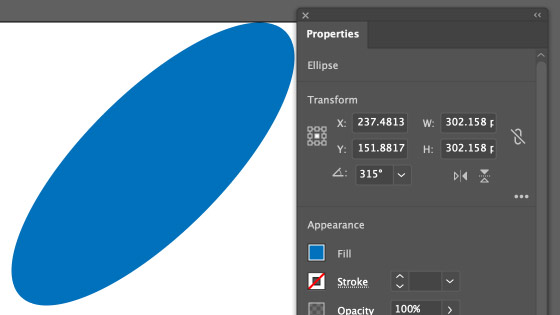
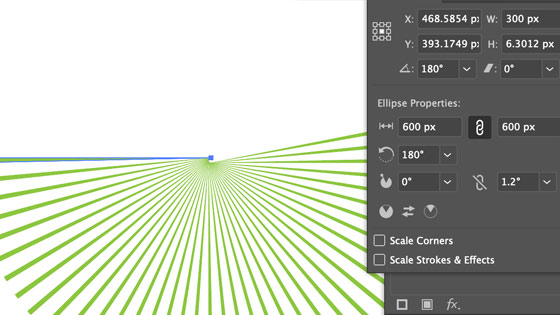
2. Properties for the ellipse
The new 'live shape' status was added to Illustrator a while ago so you probably should have that feature but if you have an old version of Illustrator then the feature may not be available. The live ellipse / circle shape has some new features added such as the creation of arcs etc.
Select the ellipse tool in the Illustrator toolbar. Drag and create on the art board. Set the fill and stroke etc and window and properties panel
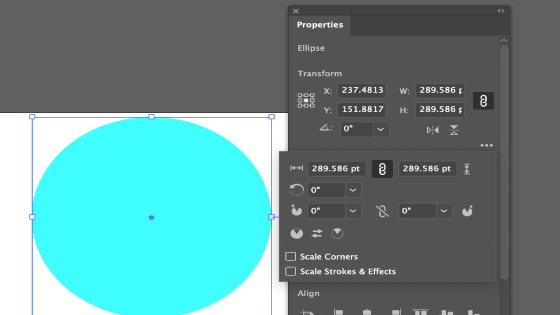
You can modify the position as well as the weight and height as well as flip and change the angle (though no different if it is a circle) as well as the pie slice settings such as start and end
3. Create the circle by using shift key or use smart guides
The first thing to notice after selecting the live shape ellipse tool and dragging the ellipse is that as you hit a circle shape, two cross hairs will appear and disappear as the size of the shape changes - they will appear if the width and height are equal. If you hold down the shift key, you can create a circle but the smart guides will not appear. Once you have the shape, you can then manipulate it either via the bounding box etc or via the transform panel.

4. Ellipse Height and Width properties
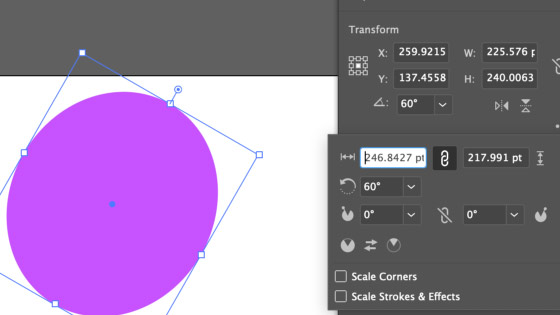
There are a two sets of fields for the height and width as well as the ellipse height and width, they are not equal but they can be set to the same but only when the shear angle or angle as it shows the weight and height of the ellipse as well as the weight and height of the bounding box which is not the same thing when angles are involved with the ellipse tool.
You can change the width etc via the up and down controls on the keyboard as well as just typing in the value or using the bounding box or the side points (to size proportionally use the left and right and use the top and bottom ones to squeeze or stretch up and down. You can change the angle (but if this is a circle then you won't see any difference).
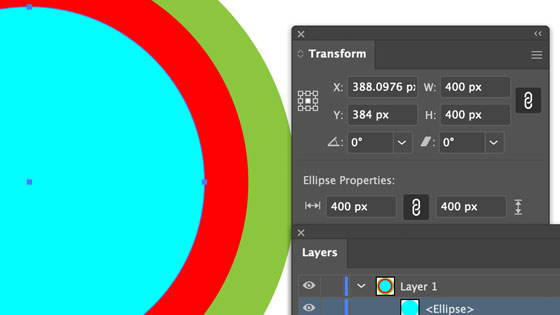
5. Create contour circle design by using properties panel
You can use a combo of the properties panel and the layers to create a quick contour design with the live ellipse. Select a circle say 600 x 600 and then go to the layers panel and select that and go to the right side menu and select the duplicate ellipse command and then go to the transform and height and width field and enter 500 x 500 and go to the properties panel and change the color. Repeat the duplicate and transform and re-color with 400 x 400 etc. You can also enter a percentage into the transform such as 99% of the height and width as well as adding in a mathematical equation such as the current value - 2 etc
6. Shear angle - a live feature of the circle / ellipse tool
This is one of the weird features of the live shape ellipse tool, if you change shear value, the circle will be sheared and you can see it stretch off at 45 degrees etc but as soon as you enter a value, the transform panel sets the shear back to 0, even though it is definitely an ellipse at an angle. In earlier versions, shear would break the live shape but that does not appear to be the case now.
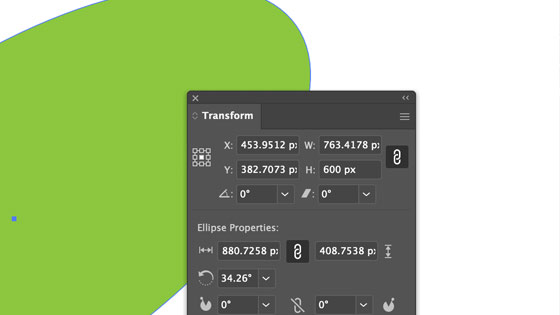
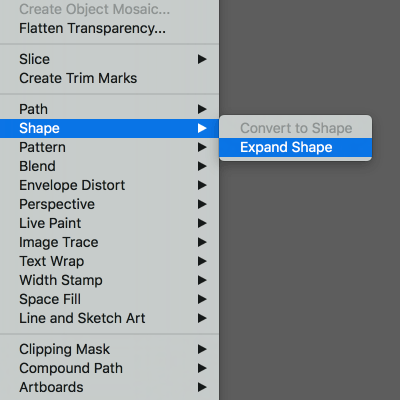
7. Expand the ellipse shape via the expand shape command
You may or may not love the live feature as the tool does end up adding additional options that can sometimes get in the way of positioning the artwork.
You can expand the live artwork by going to the object menu and shape and expand and you can then also re-convert it back again via the same menu. Once you have the normal path then you can use the sliced path (if the pie slice was used) in numerous ways such as creating all kinds of abstract backgrounds (see an example below). You can also create all kinds of other artwork using live effects such as the transform with the path

To do the reverse, select an expanded live shape and go to the shape and 'convert to shape' command. You will note once the live ellipse shape has been turned into a regular circle then some of the controls in the properties are gone. When you run the convert to shape then they will return

8. Create radial designs using the appearance panel with ellipses
You can add all kinds of transformations and other effects to the artwork. Select and create a slice using the slice angle 0 to 5 say.
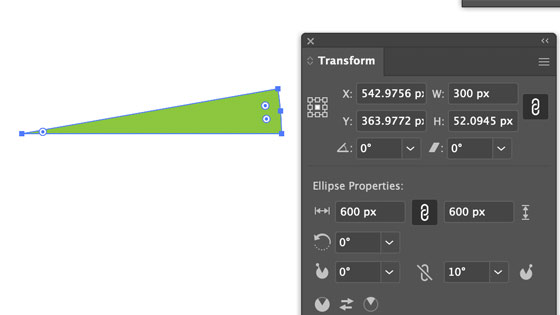
Then go to the effects menu and transform commands and set the preview to ON (it is not sticky) and set the number of copies to 20 or 30 and then set the angle and rotation center as well as the move setting.
You can use that to create a very quick burst / zoom effect. The transform effect will appear in the appearance panel. You can then change the setting by double clicking on the transform line. The image above was generated using a very small path (still editable) along with a distort / transform added with a number of copies and combined with a live drop shadow.
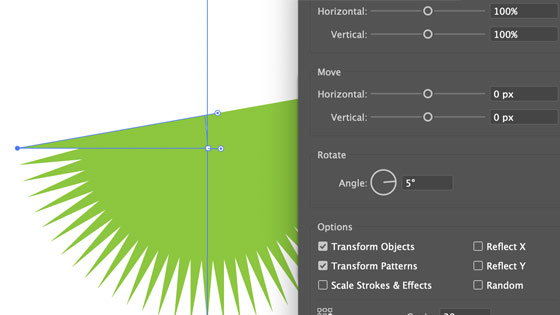
The entire artwork is still live and can be changed at any point. You can also add additional transforms such as only setting the number of copies and the scaling to create interesting radial artworks. The artwork is still editable so you can create thin or thicker slices interactively as well as via the transform panel. You can also use other effects as well such as blurs and distortions and zigzags
Ellipse tool in the Illustrator toolbar and window menu and properties and go to the properties panel and create a circle using red as the fill (as right) and set the pie start to 0 and pie end to 10. Effect menu and distort and transform and the transform command and preview ON and set copies 10 and set angle to 20 and set the center of transform to top left and click OK
As the live shapes / ellipse is a live shape then you can alter the angle etc and the change will be reflected in the transform as well
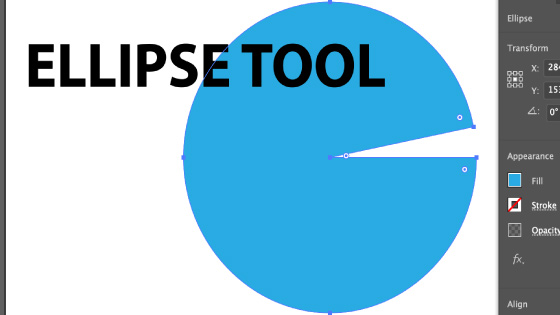
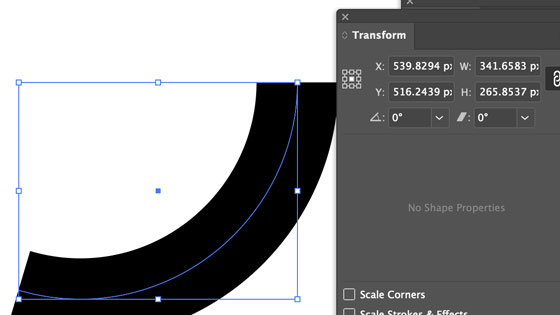
9. Arc shapes can be created using ellipse tool transform panel
You can set the live ellipse shape as an arc by using the pie settings with a shape that has no fill and has a stroke
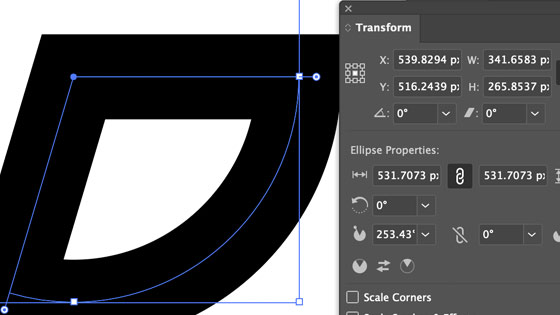
You can use the direct selection tool and delete the 'middle' point of the shape by pressing the delete key
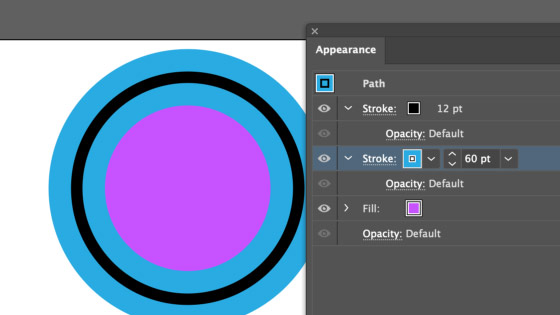
10. Ellipse and appearance and adding additional strokes etc
Select the ellipse (circle) and set the fill and stroke and then go to the appearance panel. Select the ellipse / path entry and then go to the right side menu and select the new stroke option and go to the bottom entry for the stroke and increase the size.