Affinity Designer EPS open / place tutorial
graphicxtras > Affinity Designer tutorials > Affinity Designer How To tutorials
Learn how to open / place and use the EPS files in Affinity Designer tutorial (product from Serif). To edit the artwork, select the node tool and edit the anchor points of the imported / opened EPS file. You can also then change the color of the EPS artwork in Affinity Designer.
** Youtube video tutorial on how to open / place eps files in Affinity Designer and editing the artwork **1. How to open the EPS file in Affinity Designer and copy to another document
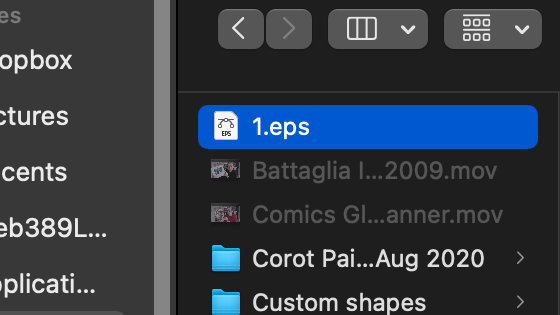
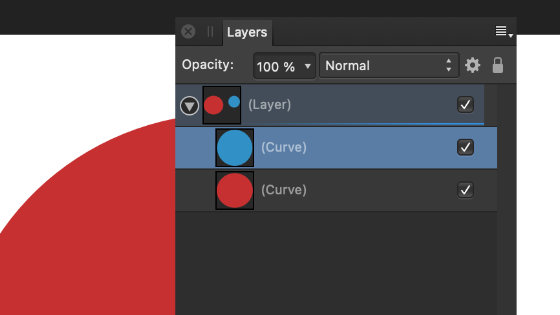
File menu and Open. Browse for a EPS file. Select path. Edit menu and copy. Edit menu and paste without format. Open via the file open and the item can still be copied and used in another document as a layer in Affinity Designer.
Another advantage of opening the EPS file via the file open command is that you can also export the item as a vector via the file export command and also save it as a SVG or PDF etc.
2. Place command and editing the placed object in Affinity Designer (via edit document command)
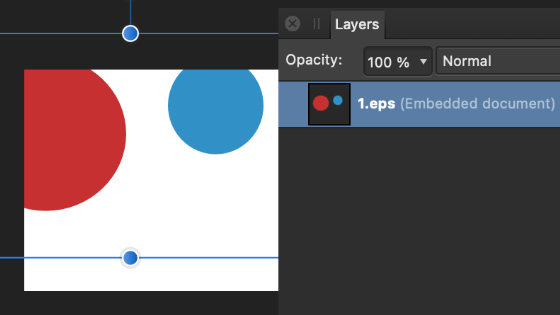
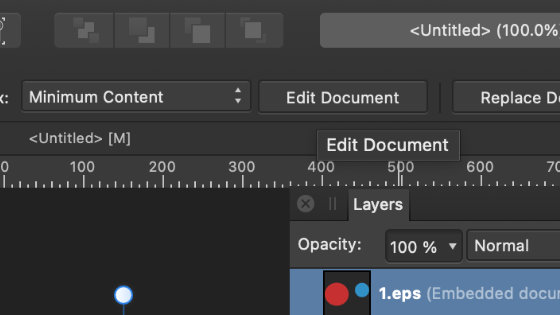
File menu and Place command and Browse / select EPS file and Click document art board. Resize the EPS file as required. Rotate as required.
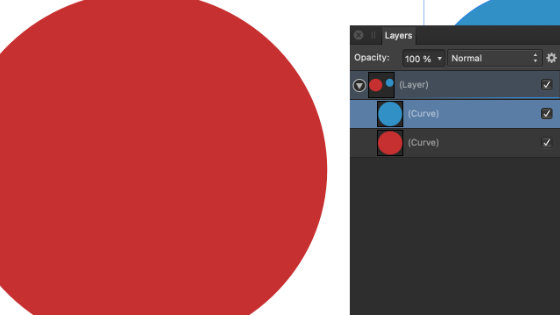
Double click the artwork or click the 'edit document' button along top bar and Select path with the node tool or move tool. Go to the top bar or the color panel (found via the view menu and studio commands). Go to the fill and change fill color. Go to the stroke and change stroke color etc. Use node tool to move nodes. close the embedded file
The uses of the opened / placed EPS files are nearly infinite in Affinity Designer as with other applications such as Photoshop and Illustrator. The EPS vector artwork can be manipulated by a range of different tools such as move tool / node tool / corner tool etc and that does mean a single shape can be turned into all kinds of different artworks simply by using the node tool to move and shift points.
You can also change the color of the item by selecting the color in the swatches or perhaps by selecting the gradient tool where you can add super colorful gradients. You can also add layer effects as you edit the embedded document.
3. Placed file as a layer in Affinity Designer such as using layer effects
Outside of the edit document option, you cannot change the color directly but you can add transparency via the transparency tool and You can duplicate the placed EPS artwork by using the alt / option key and You can also go to the effects panel and add outer shadows / blur / glows / outline effects
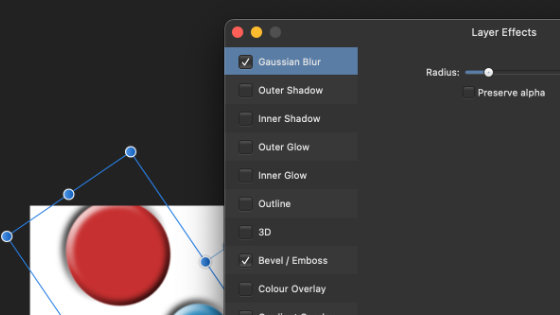
File menu and Place command and Browse for file and Click document art board to place the EPS artwork. Re-size etc. Go to the view menu and studio and effects and Go to the effects panel. Select a color overlay / gaussian blur etc in the effects and modify the placed EPS document
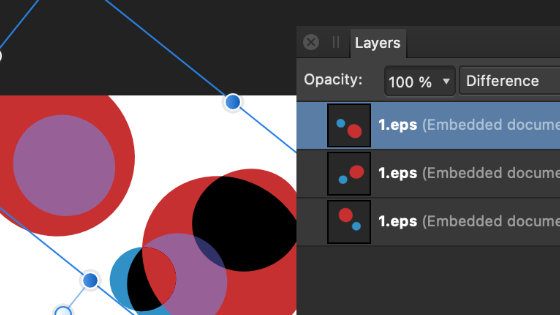
4. Duplicate EPS files and blend
You can place the EPS file and see the artwork in the layers panel as an EPS file. You can also right click the EPS file and duplicate the item over and over and then you can also go to the layers panel entry and change the blending mode to difference