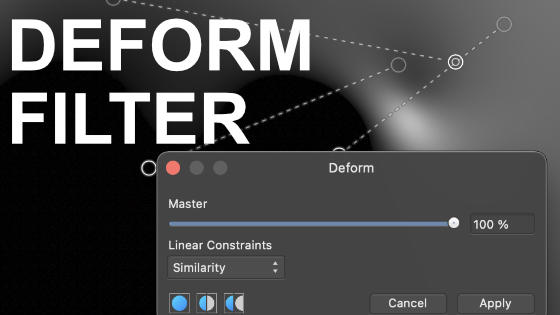
Affinity Photo Deform filter tutorial
graphicxtras > Affinity Photo tutorials > Affinity Photo Filters tutorials
Affinity Photo's Deform filter is found in the filter menu and distort. How to use the Affinity Photo deform filter to warp and distort images and shape layers and text in countless ways, how to use the settings, how to re-apply the deform as well as fade the result as well combine the effect
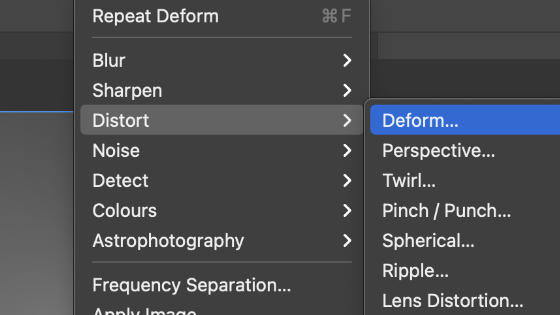
1. Where is the deform filter in Affinity Photo
The deform filter in Affinity Photo can be used to distort and transform images in countless ways to deform images and type etc. The deform filter in Affinity Photo can be found in the distort sub menu of the filters menu in Affinity Photo. It is one of my favorite filters for modifying images as well as other resources in the application.
2. Basic use of the deform filter
As with all filters, it needs something to work on, a pixel layer or a shape (converted) or text.
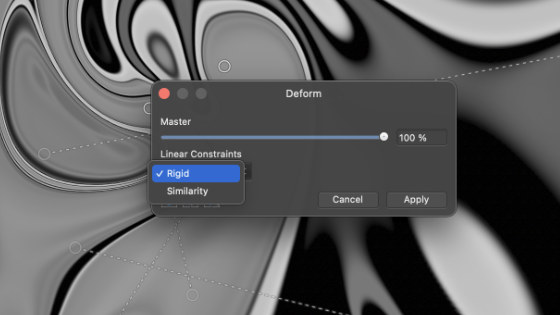
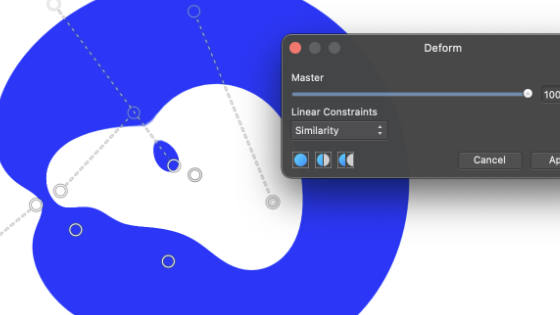
Go to the filters menu and distort and then deform filter to display the deform panel. Add handles Drag the handles and this will distort the image. You can have extreme distortion by setting the master to 100% or set the value low for very subtle shifts of a design, perhaps to slightly move a lamppost or change the position of a hair and set it to 1% etc. You can also set the constraints to the default rigid (my least favorite) and similarity (great for dragging the underlying image around such as colors in a gradient) and there is a massive difference between the two and the results can be seen below. For a filter with very few settings, the deform filter is pretty powerful.

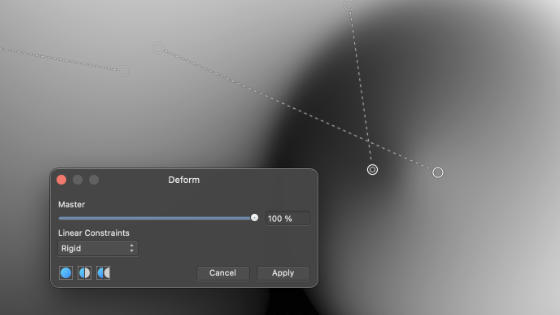
3. Options for the deform filter / panel
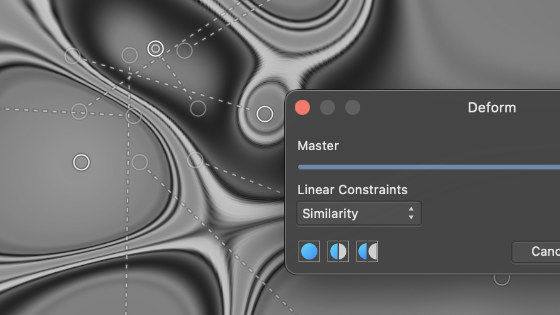
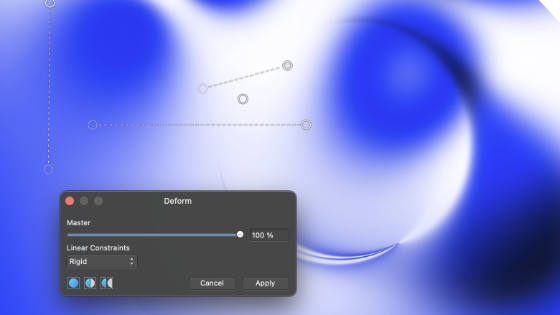
There are very few initial options in the panel : master deform and rigid / similarity constraint (have to say I have seen little difference between those two but apparently rigidity drags only related pixels and similarity affects surrounding pixels to be transformed and rotated but it is often very subtle).
The actual functionality comes from clicking the image or layer to add a handle and then select and then moving the handle as well as adding additional handles and again selecting and moving the handles. The tool doesn't appear to work at first if you only add one handle, it does need two or more handles to work and deform.
4. Subtle distort using deform
You can always set it to 5% or 20% etc, create a subtle shift of a design instead of an extreme one.
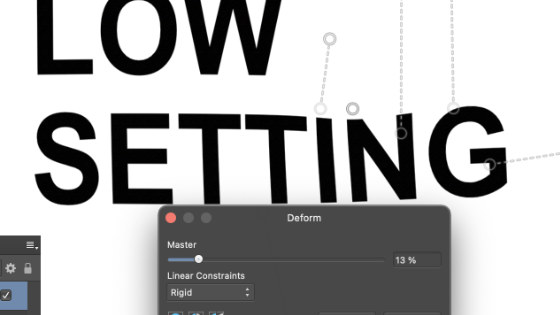
You can see by the use of the handles and pins that the text is only slightly shifted with a low setting, instead of using the default 100% setting.
5. Pin the edges of the image with the deform filter
Say you don't want the edge to warp, sadly there is no pin edges. You can use the pin / handles to do the same by just adding loads of pins around the edge and not touching them afterward such as dragging the handle.
You can then manipulate the center of the image using the deform filter by adding pins and handles to the rest of the image.
There may be a slight movement of the edge but with a decent number of pins it should be slight
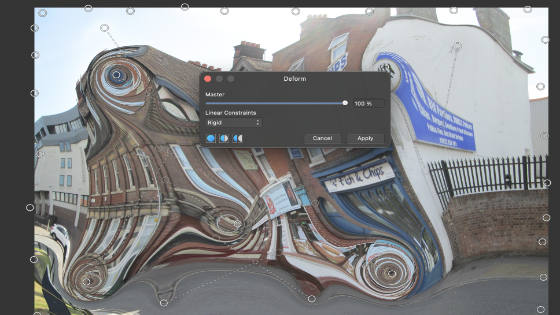
6. Pin the edge of a part of a design
You can also add the pins in multiple numbers around a particular object to freeze that part of the image and then distort all the rest
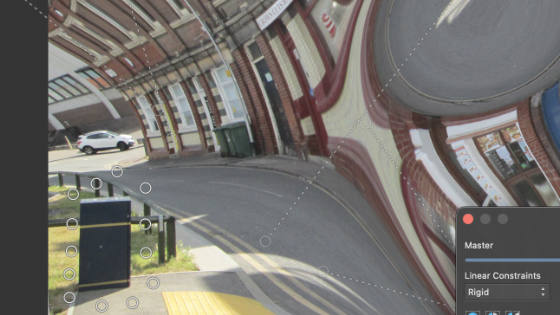
The bin in the above picture (or trash can !) has pin / handles all around it and they have not be dragged in any way. The rest of the image has been warped as usual using the dragging of the handles.
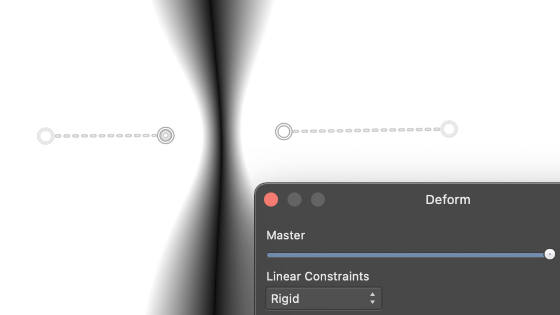
7. Squeeze / pinch an image using deform
Add two pins away from the area you want to pinch and then move the pin handles towards the object such as a gradient line.
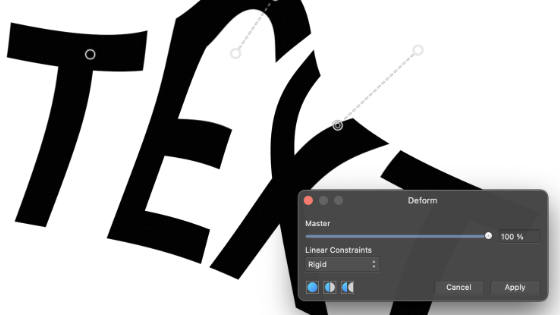
6. Text layers and deform filter
Add a pin or two around a text layer and then drag the handles and you can distort the text.
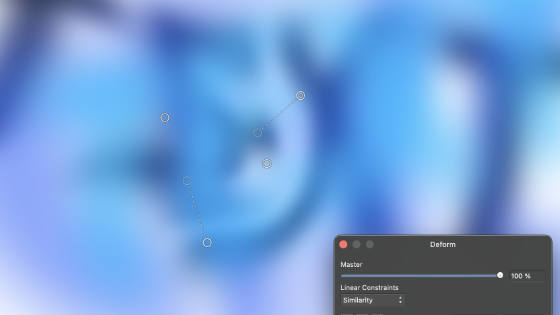
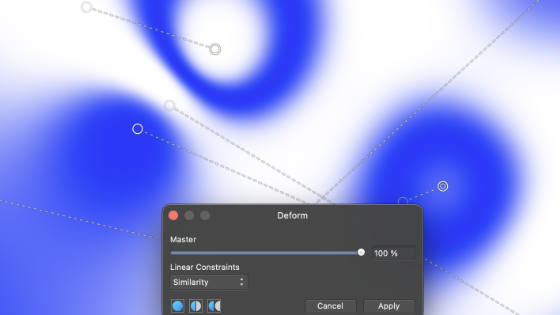
I think the result always looks a little coarse but you can always combine the deform filter with a smooth gaussian blur filter beforehand and then use the distortion to create a much more interesting effect.

Even more effective is if you create multiple copies of the text layer and apply a blur to them but have different colored text with the same words. Use the layers panel to select the text layer to distort. Great for creating the weirdest shadow effects with text. As the design has been deformed over multiple layers, you can also add in blending modes via layers such as linear burn.
7. Shape layers and deform filter in Affinity Photo
As with the type / text layers, you can also use the deform filter to distort and deform a shape layer such as a star or polygon layer or cloud shape.
The deform filter is a destructive filter effect so you cannot then change the number of points in a star etc after the filter application. You can select all around the edge of the shape (such as a star) and then add a handle to the center or outside the shape and then drag and distort that artwork.
You can also simply add a couple of handles and drag those to deform a star or shape layer in all kinds of ways.
Once you have applied the deform filter, the filter can be re-applied either by using the deform filter or going to the repeat filter command (and applied multiple times).
As with the text, I often find a slight blurring of the shape creates a nicer result from the deform. The example below started out as a donut shape but a very basic deform totally changes the design
8. Layers and deform filter in Affinity Photo
One frustrating thing with the deform filter (as well as others) is that there is no blending mode attached so if you want to add in some blending with other layers as well as the original artwork then the only way is to use the duplicate command (or use the artwork on a layer if being distorted on top of an image) and then use the blending mode in the layer panel (as well as opacity)
Open image and layer menu and duplicate and then change blending mode for the top layer such as to difference etc and go to the filter and distort and deform
9. Fade deform filter
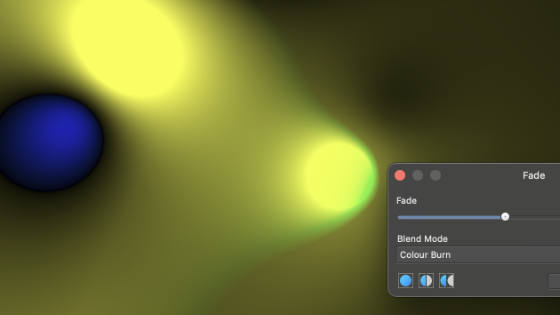
You can fade the deform via the layer menu and fade. It is a great way to combine the original image with the warped design using opacity as well as blending modes such as lighten or darken to create all kinds of amazing variants of the deform filter
10. Repeat deform filter
You can always simply re-apply the deform filter on an image or layer or shape etc and you can distort the designs in countless ways by using that. The repeat deform command is at the top of the filter menu
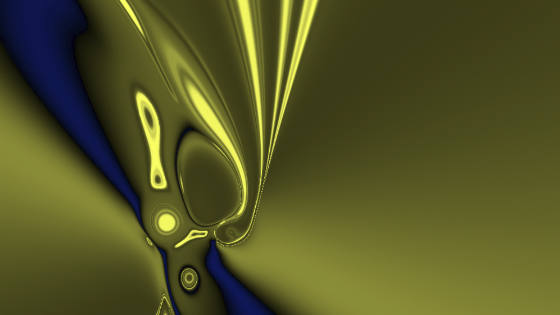
Great for creating metallic or molten effects
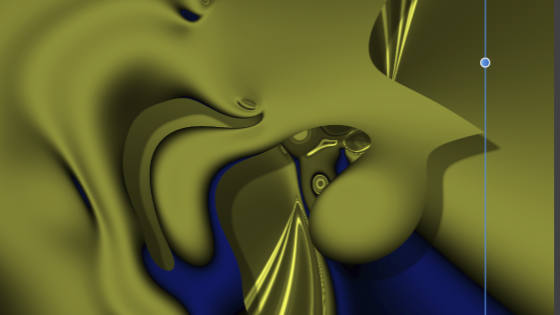
Repeat deforms are also great for creating weird and wonderful layer distortions and the results can be quite unpredictable
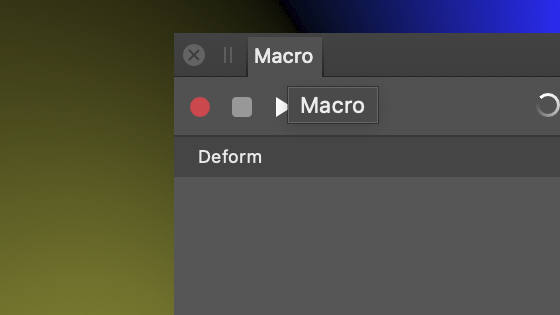
11. Use in macros
The deform filter application can be captured in a recording via the view menu studio macro panel and you can then repeat the deform to any design simply by running the macro, you can also combine multiple other filters with it in the macro. The macro can also be saved to the library panel for future work.
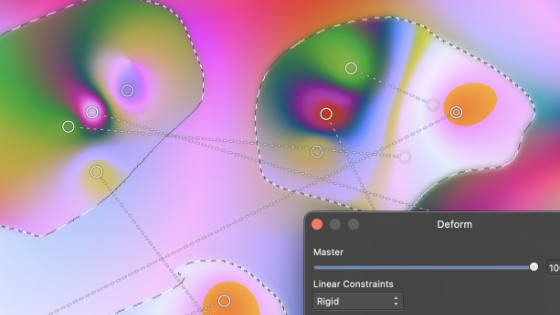
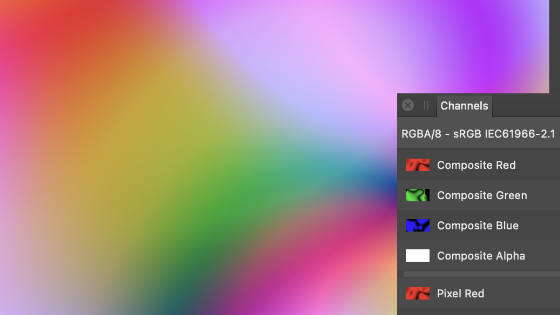
12. Channels and deform filter
You can use it with channels so go to the view menu and studio and channels to display the panel. Select the red channel and then apply the effect to that with one set of pins and handles and repeat for green etc. You can create all kinds of amazing color combinations by using the color channels feature
13. Selections and the deform filter
You can use the selection tools to select parts of the image, use add to add to the selection for the freehand selection tool etc. Once you have your selection, you can feather it. Go to the filter menu and apply the distortion tool. You can drag from outside as well as inside the selection but changes will happen only to within the selection. As before, you can fade it as well as re-apply.