illustrator blob brush Tool Tutorial
graphicxtras > Adobe Illustrator tutorials > Illustrator brushes tutorials
** Youtube video tutorial on blob brushes / blob brush tool in Illustrator and how to create amazing paint designs using this powerful tool **
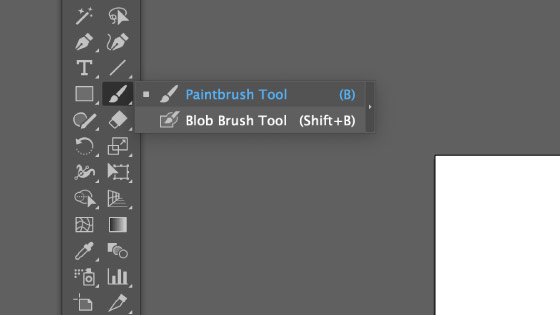
1. Where is the blob brush Tool in Illustrator
The blob brush in Adobe Illustrator can be found beneath the paintbrush tool or use shift+B to select the blob brush.
2. Basic run through of the blob brush tool
Go to the paintbrush tool in Adobe Illustrator toolbar (where the blob brush is located) and Select the second tool 'blob brush' and Set the color of the fill. Double click the icon of the blob brush to change size etc. Apply blob brush to art board
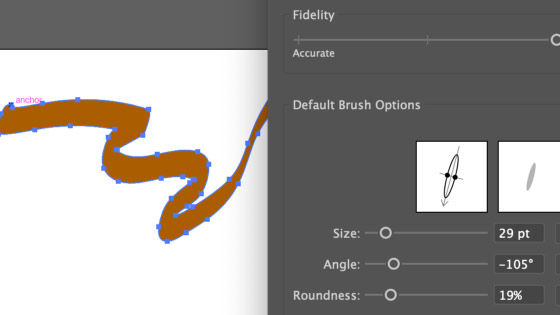
3. Blob brush settings
You can see the settings for the Illustrator's blob brush tool and double clicking the icon
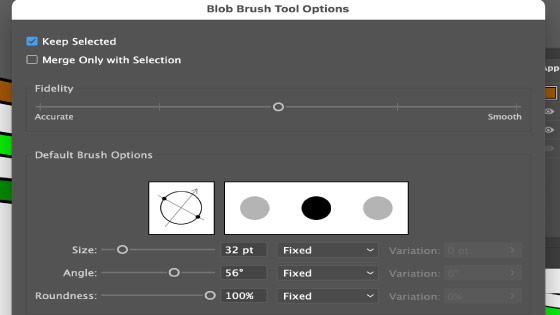
There are a number of settings such as keep selected, merge only, fidelity, size, angle and roundness. It has a similar look to the Photoshop brush tool with size and angle etc.
The keep selected and merge only with selected are very useful if you want the blobs to stick together and create an extended path (though, you can also use the pathfinder to unite the results).
The size and angle and roundness etc are great for creating slightly different brush strokes, more like the calligraphic brush strokes.
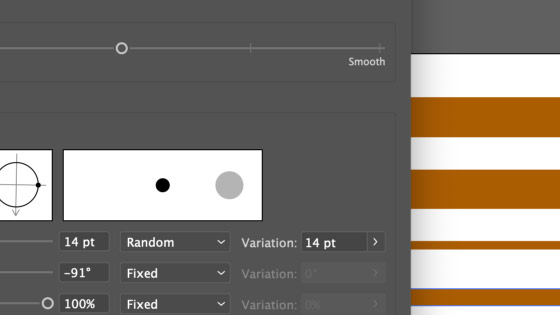
There are also a few additional options such as having a fixed size or introduce randomization and variation for the size (as well as angle and roundness) as well as settings for an art pad / pen. and Click OK. It should be noted that the randomization is per brush stroke and not sadly during the actual application of each blob brush stroke. Set the brush size to 10pt and the randomization weirdly only goes to the same as the size itself (which is baffling)
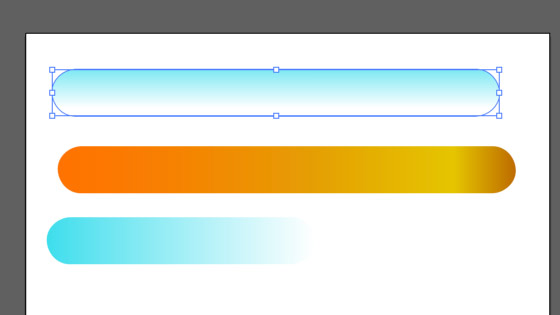
4. Color fill for the blob brush / tool in Illustrator
The Illustrator's blob brush can be filled with gradients as well as solid color and also patterns
5. Shift / straight line with the blob brush and zigzags
You can add the Illustrator blob brush stroke in a straight line by holding down the shift key. You can create multiple lines that are straight and create all kinds of weird and wonderful zigzag shapes as well as straight line designs etc

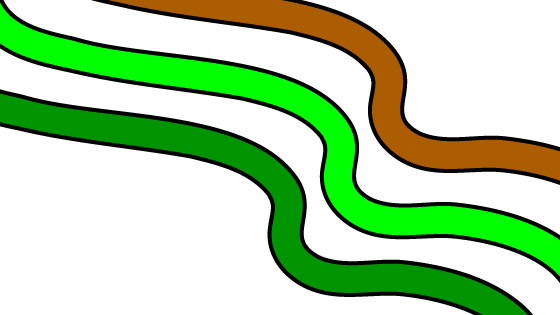
6. Adding strokes to the blob brush stroke
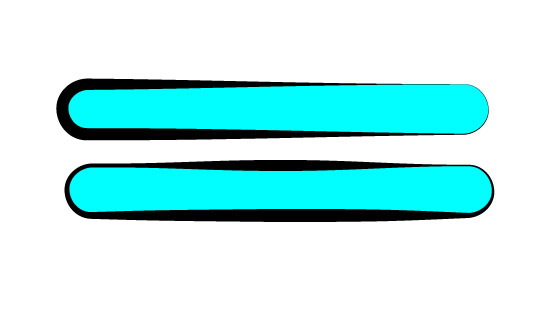
As you add the artwork, you will only see the fill being added but you can always add a stroke on completion as well as other effects such as live effects / blurs / additional fills etc via the appearance panel. You can also then add width profiles to the blob brush.
Adding a path offset to the extra strokes for the blob brush
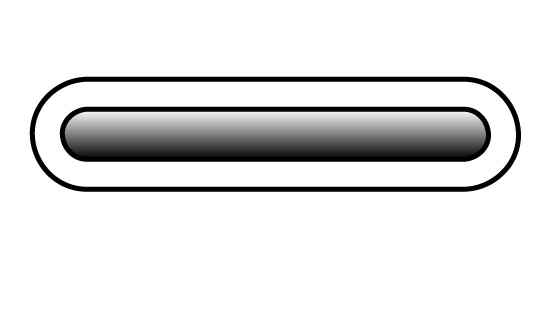
Add a new fill for the blob brush and a transform to shift the new fill by 50pt
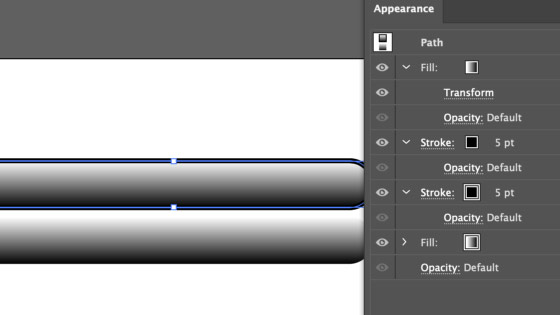
Apply the blob brush and Keep selected and Go to the stroke settings and set color etc and Apply a width profile
7. Use Blob brush with other paths
Depending on the selection set for the blob brush tool, you can merge with other paths already created (circles etc) and select path and select the Illustrator blob brush tool and double click to see the options to see that merge and selected are on Apply brush strokes to path such as circle.
NOTE: only merges when it is the same color ! So if you have a blue path, use a blue blob brush to merge

You can control the merging by only merging with selected check set to on. You can also add the strokes and then add additional paths to that via the pathfinder combine / unite. You can also use the subtract to add perhaps add spots and dots to the artwork. You can also add them to symbols (in editing mode) and can find a lot of different symbols on this site for use with the tool. You can use the tool to create all kinds of unusual connection designs by holding down the shift to create straight lines
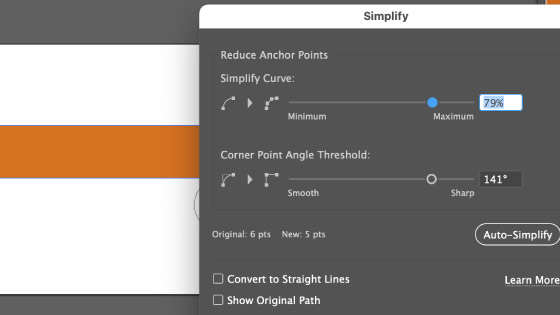
8. Blob brush and Excessive points
One main issue with the tool (whether accurate or smooth), a lot of points can be created unless you add a very basic stroke. You can always use the various tools such as simply etc to remove some of them (personally the best tool is Astute Graphics' VectorScribe plugin). If you haven't got this tool then perhaps use the object menu and path and simplify to reduce and cleanup the path
9. Randomization and blob brush
Sadly, the randomization and variation is not with the blob brush single operation but only on re-applying the brush so if you apply one stroke with a variation set to 20pt (and size 10pt) you will get a 30pt or perhaps 15pt etc but not within the actual path itself. The randomization actually works nicely with adding them as single spots (you don't have to add the tool as a long single stroke).
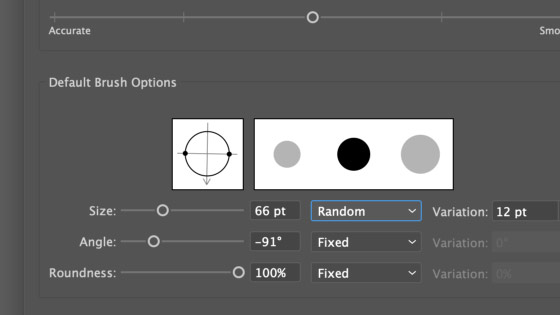
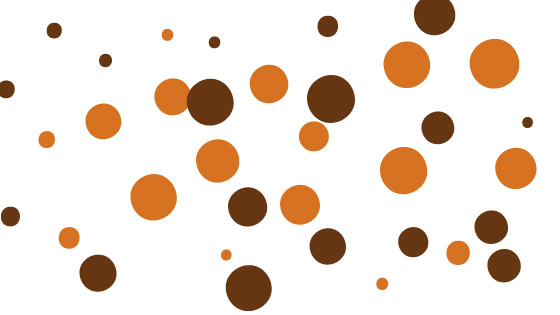
Go to the blob brush settings via the icon and set size to 90pt and set to random (to the right of the size). Set the variation to 40pt etc, obviously you can set the size and variation to different values. You can also use other settings as well such as pressure. See the image on the left for a variation of dot blob brush sizes added in blue and then in orange, you have small blobs added and larger blobs and a lot of variation in between
It would be great if there was a randomization of color available as well but there is not though you always just change the color via the fill color in the toolbox as you add the artwork. You can also randomize the result by using the color guide tool.
10. Use the Illustrator blob brushes as a symbol or swatch etc
You can use the Illustrator blob brush strokes to create other presets.
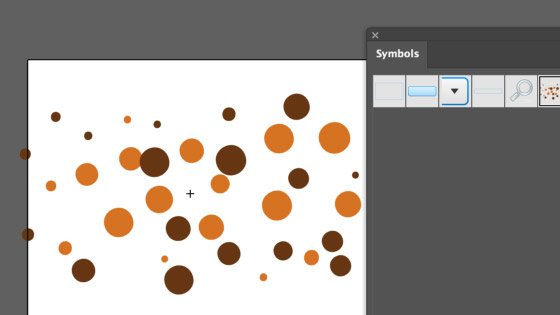
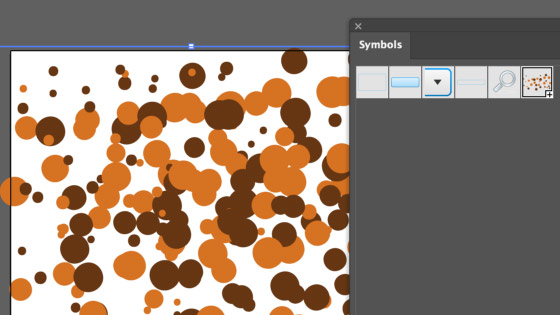
Simply add a blob brush and drag to the symbol panel and select item in the symbol panel and use with the sprayer tool.
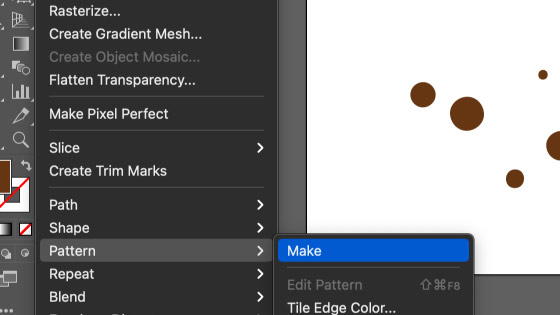
You can also do the same with the swatches if you wish to create a tile and you can use the tool in the pattern editor.
The result can still be added to using the same features of the tool to merge the fill. With the latest release, if you add the artwork as a symbol preset then you can also now add it as a dynamic or static item and if added as a dynamic then you can use the artwork as a master and add color and strokes etc to the instances added to the art board.
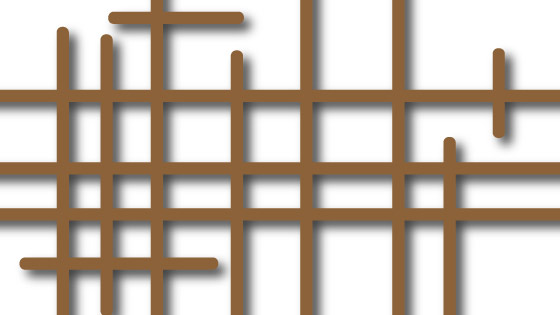
11. Blob brush and repeat
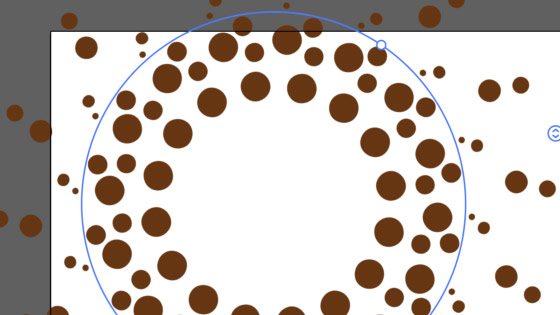
You can also use the tool with the repeat feature that has been added to the recent release of Adobe Illustrator. You can use it with the radial option as well as grid and also mirror to create all kinds of amazing designs. You can increase the number of instances, the distance of the blob brush strokes from the center and much more. You can also live edit the repeat containing the blobs to create awesome live designs that can be filled with all kinds of color and combined with other effects.
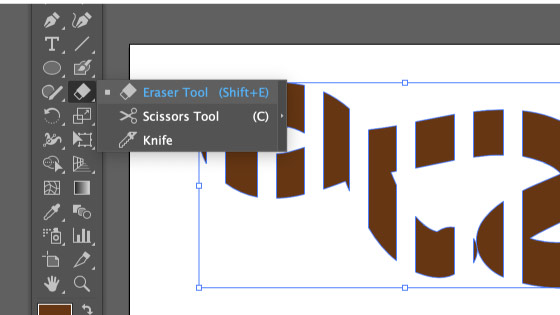
12. Blob / Eraser tool
Personally, not sure why the blob tool is not on the same toolbox as the eraser tool as it is the same tool but inverted. The eraser tool can be added across the applied blob brush stroke and break the art into new individual paths which can then be added to by additional strokes.
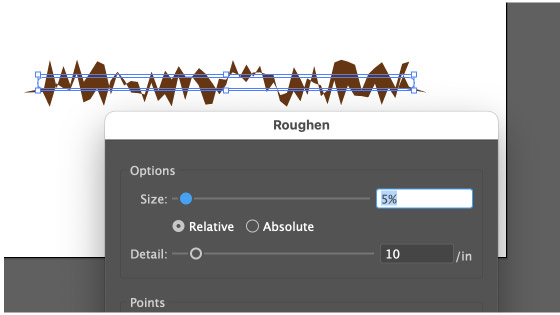
13. Effects and the blob brush
Once you have added the blobs (and you can add them as actual spots or in one continuous stroke) you can add effects such as tweak or roughen or offset or glow etc and you can then expand the appearance via the object menu. Or add graphic styles