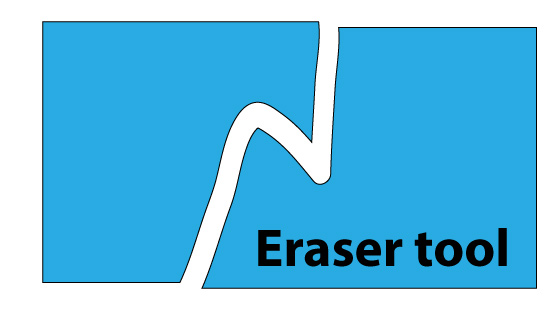
Illustrator Eraser tool tutorial
graphicxtras > Adobe Illustrator tutorials > Illustrator tools tutorials
How to use the eraser tool in Adobe Illustrator to split paths, remove parts of a path etc for vector designs. The eraser tool can be used with width profiles, repeats, appearance etc
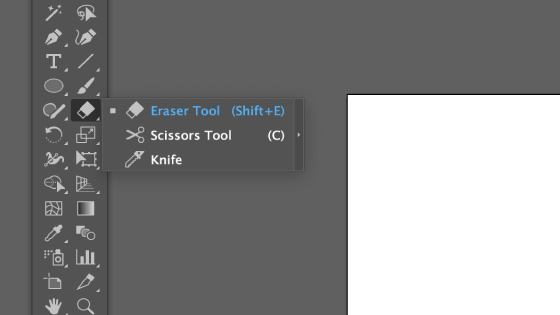
1. Where is the eraser tool
The Illustrator eraser tool can be found just below the paintbrush tool in the toolbar.
2. Changing options for the Eraser tool
Double click to see the settings for the eraser tool. If you can't find it there, you will need to use the '...' at the bottom of the tools panel and edit the toolbar to restore / reset it. Double clicking the tool will display the eraser options panel
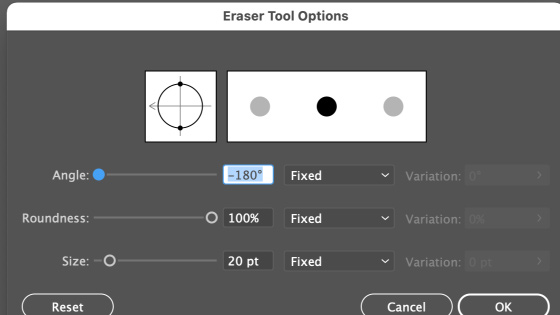
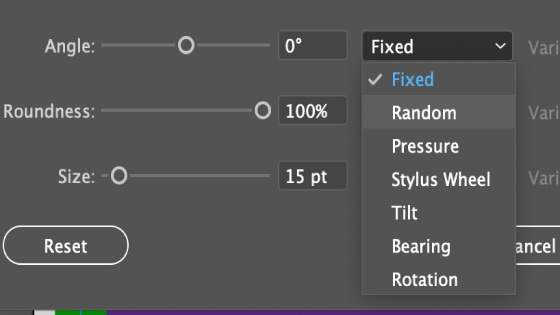
3. Eraser tool settings / options
Angle & Roundness & Size. Within those you have also options to add pressure, random etc and add variation (though I must admit, it would be more useful if it was a range of randomization instead of a single value). Angle has no effect if the roundness is set to 100%. The angle only changes when you have roundness set to less than 100%. The variation is also per stroke and not, sadly, during the stroke of the eraser tool. The size allows for small erase as well as a huge erase (the whole path even)
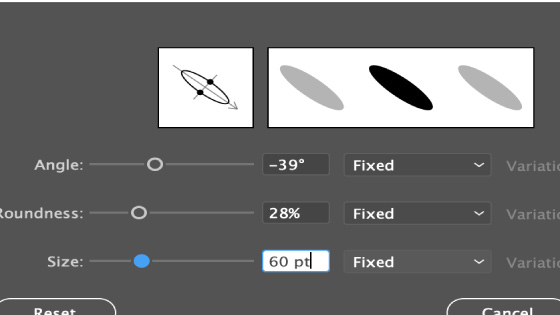
A variety of different eraser styles can be generated though I must admit it would be great if it was a full on brush with a great range of options.

4. Eraser tool and paths / multiple paths / modifiers
Go to the toolbar and select the eraser tool in Adobe Illustrator. Select a path or multiple paths and apply the eraser tool through the paths (as required)

You can hold the shift key down to erase in a straight line. You can erase in small strokes, perhaps add cuts to the edge of a path; you can erase using a doodle or curves throughout the path; set the erase tool size large and then erase a whole chunk or part of path or perhaps straight through the center.

5. Erase tool doodle
You can select the erase tool and just apply it as a doodle through the whole path

Select the erase tool and then select path and apply stroke - while you apply the curved brush strokes, the brush stroke will be displayed as white. Once you stop, you will see through the paths to the background

Each of those paths can now be selected and moved or you can continue to apply additional curves and erase to those (perhaps setting the size to a smaller size). You can also fill individual paths with different colors. You can also shift each of the paths using the selection tool as well as transform each command found in the object menu and transform and transform each and set the random ON.

6. Illustrator Erase tool and grid using shift key
You can use the erase tool in Adobe Illustrator to create a very quick and more randomly split grid design by using the tool and holding down the shift key as you apply the erase.
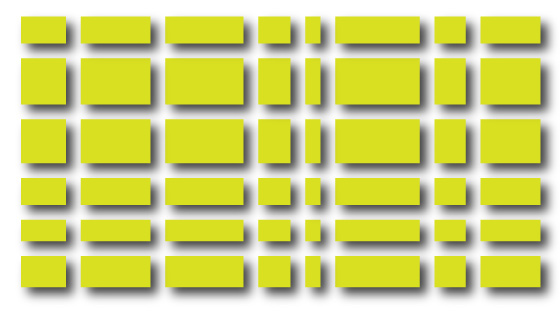
Select the tool, select a rectangle, hold down the shift key and apply tool to the selected path and apply all the way across and up and down and left to right to create separate rectangles or a grid of paths (of course, you can split separate cells without going all of the rectangle so start or end only over a cell or two to split those)
7. Erasing parts of a path
You don't need to just split paths, you can totally remove a chunk of a path. Say you have a rectangle (or any path) and you don't want the corners, you can remove them (or perhaps if you want a path split in two with a large gap)

Select path and select eraser tool, set size to a very large size and apply over the corners. You can cut through all kinds of paths and lop off a corner or two.
8. Eraser tool and type
You cannot use it with type but you can expand the type (via the object menu and expand). Type something and keep the type selected and then go to the object menu and expand and then apply eraser tool to erase the type
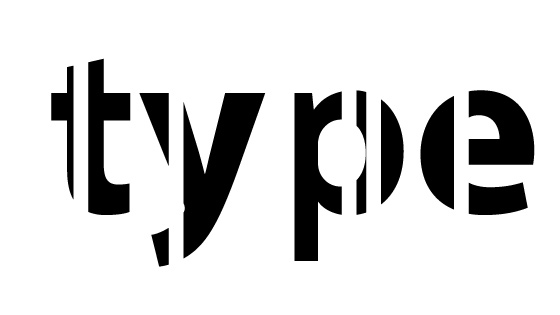
You can apply with an entire page of type or perhaps just a single word.
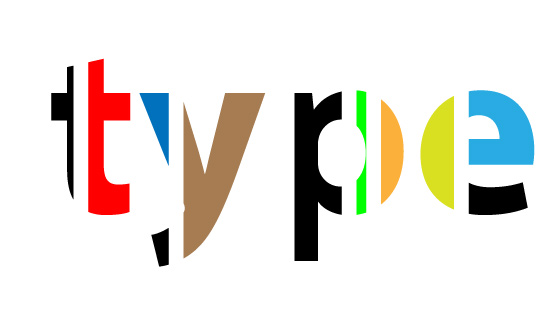
You can also use it with multiple selected expanded text / type but the key thing is that the type has been expanded otherwise the tool will just pass over the type and be ignored. You may need to ungroup the type via the object menu if you wish to use the artworks as separate paths (such as adding random color fills etc).
9. Eraser tool With images
The tool cannot be used with images, if you want to use them with images you will have to use the trace tool and trace the artwork and then expand that and then you can apply the tool and split paths etc
10. Eraser tool and Use with lines and open paths
You can also use the Illustrator eraser tool with open paths (as well as closed paths)

Create an open path using the pen tool (or select an open path) or the curvature tool and then go to the eraser tool in the toolbar and apply the tool across the lines

The lines or curves can have brushes / width profiles and using the width tool or using live effects such as 3D extrusions as well as using warping tools such as wrinkle tool - all can be applied to the newly split apart paths
11. Eraser tool - Use with live effects / appearance
Select a path and then apply a graphic style to it such as one of the default graphic styles 'dusk' or add a live effect via the effects menu or create a style via the appearance panel with multiple effects etc and select and use the eraser tool to cut through the path such as one created using the line segment tool
In many cases, you will get two or more paths with a very similar live effect / style added though, of course, there will be instances where that is not possible and the result will be fairly different after application of the eraser tool in Adobe Illustrator (transform tool with multiple copies being one example)
12. Randomization of the eraser tool
The eraser tool has randomization of the angle, size etc but this is per application and it is not randomized within the stroke itself
The range of the randomization or pressure depends on the setting itself so if the size is 15pt then the randomize is only in that range, you can't have a randomization of 50pt (though personally I cannot see why not but that is how they coded the tool). As you apply the tool, you will get one size and then another size or another angle etc but within the stroke itself, the value is constant.
13. Eraser tool and Random cuts into path
You don't need to apply the tool as a long continuous stroke, you can just click the path in different locations to fill the design with holes or cuts. You can set up some randomness to the cuts and holes as well (though you don't need to but to create random cuts, add some randomness)

Create a path such as rectangle in Adobe Illustrator and Select the eraser tool. Go to the settings and set the angle to random and set to maximum 180 + set the size to random as well with 7pt and 7pt random and set roundness to 20% and Click anywhere multiple times over the path
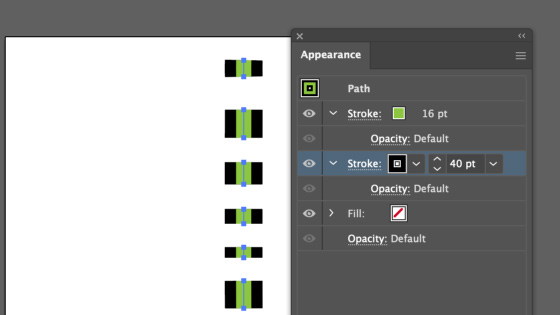
14. Distress edge eraser tool
You can apply the tool around the edge of an illustrator path and cut into the design. If you have a stroke set to a large value that is larger than the eraser size and the stroke is center then the stroke looks like it bleeds into the vector artwork.

15. Eraser tool and repeat
You can also use the eraser tool with the new object repeat feature. Select a path and then apply a repeat via the object menu and repeat and radial and set instances etc. Double click the instance with the selection tool and within the isolation mode, you can use the eraser tool to cut away the path which will then be applied to all the other paths in the repeat object.