Photoshop Maximum Filter Tutorial
graphicxtras > Adobe Photoshop tutorials > Photoshop filters tutorials
A quick guide to the Photoshop maximum filter, great for spreading whites and chocking blacks and some unusual blurry effects.
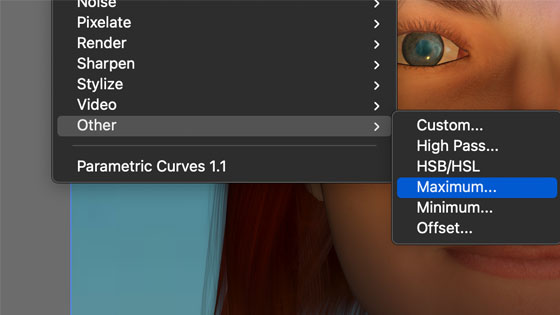
1. Where is the Maximum filter in Photoshop
The maximum filter can be found in the filter command and others and maximum.
2. Basics of the Maximum Filter
The maximum filter can add a subtle change to an image as well as a total blurriness of an image. You can use the maximum filter to tweak brush strokes.
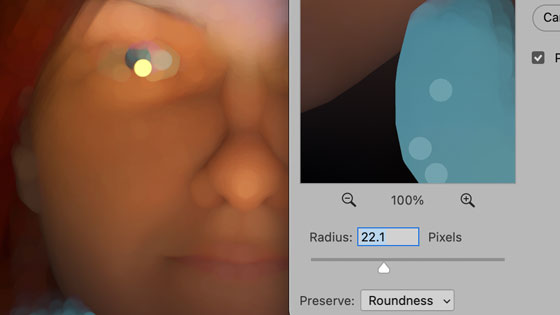
The maximum filter spreads the white and choke the black (according to the Adobe site) but as with many filters, it can do a lot more than that. There are not many options though, radius and preserve (squareness and roundness). The higher the setting, the slower the application. Personally, I always prefer the roundness option to the squareness as the results seem to be less crude.
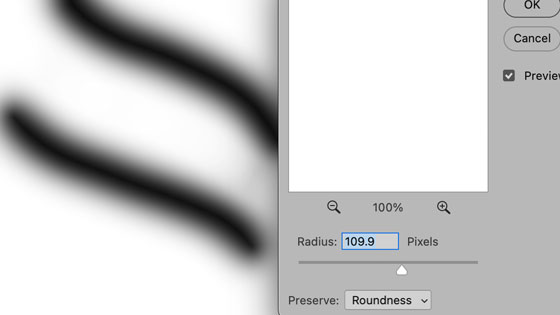
3. Maximum filter with brushes
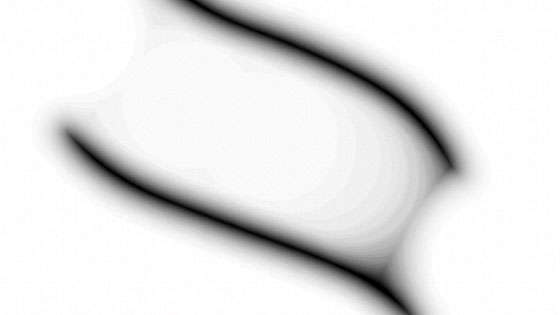
You can use the Photoshop maximum filter with brush strokes. Select the brush tool and apply brush strokes in black (using a default stroke and on a white background). Maximum filter and apply with a decent sized radius, though the actual results depends on the radius and what you want. If you have applied a number of brush strokes with a setting of 60px then it probably is not a good idea to set the radius to 60px as you will just end up with white.
Set the radius of the maximum to 15px and then re-apply a few times (filters can be applied multiple times with more subtle changes than a brutal one click effect). You will then end up with a much lighter pencil like drawing than than the original sketch, a bit like the effect of reducing a large comic page to a smaller actual comic.
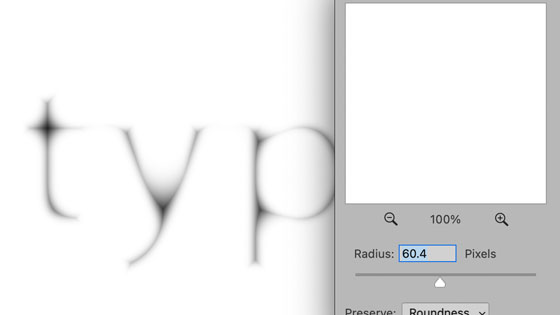
4. Maximum filter with type
You can use the Photoshop maximum filter with type to create thin black type or perhaps faded black type (or whatever color the type has been set to). Such as applying it to the type where the the characters has been reduced to the point where the ink in the typewriter is very uneven and clearly needs a new ribbon in a short while
Say you have a paragraph or page filled with type with a bold typeface, you can apply the maximum filter to that to thin the type - the actual thinning depends on the radius. You can simply flatten the type or use the type as a smart object / converted layer via the smart object command.
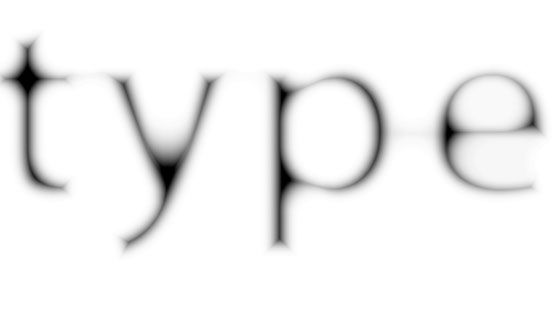
You can create all kinds of interesting visual effects with type by combining maximum filter and gaussian blur and maximum filter again to create type that looks as expected but certainly is not. As the type is a layer / smart object, it can be duplicated along with the smart filters and then applied on top of each other using blending modes.
If you change the color of the type to white, the result is the same with a choking of the white (which does seems odd).
5. Maximum filter With Photoshop custom shapes
You can use the Photoshop maximum filter with custom shapes to thin any of the shape designs. As the custom shape can be converted into a smart object, the maximum filter thinning can be varied. The result on the custom shapes depends on the shape, some shapes such as an Illustration / sketched shape will be reduced and parts of the illustration will just vanish.
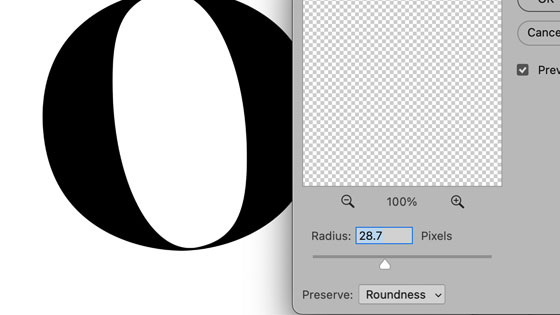
If you are using the maximum filter with something like a circle shape then you will just see an overall reduction in the vector design.
6. Maximum filter with other filters
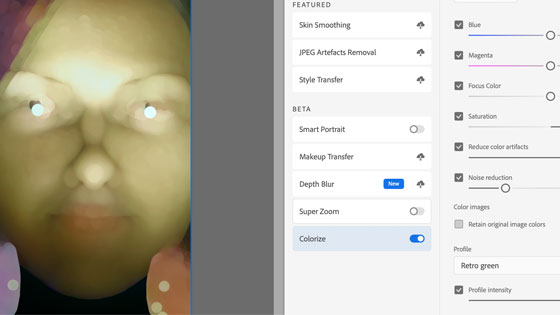
You can use the powerful maximum filter with other filters in combo. You can create some truly amazing twirl designs by combining the maximum with the twirl and many other great combinations are possible. You can also with the new neural filters as well as colorize filter to create some truly weird and wonderful designs.
7. Maximum filter with masks
You can create a layer and add a mask via the layer mask command in the layers menu and select the reveal all command. Go to the layers panel and select the layer mask (to the right of the layer) and then add some shapes in black as a pixel design or perhaps some brush strokes. You can then go to the filter menu and apply the maximum filter to the mask and the result will be more of the actual layer. It should be noted here that the maximum filter is destructive and is not a smart filter so any applications will change the selected artwork. The mask can also be useful with creating a beveled design and the maximum will be useful in modifying the overall hole or bumps in the image
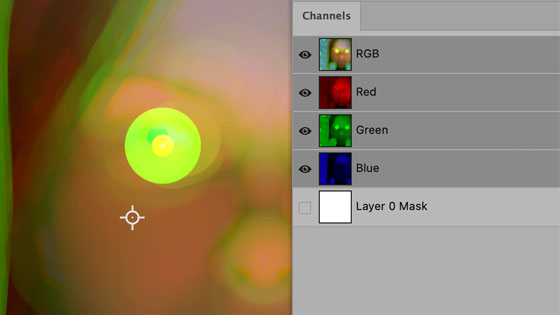
8. Channels and the Maximum Filter
Add a shape or image or type to a document. You can also use the maximum filter with channels. Go to the channel panel and select the red channel. Select the maximum filter in the filter menu and set the radius to 20px say.
Go to the green channel and then re-run the filter but this time using 10px and then the blue etc. You can re-apply the filter multiple times to the same channel. Go back to the RGB (or CMYK etc) image. You will now see a colorful edge around the design.
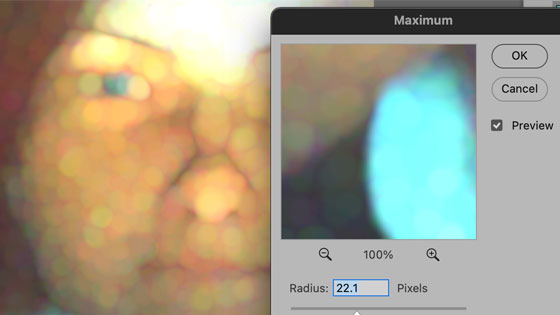
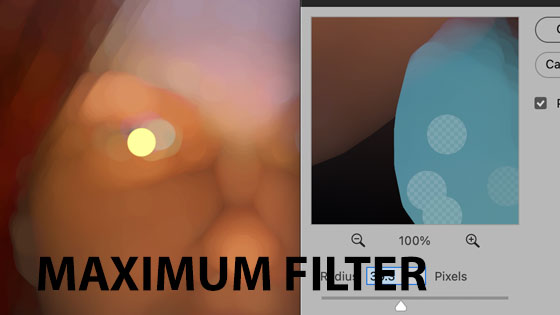
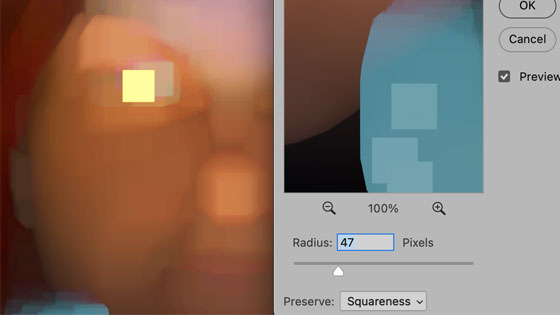
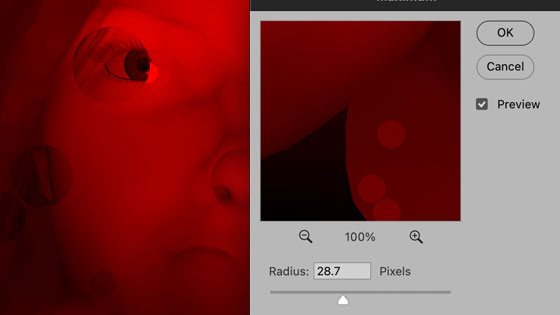
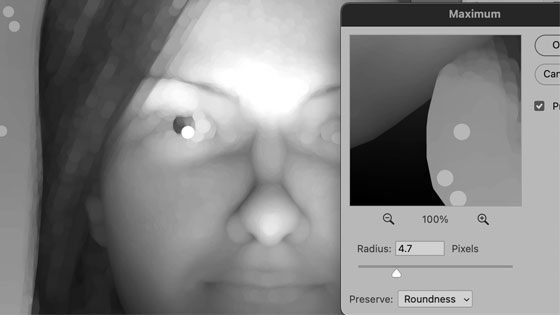
9. Maximum filter With images
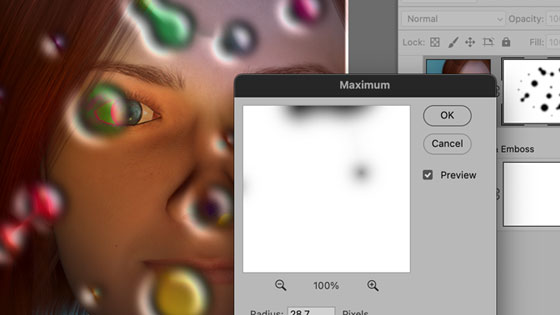
This really depends on the image, but I have always found the maximum filter with the roundness setting generates an unusual sparkly glow with highlights and gives the image a really surreal look. The squareness option for the filter is never as pleasing but it has a use in creating very large blocks of color across an image which can be blended with the original image using the fade command. If you set the roundness / radius setting to too higher a value then the filter will be slow and will result in a totally white image but it does work well if you use an image with channels and the maximum filter and set one of the channels to a very high value. A low value of the maximum filter often just makes a person look a little sweaty as if they are under hot lights. The maximum filter can be used to create some interesting effects when combined with the image menu adjustment filters such as black and white to create an unusual glistening effect with people etc
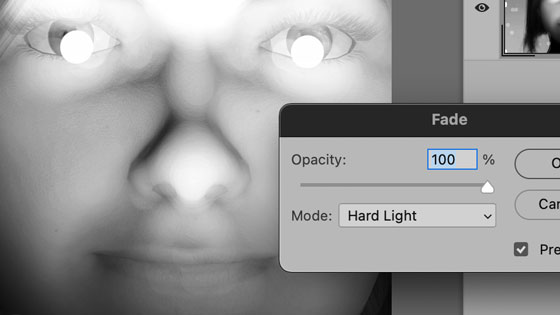
10. Maximum filter and fade
You can fade the effect, you have just applied it but fading brings a lot more options where the effect can be blending with the original image and used with difference, lighten etc as well as opacity to create all kinds of weird and wonderful smeary effect with the maximum filter
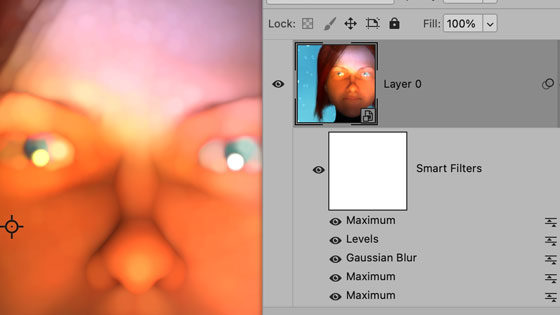
11. Smart objects
You can use the maximum filter with the powerful smart object feature of Photoshop, convert it via the layer menu and smart objects and convert and once you have converted it, the maximum filter can be added as normal but now you can change it any point, it is no longer a destructive effect. You can add multiple smart filters as well
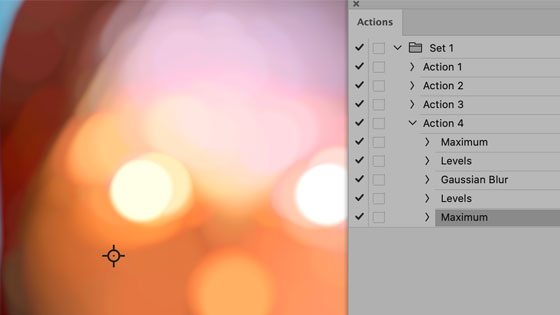
12. Maximum filter and actions
I love actions, they can be used to record the action of the maximum filter and all the settings along with combining it with adjustments and also other filter effects added to the work and the action means that you can re-play the effect over and over to combine multiple effects.
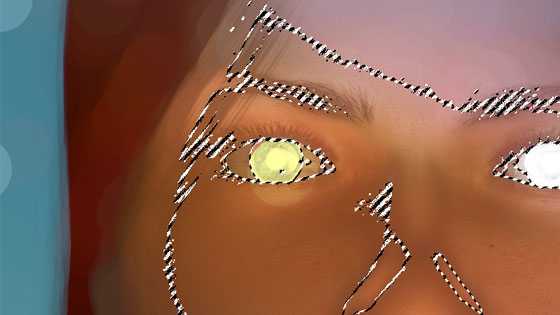
13. Maximum filter with selections
You can use the filter with the entire image but sometimes you just want the effect to be added to a small part of the image or perhaps a subject via the select menu and subject. You can then apply the maximum filter to that selection and sometimes an even better option is to apply it to the inverted selection or perhaps apply to both but with different settings to create some truly wonderful imagery
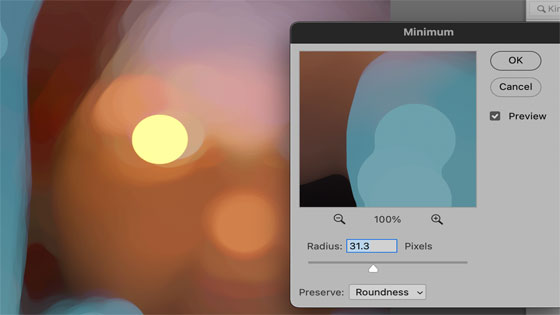
14. Maximum and Minimum filter
All kinds of weird and wonderful effects can be generated just by using a combination of these two filters, one adding a sparkle to the image and the other darkening it again and this can be repeated a number of times to create unusual imagery.
15. Noise effect
You can use the maximum filter with noise and noise can be added via a number of filters in Photoshop. You can generate the noise and then use perhaps a blur filter such as gaussian blur. Use the maximum filter on this. You can use the filter multiple times to create all kinds of unusual sparkly noise effect.