Photoshop shapes Blending Modes Tutorial
graphicxtras > Adobe Photoshop tutorials > Photoshop shapes tutorials
How to use custom shapes with the Photoshop blending modes such as darken, difference, lighten etc in pixel mode as well as shape layer mode
1. Blending custom shapes as shape layers in Photoshop
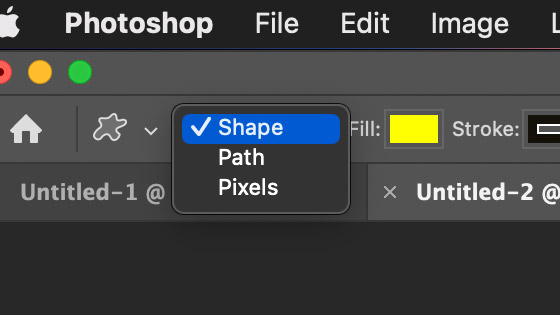
Select the custom shapes tool from the Photoshop toolbar and then elect shape layer option. You now need a shape to work with and all the presets are in the presets picker for custom shapes found along the top bar.
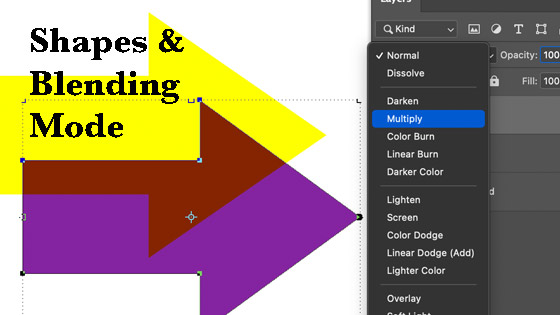
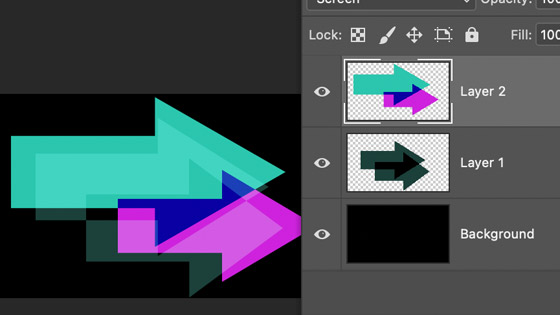
Select a shape from the shapes presets picker and apply the shape to the current art board. You can also set a color for the design say red or green. Apply another shape or the same shape as a layer with a different color. Go to the layers panel which can be found in the window menu and set the blending mode to darken or another blending mode.
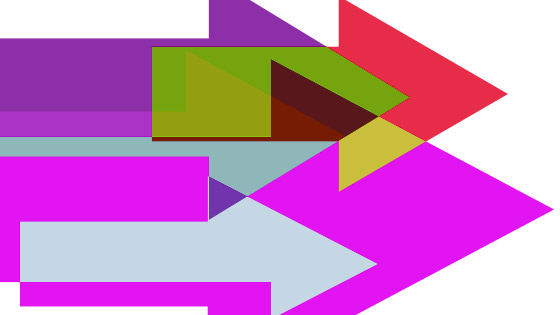
If you overlap the shape or half overlap the underlying shape with the top shape, you will see a subtle or extreme color change depending on the color as well as the Photoshop blending mode. You can repeat adding additional shapes and each layer can have a different blending mode
Some blending modes are better than others and work well with some color, with other colors you will see no change at all such as trying to use the lighter color with a light image.
2. Filter shape layers in Photoshop by using the filter in layers panel
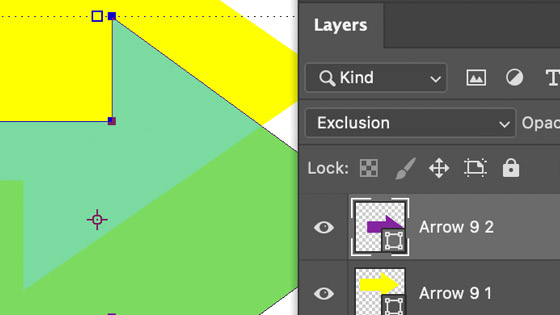
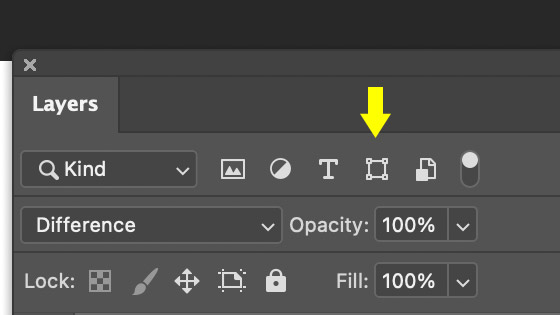
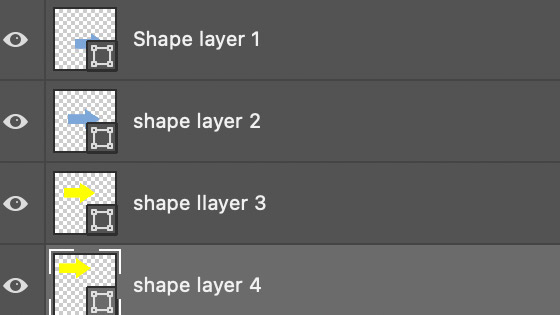
You can filter shape layers from all the other layers in the panel by using the filter row in the layers panel. You may have created multiple layers such as adjustments as well as standard raster layers and type etc but you want to see only the shapes. You can do that via the layers panel's filters and by selecting the "shape layers" filter (to the right of the "kind" drop down). It is the square button with small dots on the corner.
The filter does not remove the other layers from the document. You can then select the shape layers and use the blending modes as required for each of them. You can also filter them by using name if you do not rename the shapes (such as keeping them as shape 1, etc)
Go to the layers panel and go to the filter type and select filter by shape layers. Go to the shape layers and select the blending mode required and opacity such as darken. You will notice that the background vanishes as soon as you select the shape layer filter
It should be noted that the kind drop down is super useful as well as you can search for the name of a particular shape to blend such as 'shape layer 1' (instead of kind, select name option in the drop down)
3. Blending As Pixels - you can use the blending modes such as darken with shapes / pixel mode in Photoshop
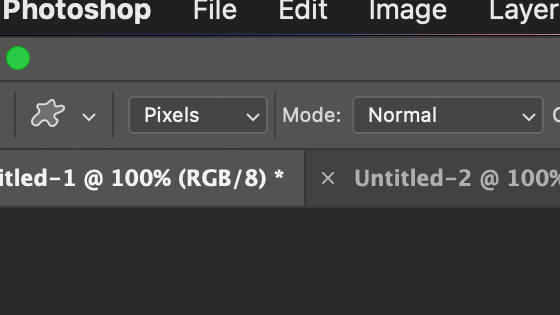
You can also use blending modes to blend pixels so set the shape option to pixels mode.
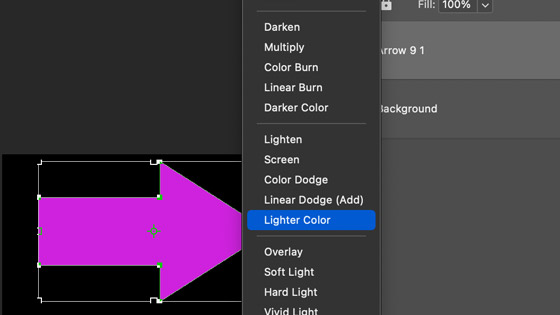
You can change the color of the shape as well as the blending mode (such as darken or lighten) and opacity before you apply it. You can also use the fade command. The effect is destructive so if you wish to preserve the work, it is best to apply on layers (which can be deleted)
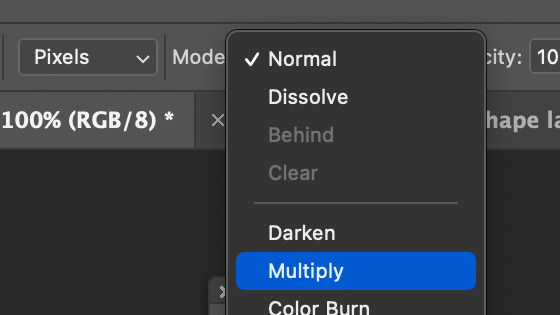
Select custom shape tool from the Photoshop toolbar. Select shape from shapes drop down / picker. Set color via foreground color. Set blending mode (especially if there is something already in the image) and apply shape and set color. Set blending mode again to something different. Apply the custom shape again and so on
4. Fade as - you can also fade the result as well as change the blending mode via the fade panel
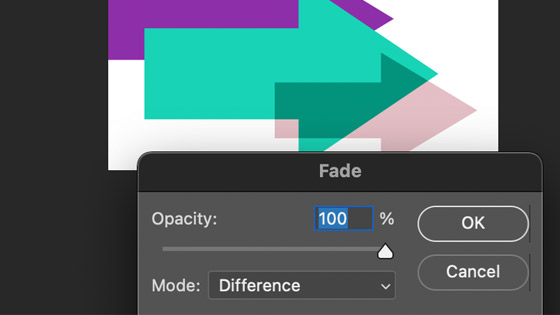
You can also use the custom shapes with the edit menu and fade command. Apply the shape and then use the fade to change the opacity and blending mode
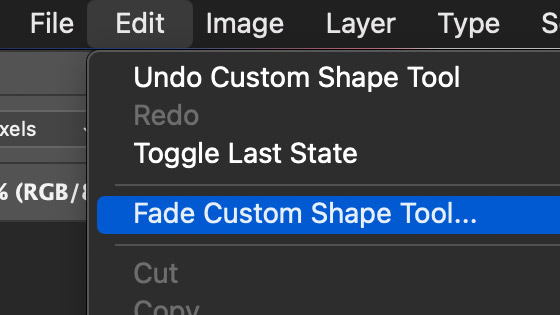
Select the custom shape tool in Photoshop toolbar and select shape from picker. Select color and select 'pixel' as pick tool mode and then apply the tool. Goto the edit menu in Photoshop and select the fade command. Change the shape's blending mode and change the opacity and click OK
The fade is useful in many different areas of Photoshop.
5. You can use the pixel option with layers and then blend the layers in Photoshop
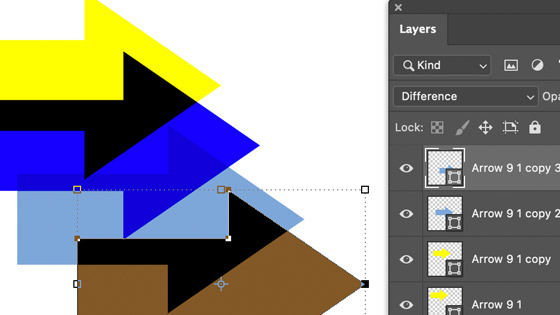
You can also use blending modes if you use layers with the Photoshop custom shapes applied as 'pixels'. Simply apply the shapes to a layer and then go to the layers menu and set the blending mode. You can also add the shapes to multiple layers and use different blending modes and opacity with each layer. You can, of course, use different blending modes between each shape
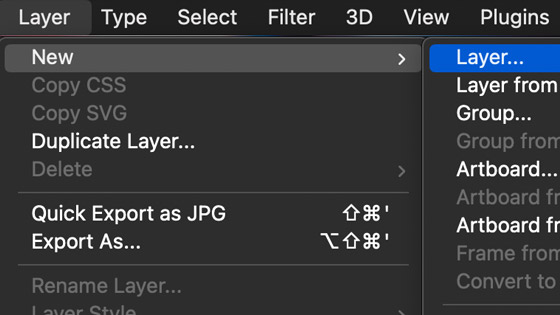
Goto Layer menu and then new layer and select shape and color etc apply shape and select different blending mode. Apply new shape. Go to the layer menu in Photoshop and new layer. Continue applying pixel shapes in different colors and blending modes. Layer menu and add new layer etc. Go to the layers panel and select a layer. Goto to the blending mode in layers panel. Change blending mode to darken or color burn etc
6. Blending modes available with Photoshop shape layers
There are many different blending modes available for shape layers and shapes in Photoshop : Normal, dissolve, darken, multiply, color burn, linear burn, darker color, lighten, screen, color dodge, linear dodge (add), lighter color, overlay, soft light, hard light, vivid light, linear light, pin light, hard mix, difference, exclusion, subtract, divide, hue, saturation, color and luminosity.
There are a few others such as clear and behind etc that appear depending on the circumstances
7. Other shapes
All the above also works for standard shapes as well in Photoshop, you can use the shape blending modes to combine ellipses as well as polygons and stars and rectangles and triangles and shapes created using the curvature tool as well as shapes created using pen tool in Photoshop etc. Apply the shapes via the standard tools in the toolbar and set shape option etc and then go to the blending modes in the layers panel and apply as with the custom shapes.
8. Strokes and blending modes
The blending modes of shapes can also be used with shape's strokes as well. You can have a design with no fill and a stroke and that will also blend, depending on the stroke color, with the underlying layers. You can create all kinds of truly weird and wonderful line designs by using the stroke only shapes
9. Patterns and gradients as fills with blending modes
The shape layers (not the pixel option) can be filled with gradients as well as patterns so the combination of multiple layers and blending modes with those filled designs can be infinite and super colorful.