Affinity Designer Cog Tool Tutorial
graphicxtras > Affinity Designer tutorials > Affinity Designer Tools tutorials
How to use the cog tool in Affinity Designer application to create stunning cogs and gears. The basics of the cog / gear tool. How to create a star cog. How to create star designs. How to modify the nodes of the cog and as well as round the corners of the shape. Check out our video tutorial and guide to the cog tool in Affinity Designer
** Youtube video tutorial on the cog tool in Affinity Designer and using the cog interactive features to create stars etc **1. Where is the Cog Tool in Affinity Designer
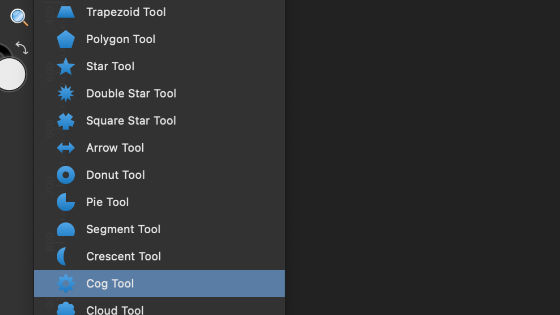
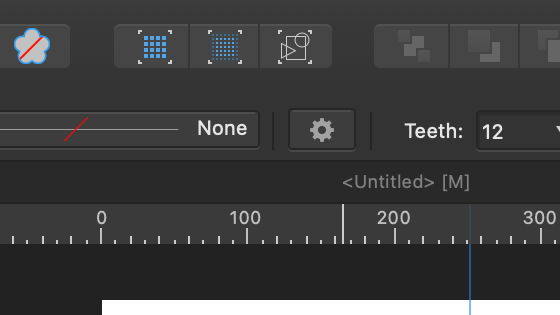
The cog tool is found beneath the triangle tool in Affinity Designer. You can find the tool along with the star tool, crescent tool and many others. They all have similar interactive features. They all generate vector artwork
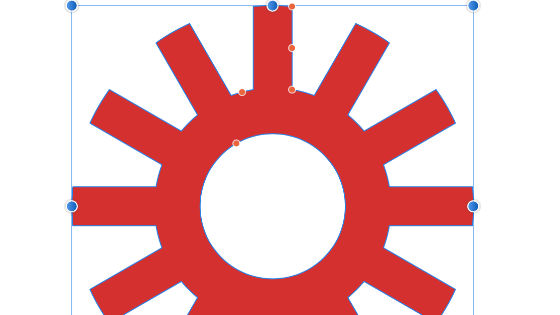
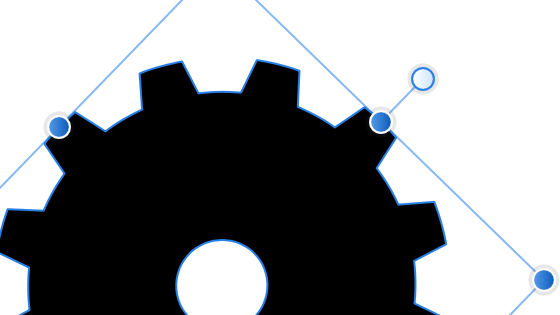
2. Cog Tool is an interactive vector shape creator
The cog tool creates a vector cog design and is an interactive tool which means the cogs can be changed via the small setting dots on the cog as well as along the top of the application

Or use the dots on the cog shape itself (accessible only when the cog tool is selected)
3. Change the color of the cog
You can set the color of the fill and stroke to anything for the cog. You can fill it with gradients as well as patterns as well as images. To fill with a gradient, select the design with the move tool and then go to the gradient tool and click and drag the line and release.

You can also change the type to bitmap and the fill then can be filled with a bitmap pattern, browse for the design and fill with any image.
Or use the edit menu and paste inside to paste an image inside the cog design.
4. Scaling and Rotation of the Cog design
Use the move tool to shift and scale and rotate the cog shape. You can also do the same via the cog tool. Select the cog tool and set the color via the fill and drag and drop and go to the move tool. Resize or select top extended indicator and rotate. You can also use the large white dot on the cog to rotate it. Use the blue dots on the sides to scale it and squeeze it
5. Cog shape can be interactively changed via the cog Tool
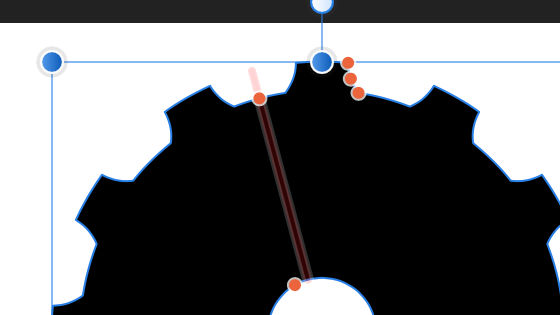
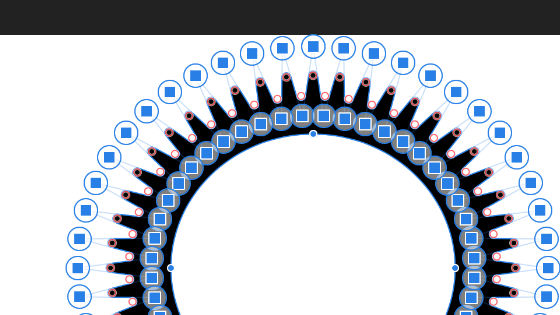
When you click the cog tool you will see a number of small dots on the cog. The small dots can be used to interactively change the settings for the cog. You can also change the settings for the shape via the settings along the top of Affinity Designer. The number of teeth can only be changed using the teeth setting. The other settings can be changed via the small dots : notch size and tooth size as well as inner radius and hole radius.
There is a curvature setting and it can be used to create some interesting curved designs but it depends on the tooth size and notch size.
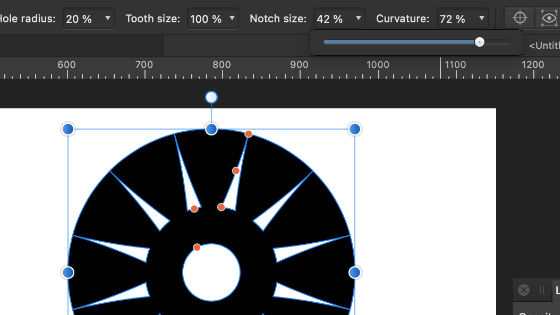
Select the cog tool and set color and draw cog and go to the small little red dots on the cog (with the cog tool selected) and drag a dot left or right or up and down (it can only go in the direction allowed). You will notice the settings and the cog will change (to the limits of the cog)
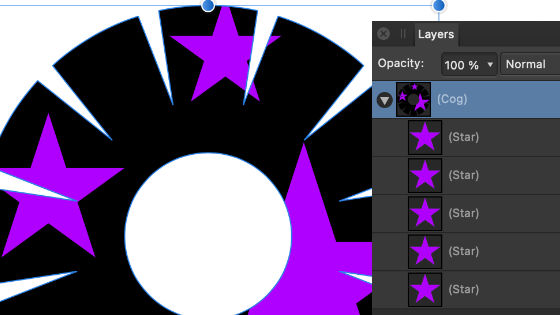
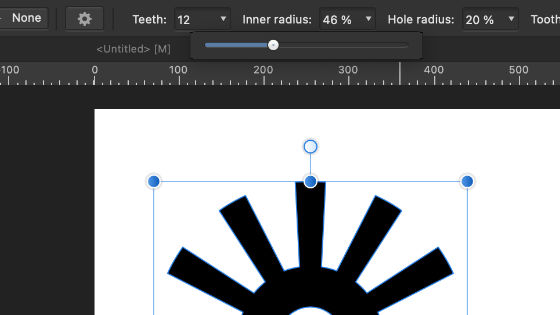
6. Cog Tool and Star creation
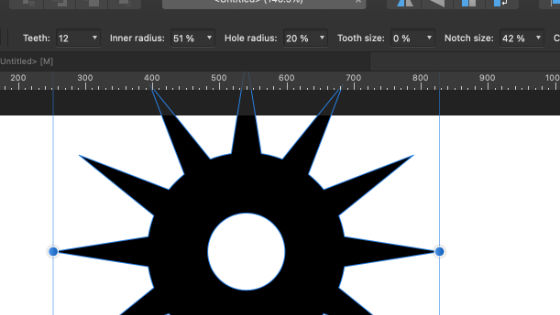
You can set the inner radius to the hole radius and the result will be a starburst design. Many different star designs can be generated using the teeth settings.
Here are some suggestions
chunks: teeth 29, inner 83%, hole radius 83%, tooth size 38%, notch size 43%
sharp separate triangles: teeth 29, inner 83%, hole radius 83%, tooth size 4%, notch size 43%
thin lines: teeth 45, tooth size 4%, inner 83%, hole radius 83%, notch size 100%
long thin lines: teeth 45, inner radius 43%, hole radius 43%, tooth size 4%, notch size 100%
curved edges: teeth 9, inner radius 84%, hole radius 0%, tooth size 47%, notch size 100%, curvature 100%
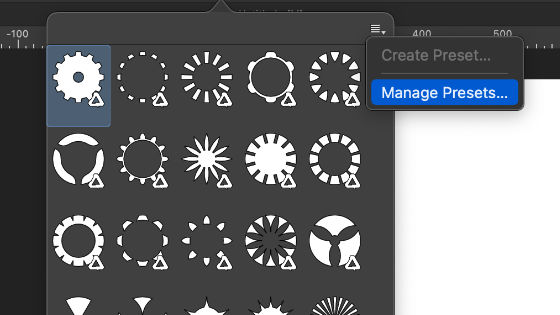
7. Setting up presets for the cog tool
You can also add to your presets for the cogs. Go to the little gear wheel at the top of the application
With a cog design selected you can create a preset. You can also manage the preset and you can just select one of the presets.
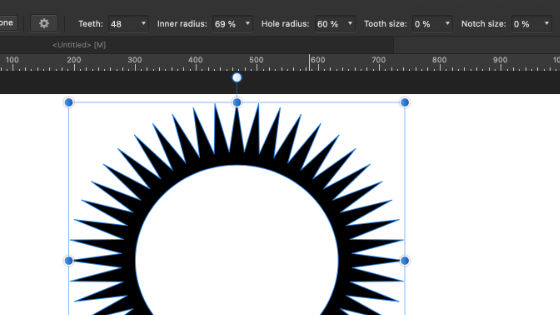
8. Creating a star burst in Affinity Designer
Select the cog tool and draw a cog and keep selected. Set the teeth to 48 & inner radius 69 & hole radius 60 & tooth size 0 & notch size 0 and then goto the Ellipse tool and create a circle in the center of the cog
This creates a star burst design. You can change the notch setting to create different star artworks. You can also add other paths to the center of the star and then combine them using the union button.
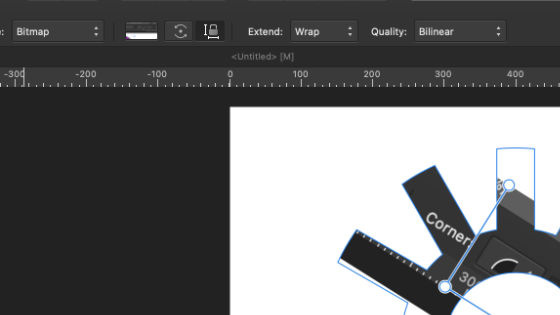
9.How to round the corners of the cog design
You can modify the cog shape by using the corner tool. The corner tool can turn the cog's sharp nodes into smooth, curved path. Once you have used the corner tool, the cog shape can no longer be changed. You can use the different corner types to create many variant cog designs in Affinity Designer.
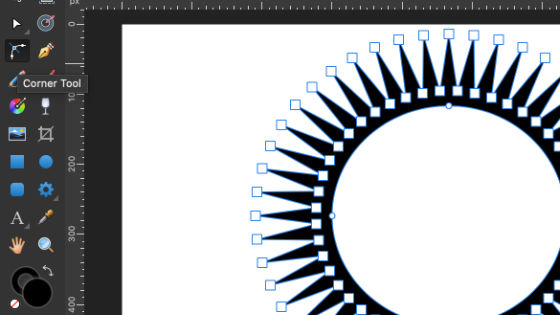
Select cog tool and draw cog path and select corner tool and drag and manipulate the sharp nodes with the corner tool - rounding them to smooth paths
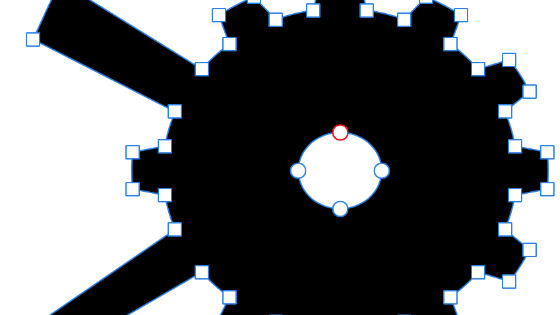
10. using the cog with the node tool
Once you have finished with the cog tool, you can click the convert to curves button or right click and select the convert to curves. After the conversion, you can no longer use the cog tool to edit the artwork but you can use the node tool to move the individual nodes.
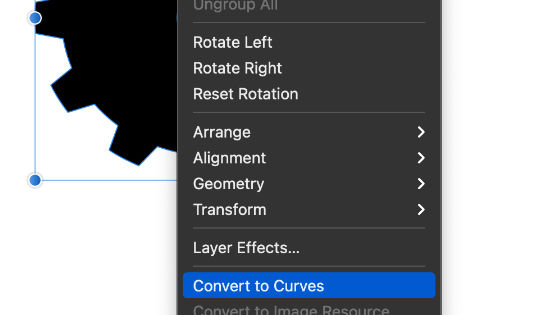
Select the cog tool path and right click and select the convert to curves command and go to the node tool in the Affinity Designer toolbar and Modify the nodes of the cog path created by the cog tool
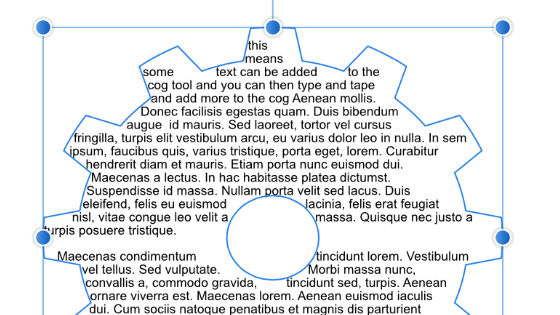
11. Use cog as a text frame
Vector designs can be quickly turned into a text frame where you can add text, filler text and more. Go to the layer and convert to text frame command
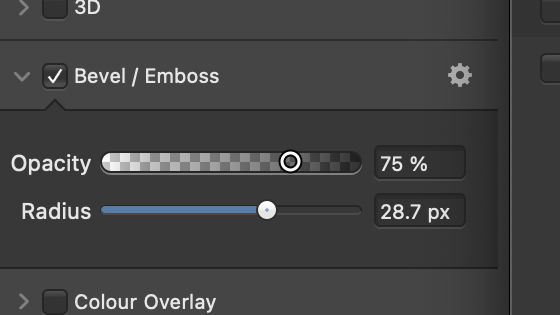
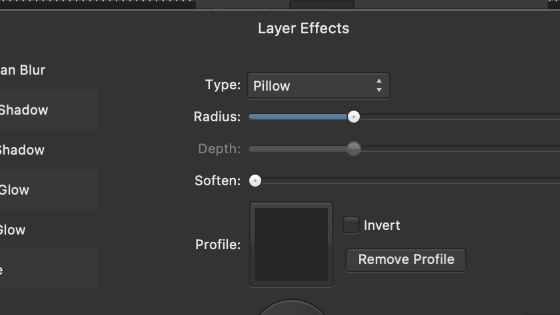
12. Adding effects to the cog
You can effects or layer styles to the cogs. I would love to see more effects added but at preset only blurs, bevels, shadows etc are available. Goto the view menu and studio and effects. With the effects panel open, click the gaussian blur check box and then set a value. Repeat with the other effects that you wish to use such as adding a bevel to the cog

Click the little gear design at the die of the bevel etc to display a bigger range of options such as directions, highlights, profiles etc
13. Compounds of the cog tool
You can combine the live cog tool in numerous ways with text as well as other shapes and also cogs by using the layer menu and create compound command. Once you have a compound shape, the artwork within that can be moved around and re-sized and the cog tool can be quickly modified such as the number of points by using the points value or the interactive setting. You can still then shift the shape around and duplicate and more and build up a complex design