Affinity Designer Compound Shapes Tutorial
graphicxtras > Affinity Designer tutorials > Affinity Designer How To tutorials
How to create compound shapes in Affinity Designer, how to use the live compound designs in Affinity, how to add, subtract etc and how to move, fill, apply effects etc and changing corners / roundness of the design as well as using contours etc and using compounds with text and more
** Youtube video tutorial on compound shapes in Affinity Designer and how you can use the feature to create truly awesome shape combinations in all number of different ways **1. Where is the compound command
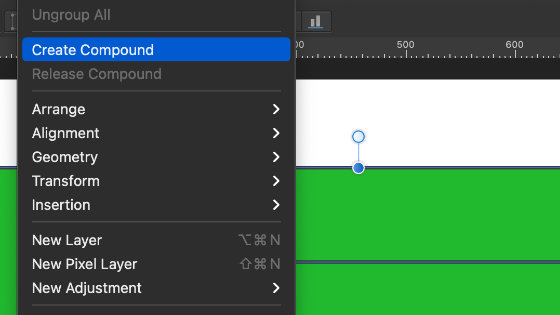
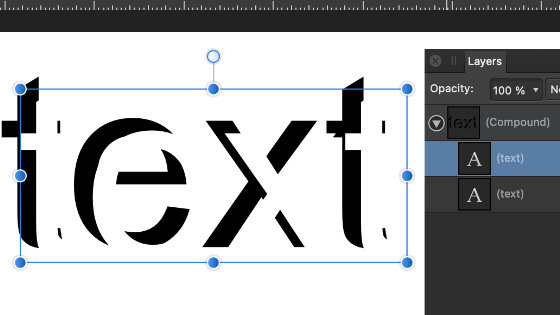
The compound command can be found via the layer menu and create compound. Select two or more paths and then go to the layer menu and create compound. The key panel to have open during any work with compounds is the layers panel found via the view menu and studio. The compound works with many different types, standard shapes as well as text etc
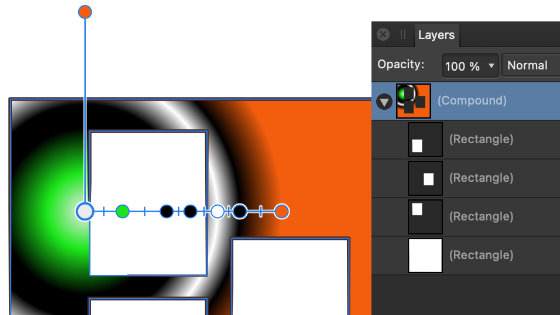
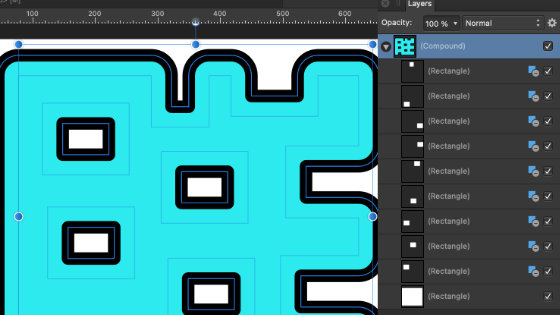
2. Layers panel
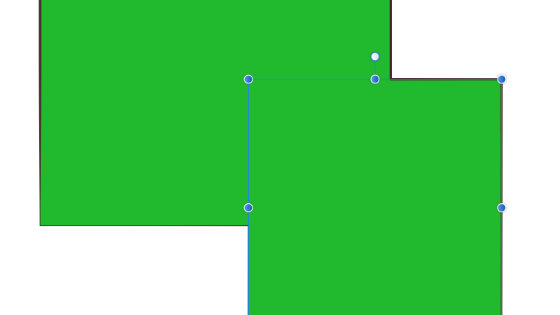
The key panel here is the layers, go to the layers panel and expand the compound design. It will then display all the items in the container called 'compound', you can always rename that if you wish.
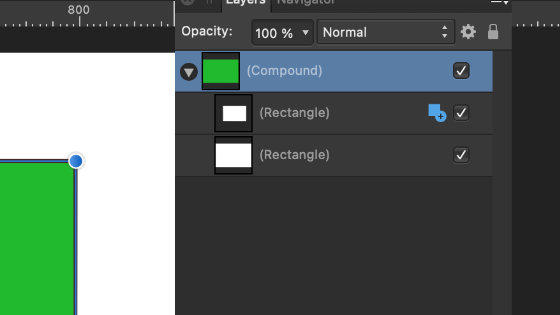
You can see the original path (the container) at the bottom and all the other paths added later above in the layers panel. The items, other than the containing shape, have a little icon that you can click and set the add, subtract etc and how the path will be displayed within the compound
3. Compound options : add, subtract etc
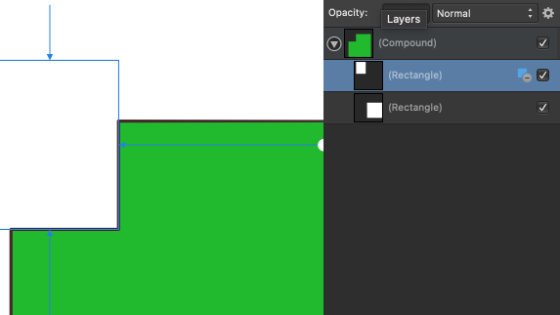
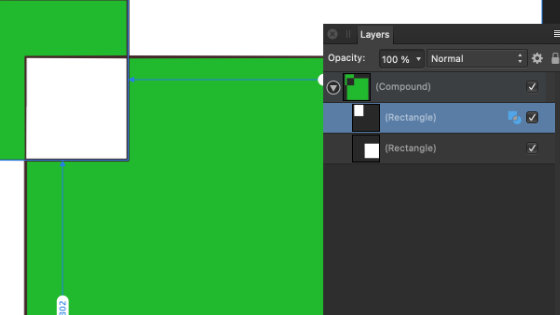
The compound options are add, subtract, intersect and XOR. Sometimes it is easier to explain by showing examples and using more than one or two shapes in the compound. Have to say I use add and subtract more than the others but they have their uses
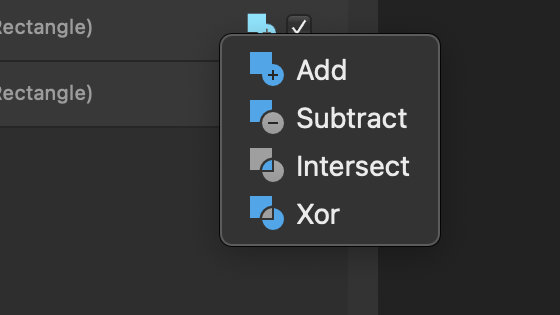
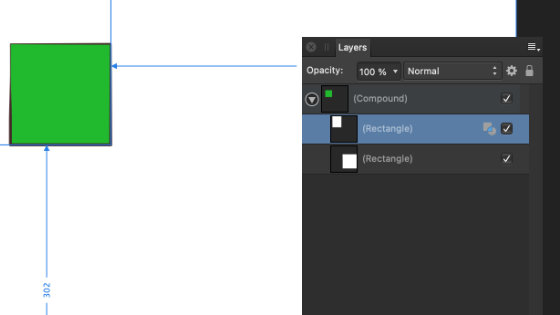
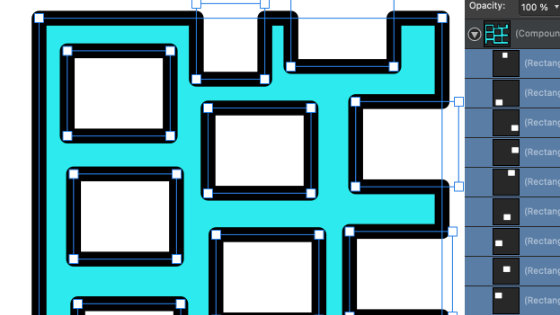
If you use add then the paths are add together, a seamless addition. It should be noted that the compound path is one single path and one fill and one stroke etc
With add
with subtract (front is subtracted from the back)
Intersect, only the area where the paths intersect is shown
XOR or exclude, only the area that not intersected is shown
Obviously when you get more and more shapes involved and more and more complex combinations of XOR and intersect etc it is harder to explain on a web page and probably the video at the top of the page will give a little more help
4. Manipulation of the shapes in the compound
All the shapes are live and the compound is live. You can move the entire design and re-size etc by selecting the compound. You can also select the individual paths using the layers panel and move and scale and rotate those (though you cannot change the fill and stroke etc)
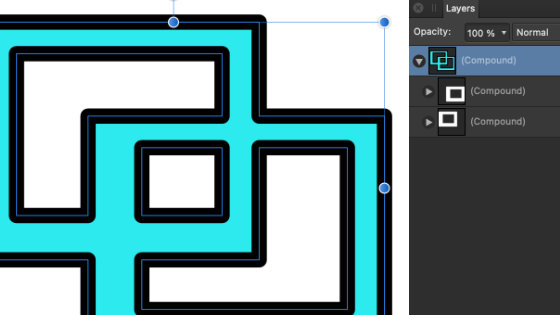
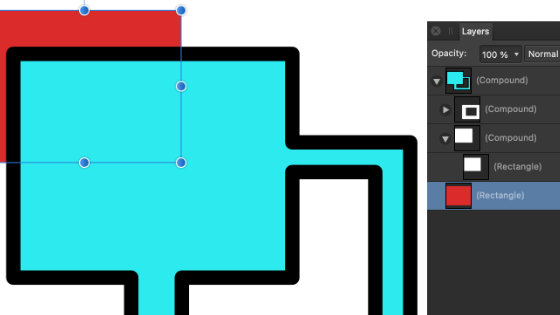
5. Compounds of compounds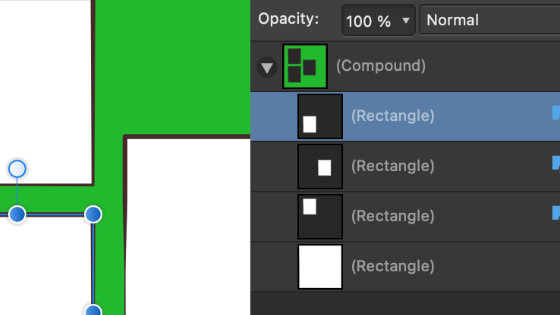
You can create a compound for a selection of shapes. You can also duplicate that compound or create a different compound (though not with any of the previous shapes) and more than two compounds and then with all those selected you can go to the layer menu and create compound with that and the compound also has an option for a subtract and add etc (though the combination can get quite messy). You can repeat this with compounds x 3 and more (though there may be an internal limit)
6. Moving things out or in of the compound
They are just shapes, you can move them out of the current compound and you will lose the add and subtract etc, select the shape in the layers panel and drag and delete or position out of the compound in the layers panel. You can also drag items in to the compound, just drop in between other shapes in the design and you can always re-order the paths.
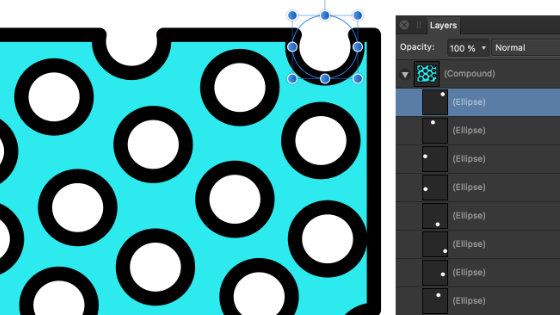
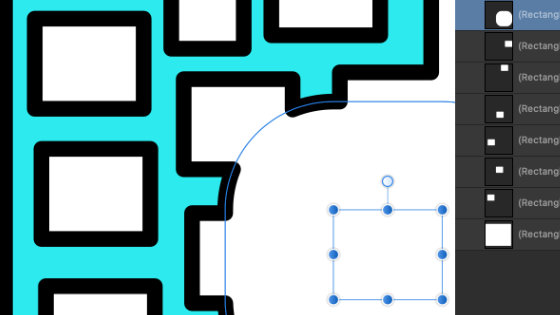
7. Duplicate shapes in the compound
You can select any of the shapes and drag (hold down alt / option key) and duplicate the design and you will see that now as a part of the compound and it will have the same add / subtract etc as the original
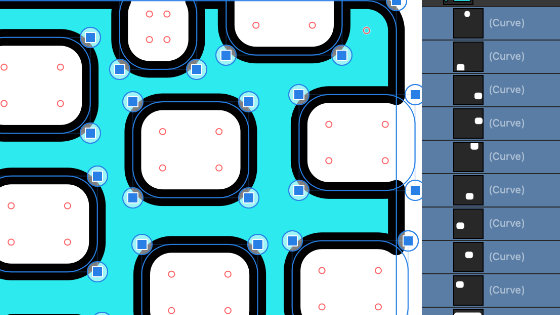
8. Corner tool and compound
As soon as you use the corner tool, the shape is not live but the compound is and you can still manipulate that. The corner tool can be used to create all kinds of amazing designs and works with things like triangles etc, paths that are already curved such as a circle then it is not as useful. The key thing is not to try and use the corner tool with the compound but the items in the compound
Rounded ...
9. Compound and contour tool
You can use the contour tool with the live features as well as being live itself to create all kinds of weird and wonderful shape results from the contour and multiple compounds
It should be noted that you don't have to use the contour with all the paths or the entire compound and some interesting combinations can be made using different add / subtract etc with different contour settings and shapes.
10. Compound works with text as well
Create some text, create some more text and select them all, go to the layer menu and create compound and then go to the fill and stroke color and set them to something other than nil and then use them as before with add and subtract etc

All kinds of text combinations can be created using different add / subtracts etc with text and different positions etc as well as compounds of text and also of normal shapes
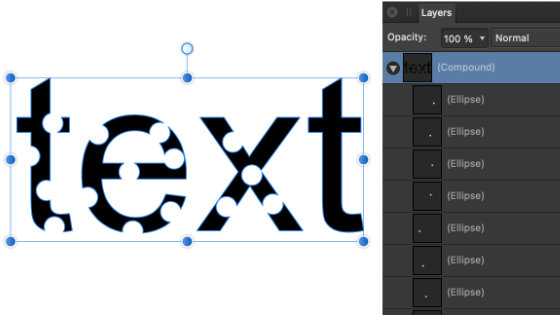
You can also compound text with shapes so create some text and then create a circle and then select both and then go to the layer menu and create compound. Go to the compound entry and the circle and set the operation to 'subtract' and then hold down the alt / open and drag and re-position the circles across the text and now you have mottled distressed text in seconds and you can edit it all via the layers panel
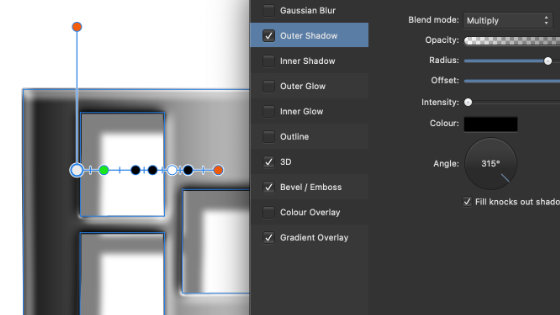
11. Compounds and layer effects
You can use layer effects with the compounds. Select the top level compound and then go to the layer menu and layer effects and use glows, bevels etc
12. Change fill color etc
You can't change the fill color etc of the individual items but you can select the compound and then change the color. You can add in gradients etc